Turn videos into social clips
Learn how to quickly turn long videos into sleek clips for social media with OpusClip.
2025-01-13
Cutting down long-form videos into clips and formatting them for various social platforms is an arduous process. It requires you to manually watch videos for the best moments, cut and edit them down into clips, and post them to various social channels. If done manually, this process can be a full-time job! But with the right AI video tools, you can significantly automate this workflow.
In this tutorial, we’ll use OpusClip to find the best clips in a 30-minute video, auto-cut the video down into shorts, format all of the clips for mobile video, and post them to TikTok—without ever leaving the platform and barely touching a video editor.
Steps we’ll take in this tutorial:
- Upload video and set clip parameters
- Select and rate clips
- Edit clips with built-in video editing tools
- Export, schedule, and post clips to social channels
Let’s get started!
Upload video and set clip parameters
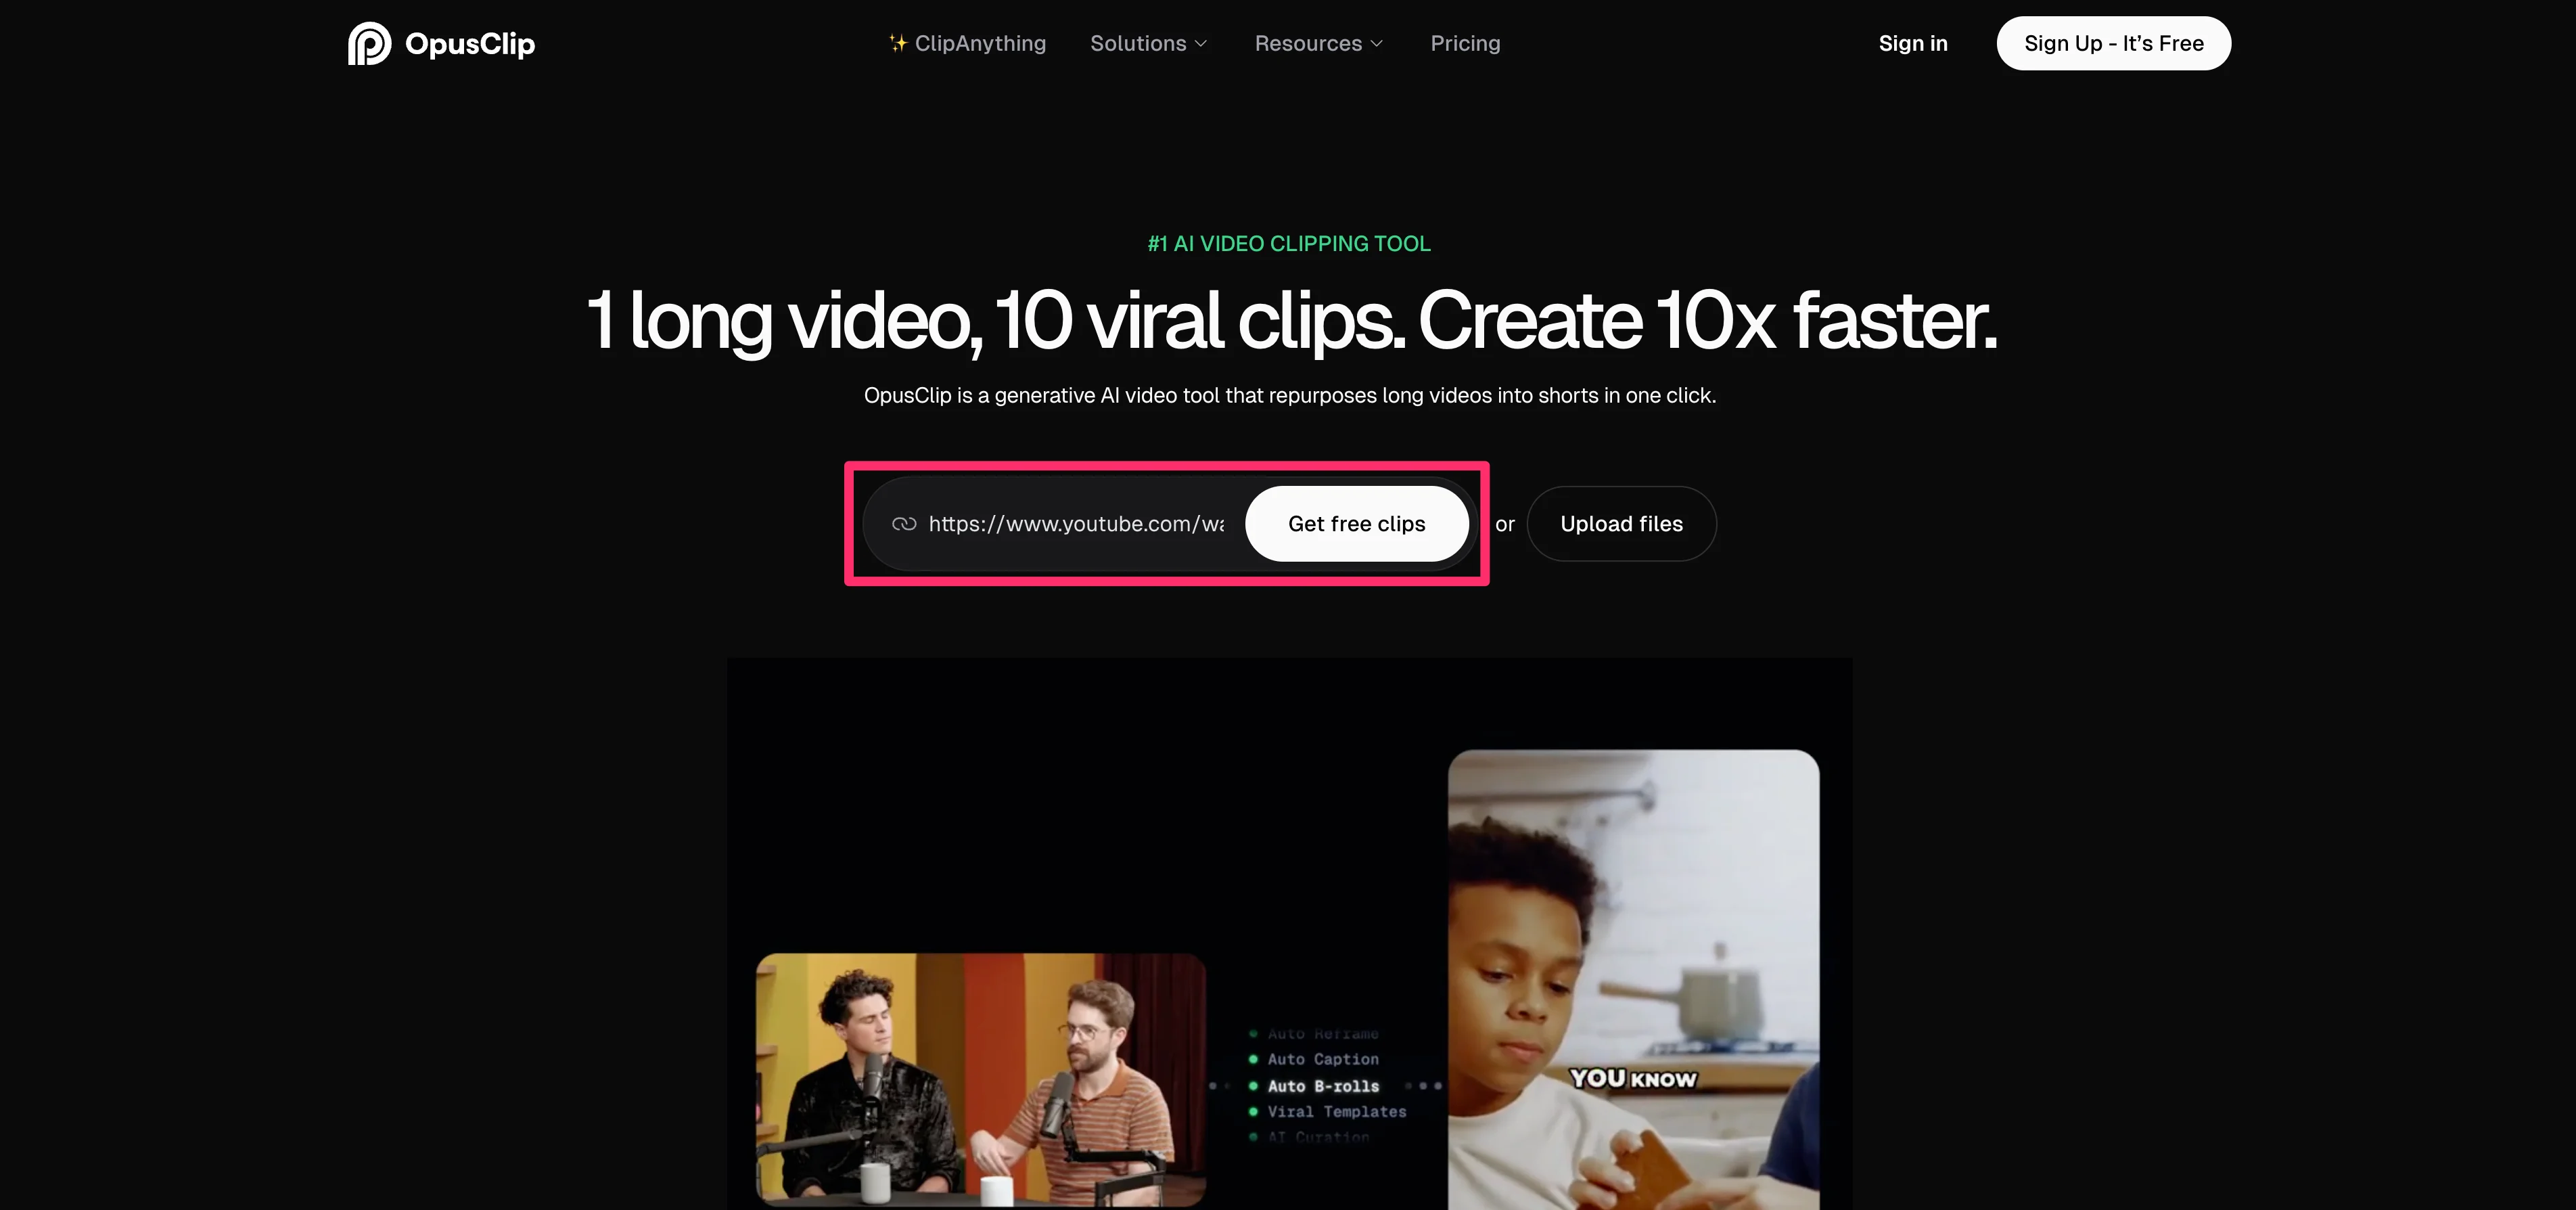
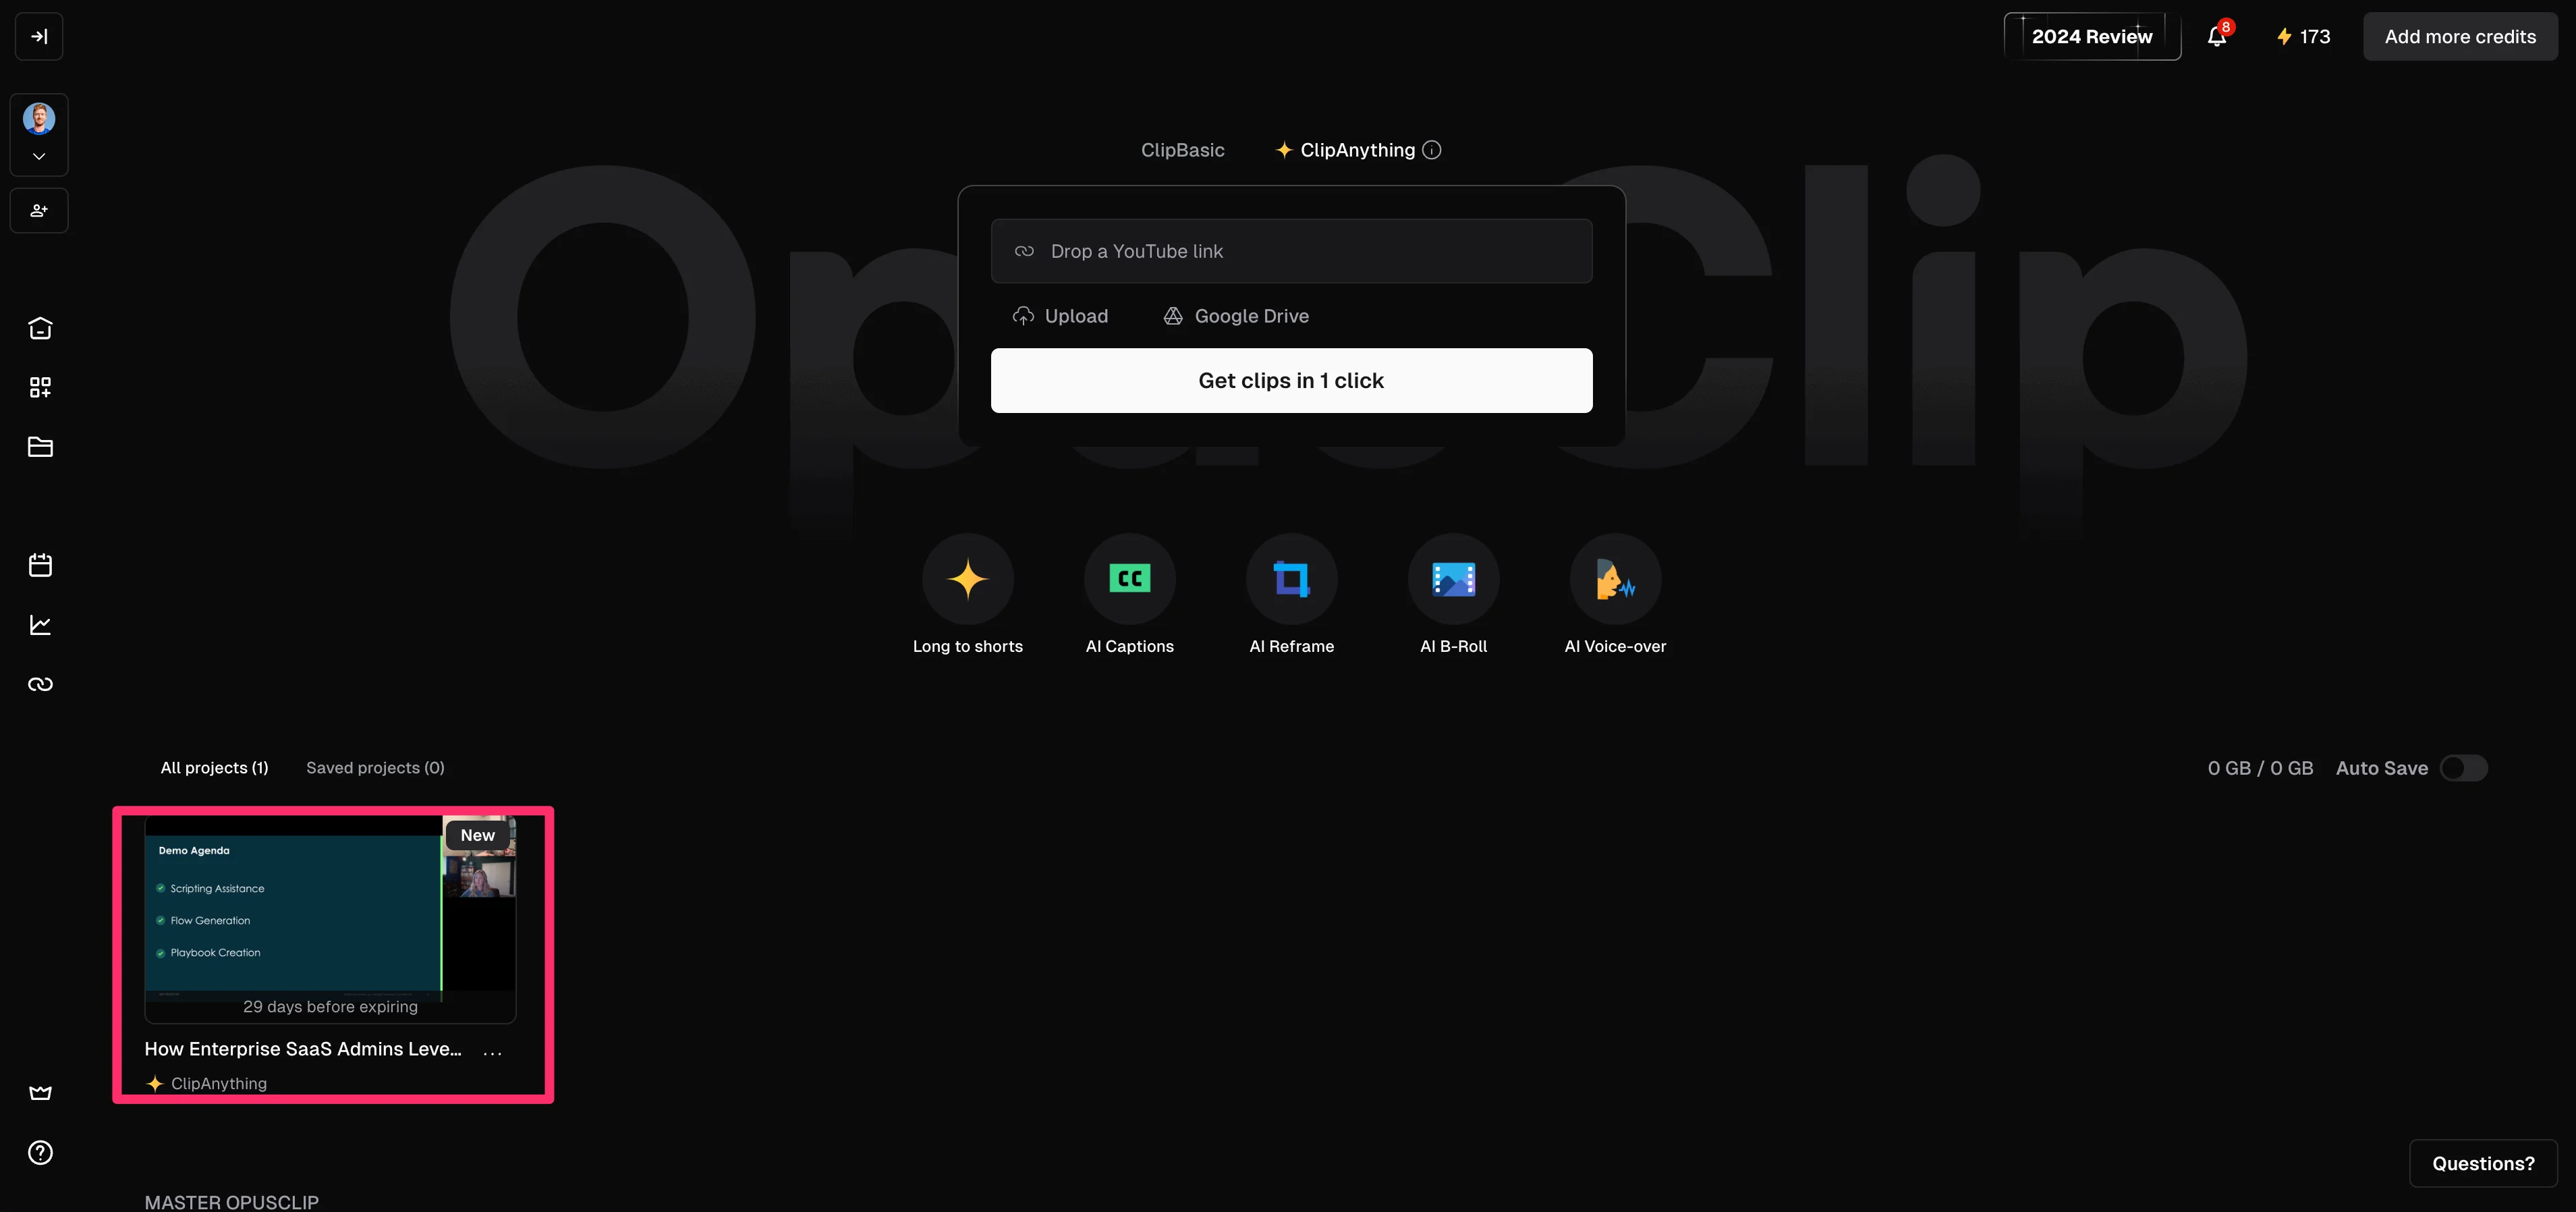
To get started, navigate to OpusClip and drop in a YouTube video link or upload a video file to get started. We’ll upload one of our recent Ben’s Bites workshop recordings: “How enterprise SaaS admins leverage AI” with Ben George.
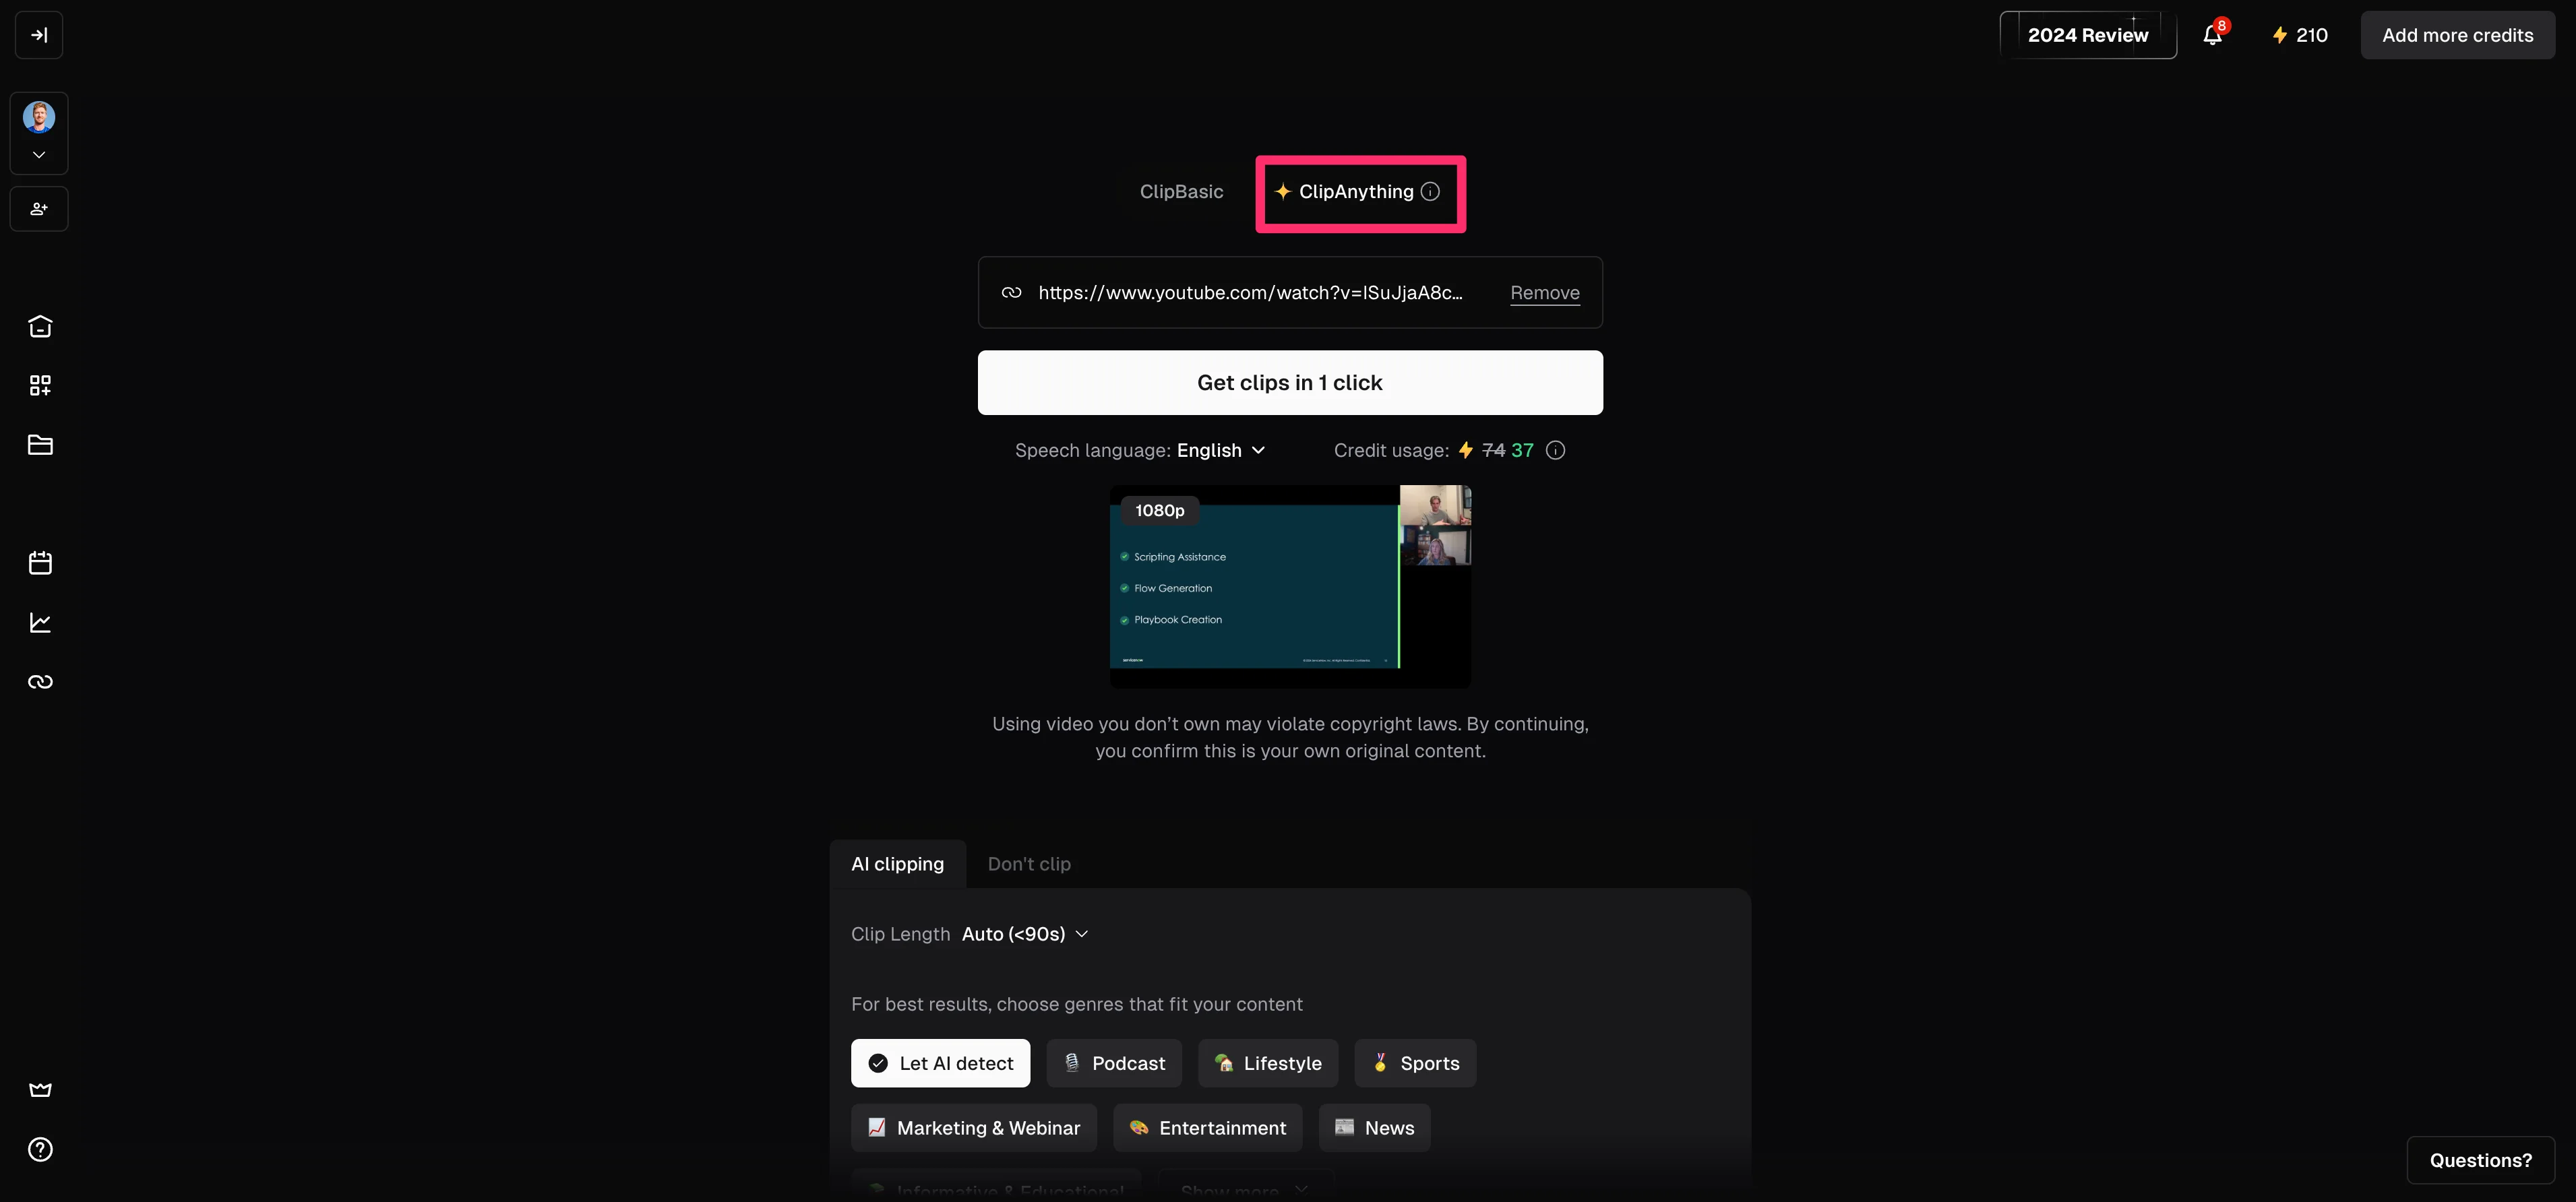
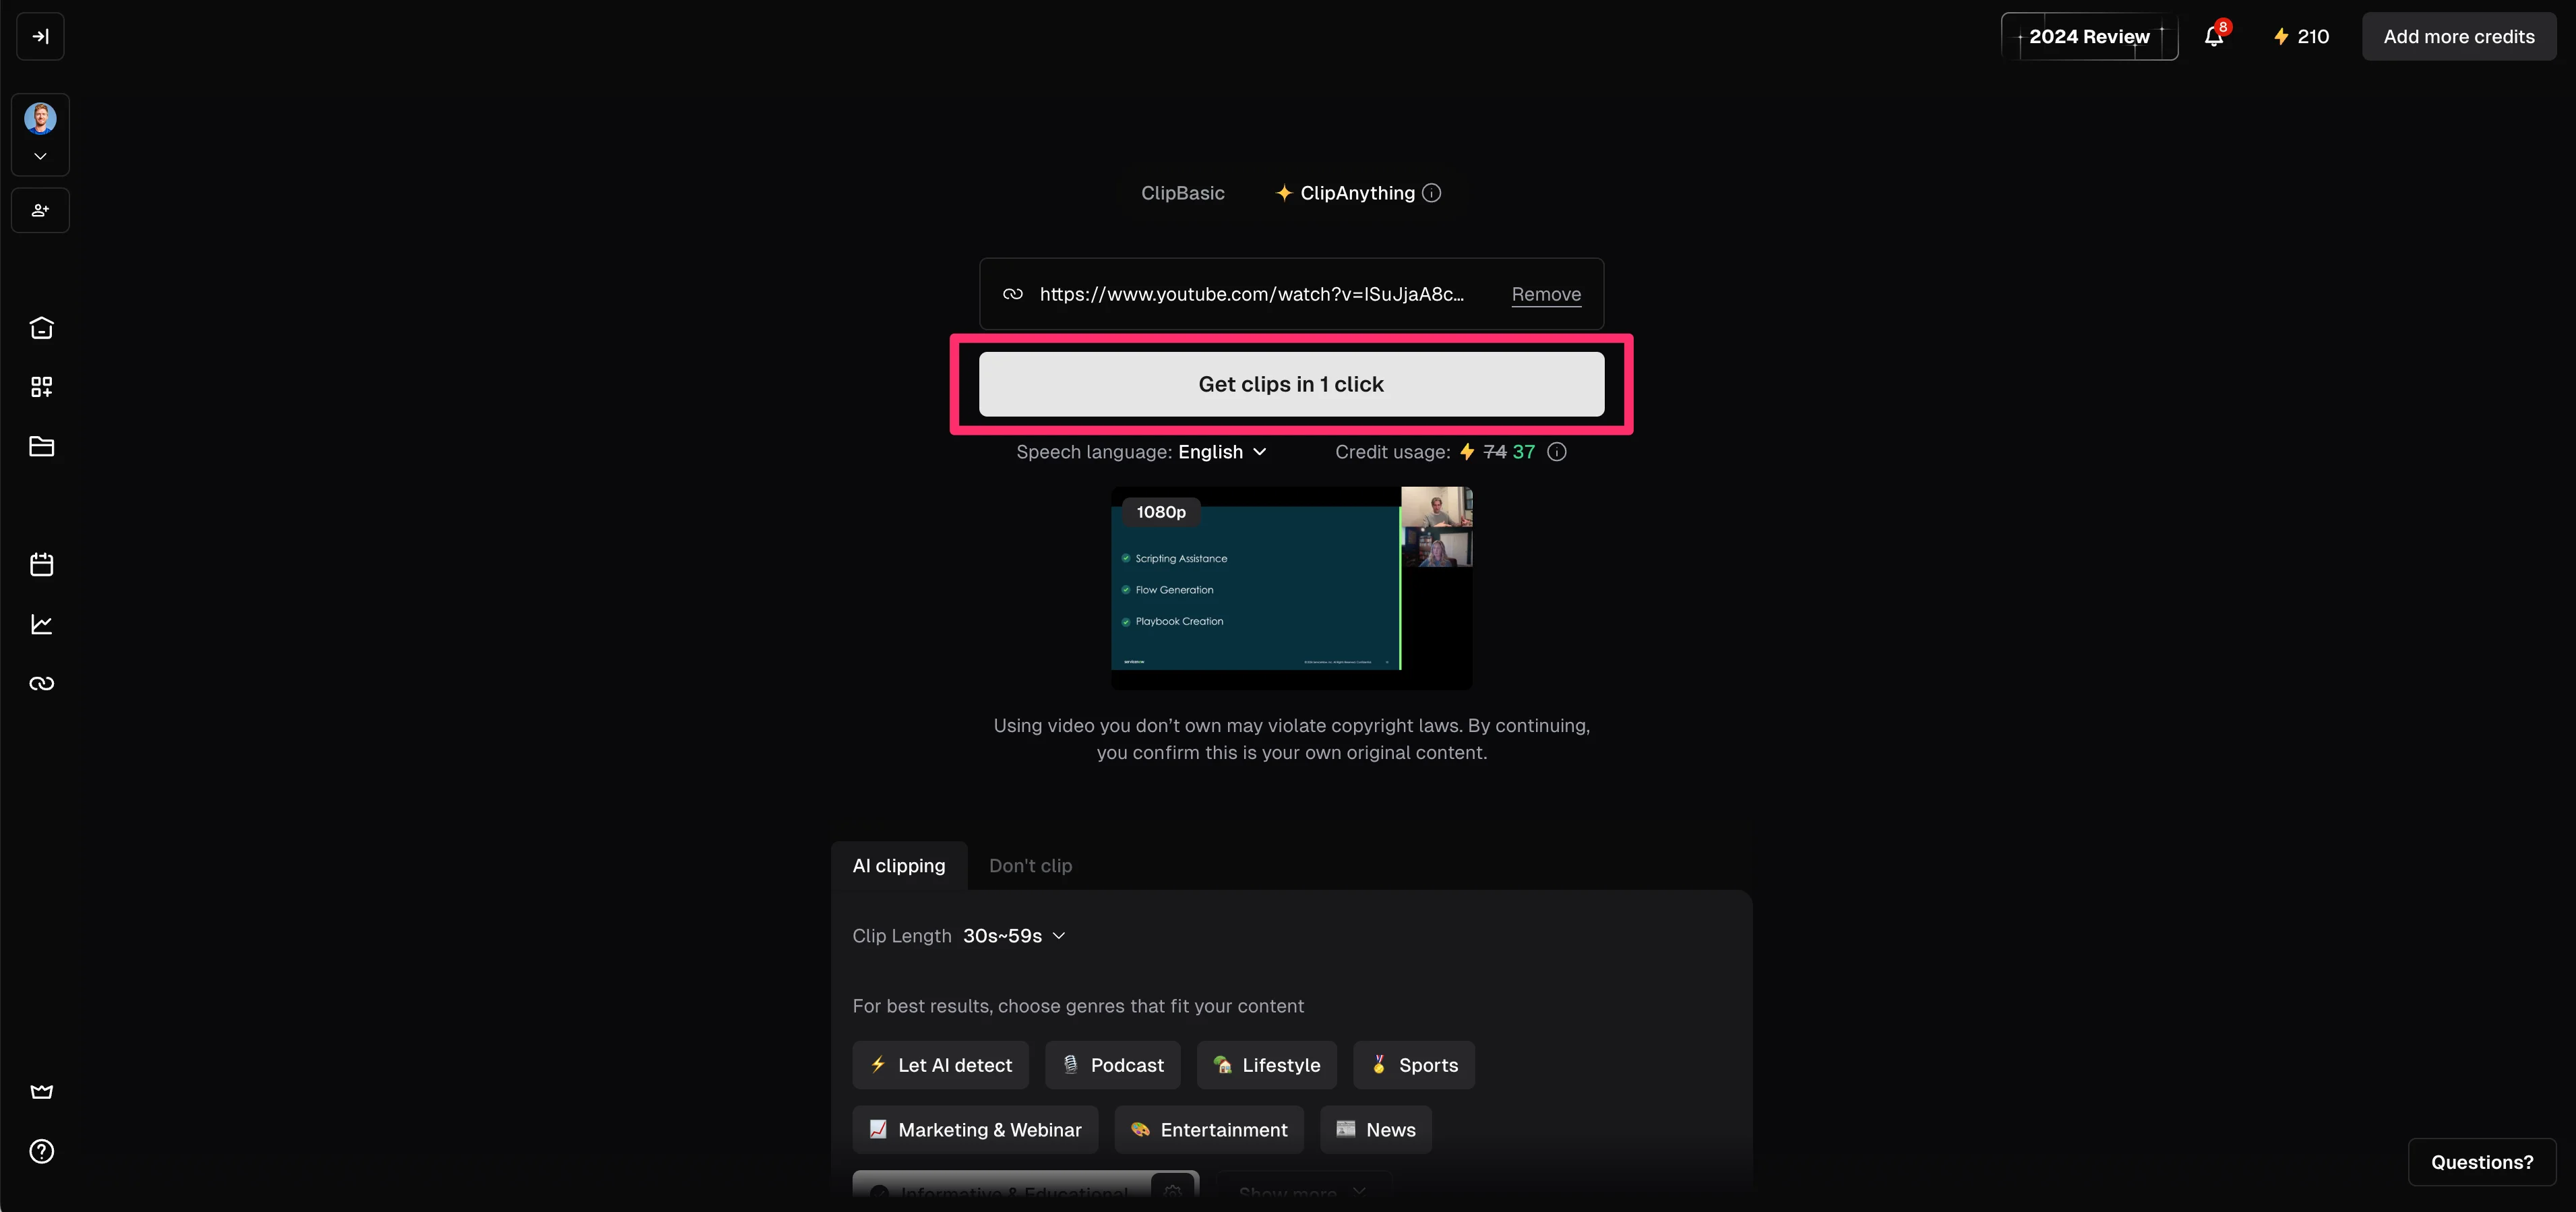
Once you’ve added your video, you’ll land on the OpusClip dashboard where you’ll have an assortment of video pre-processing parameters to set. To start, we’ll update the clip model to “ClipAnything,” which is a higher-quality AI model (you’ll need a Paid “Starter” plan at minimum to access this model).
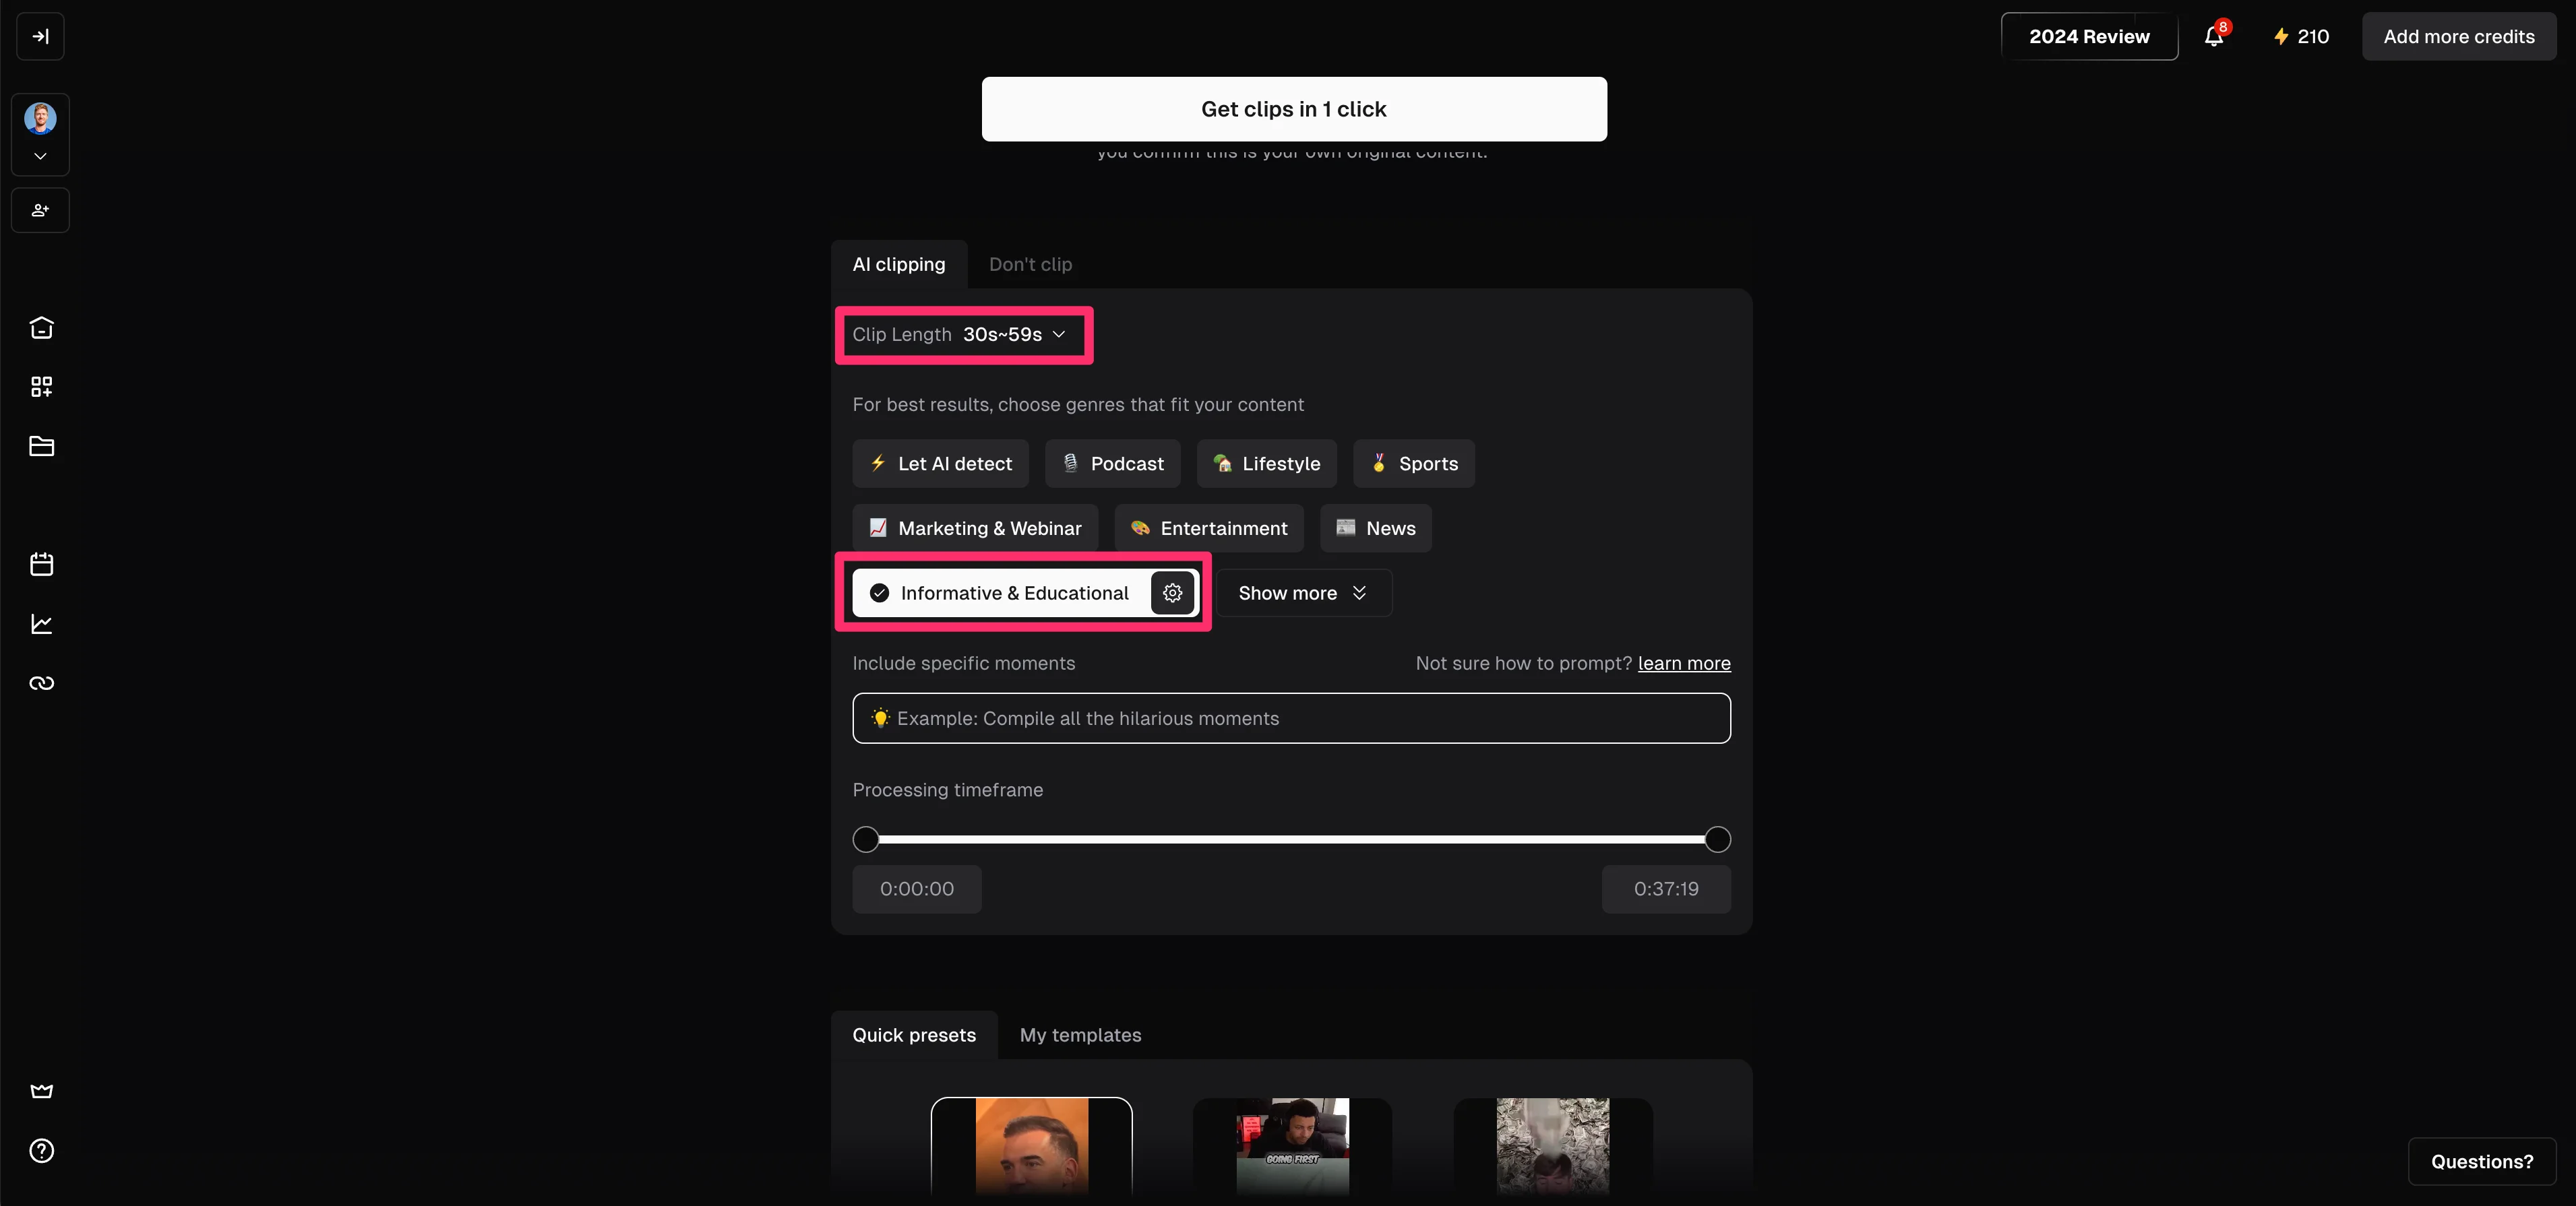
Then, we’ll define the “Clip Length” and “Genre” of the video. For our example, since we’ll be posting the video to TikTok, we’ll update the clip length to “30s-59s”. We’ll also set the genre to “Informative & Educational”. These settings help inform the AI model on how to clip your content.
Finally, you can select a preset video style. We’re going with “Deep Diver” since the format and styling match our workshop content.
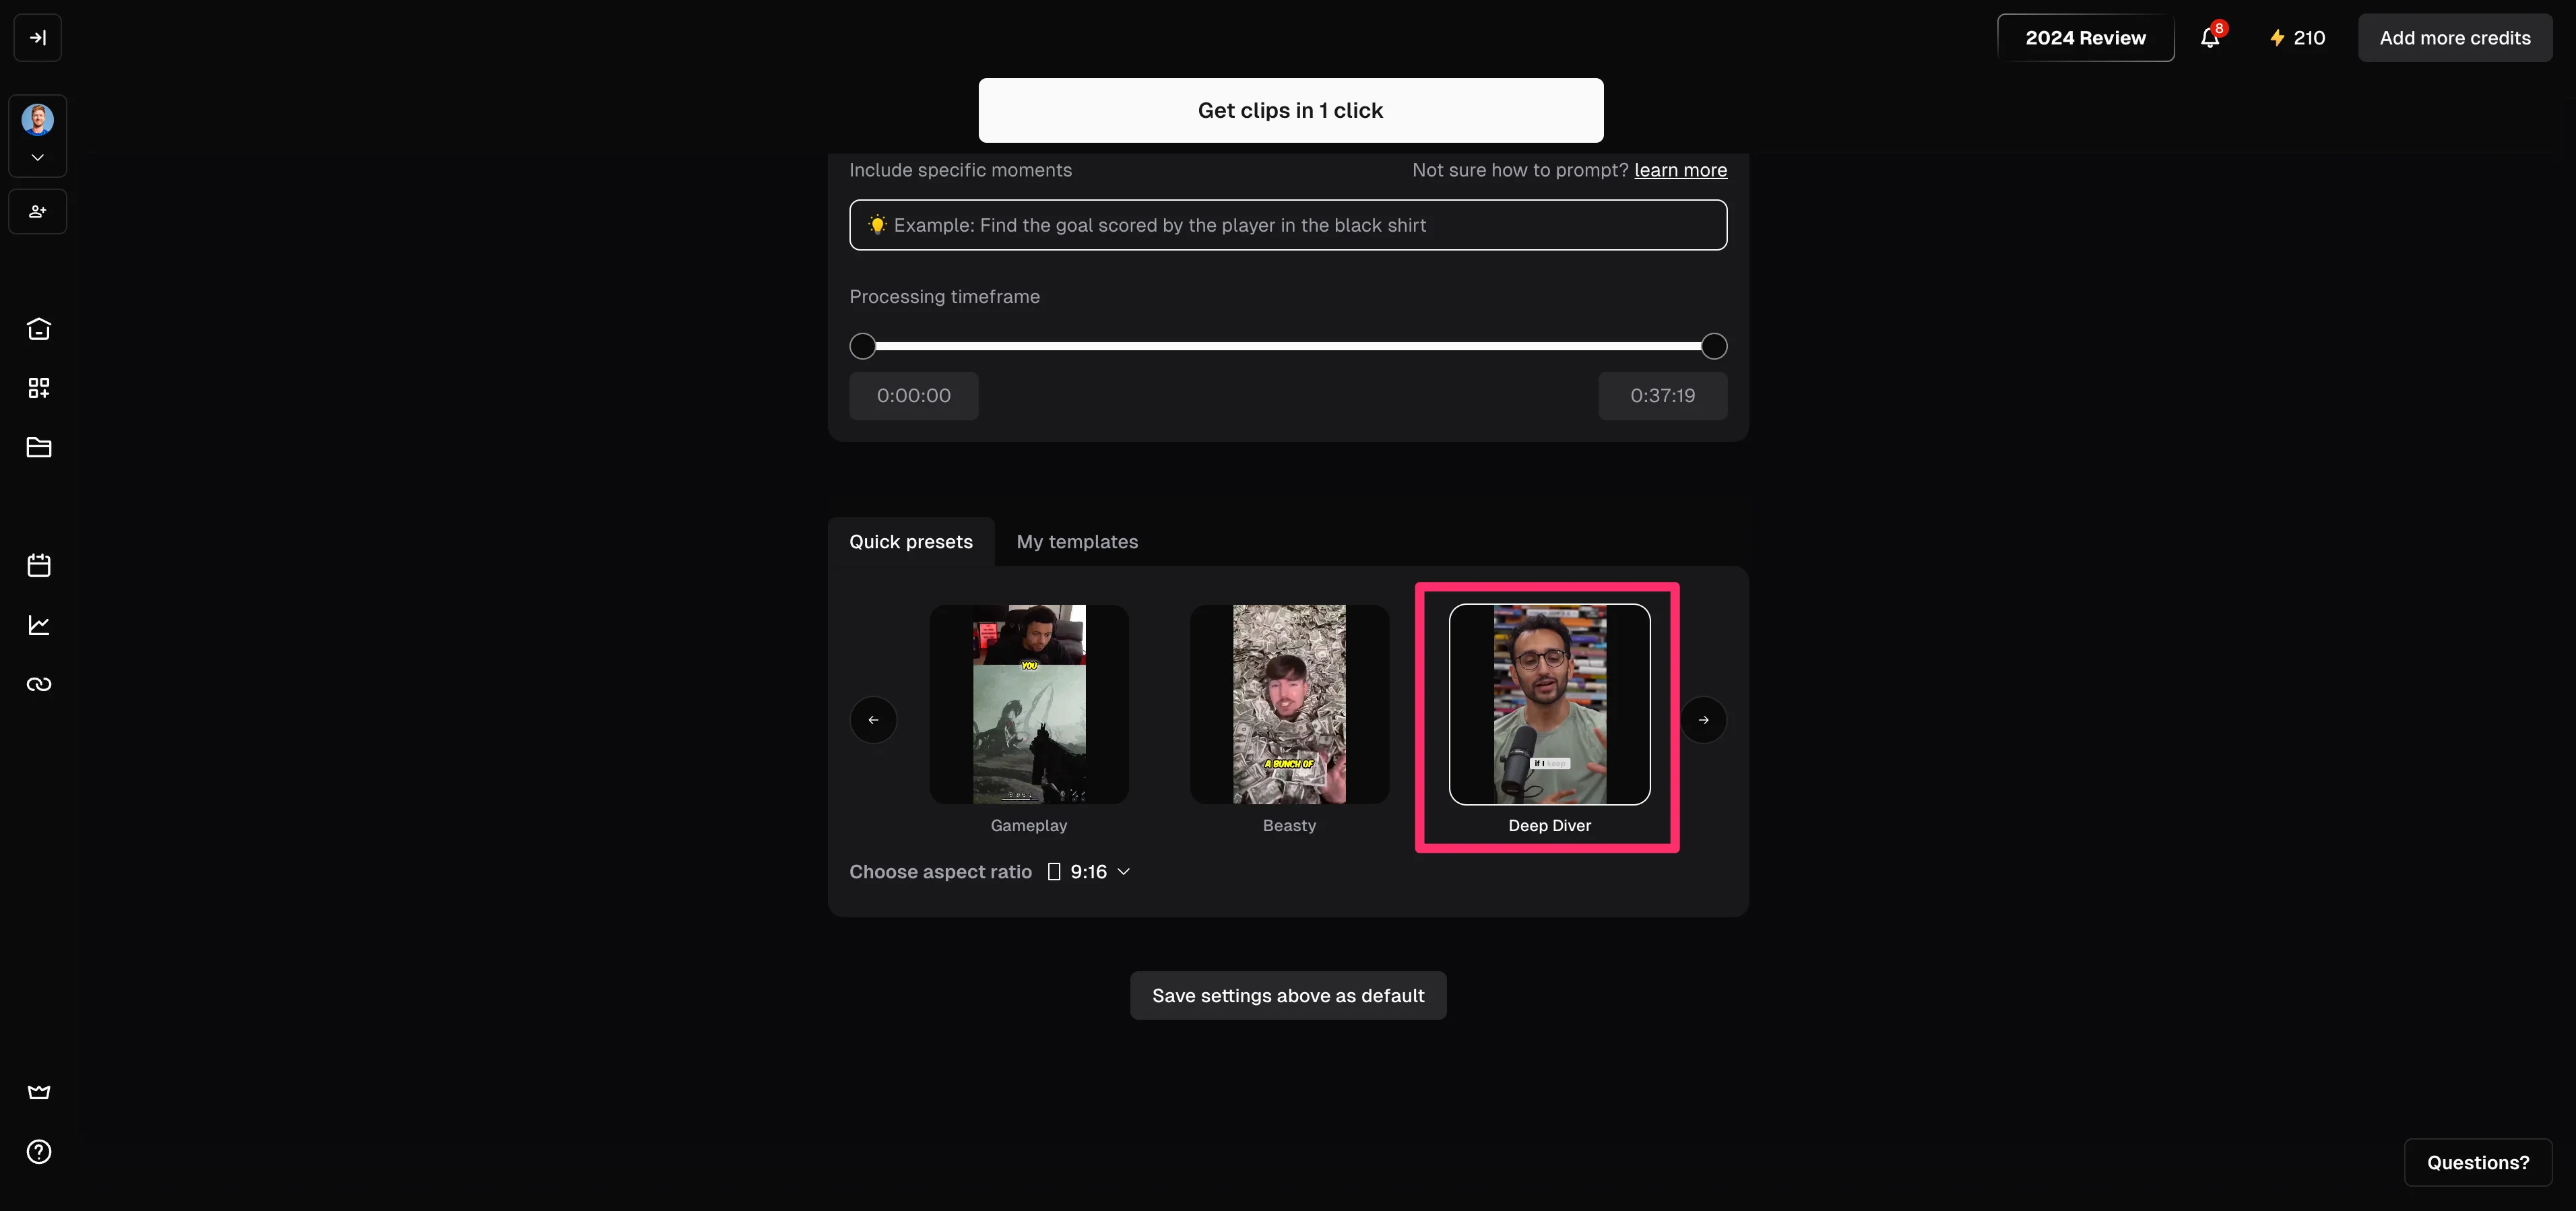
Once all of your pre-processing parameters are set, click the “Get clips in 1 click” button to generate your video clips.
Select and rate clips
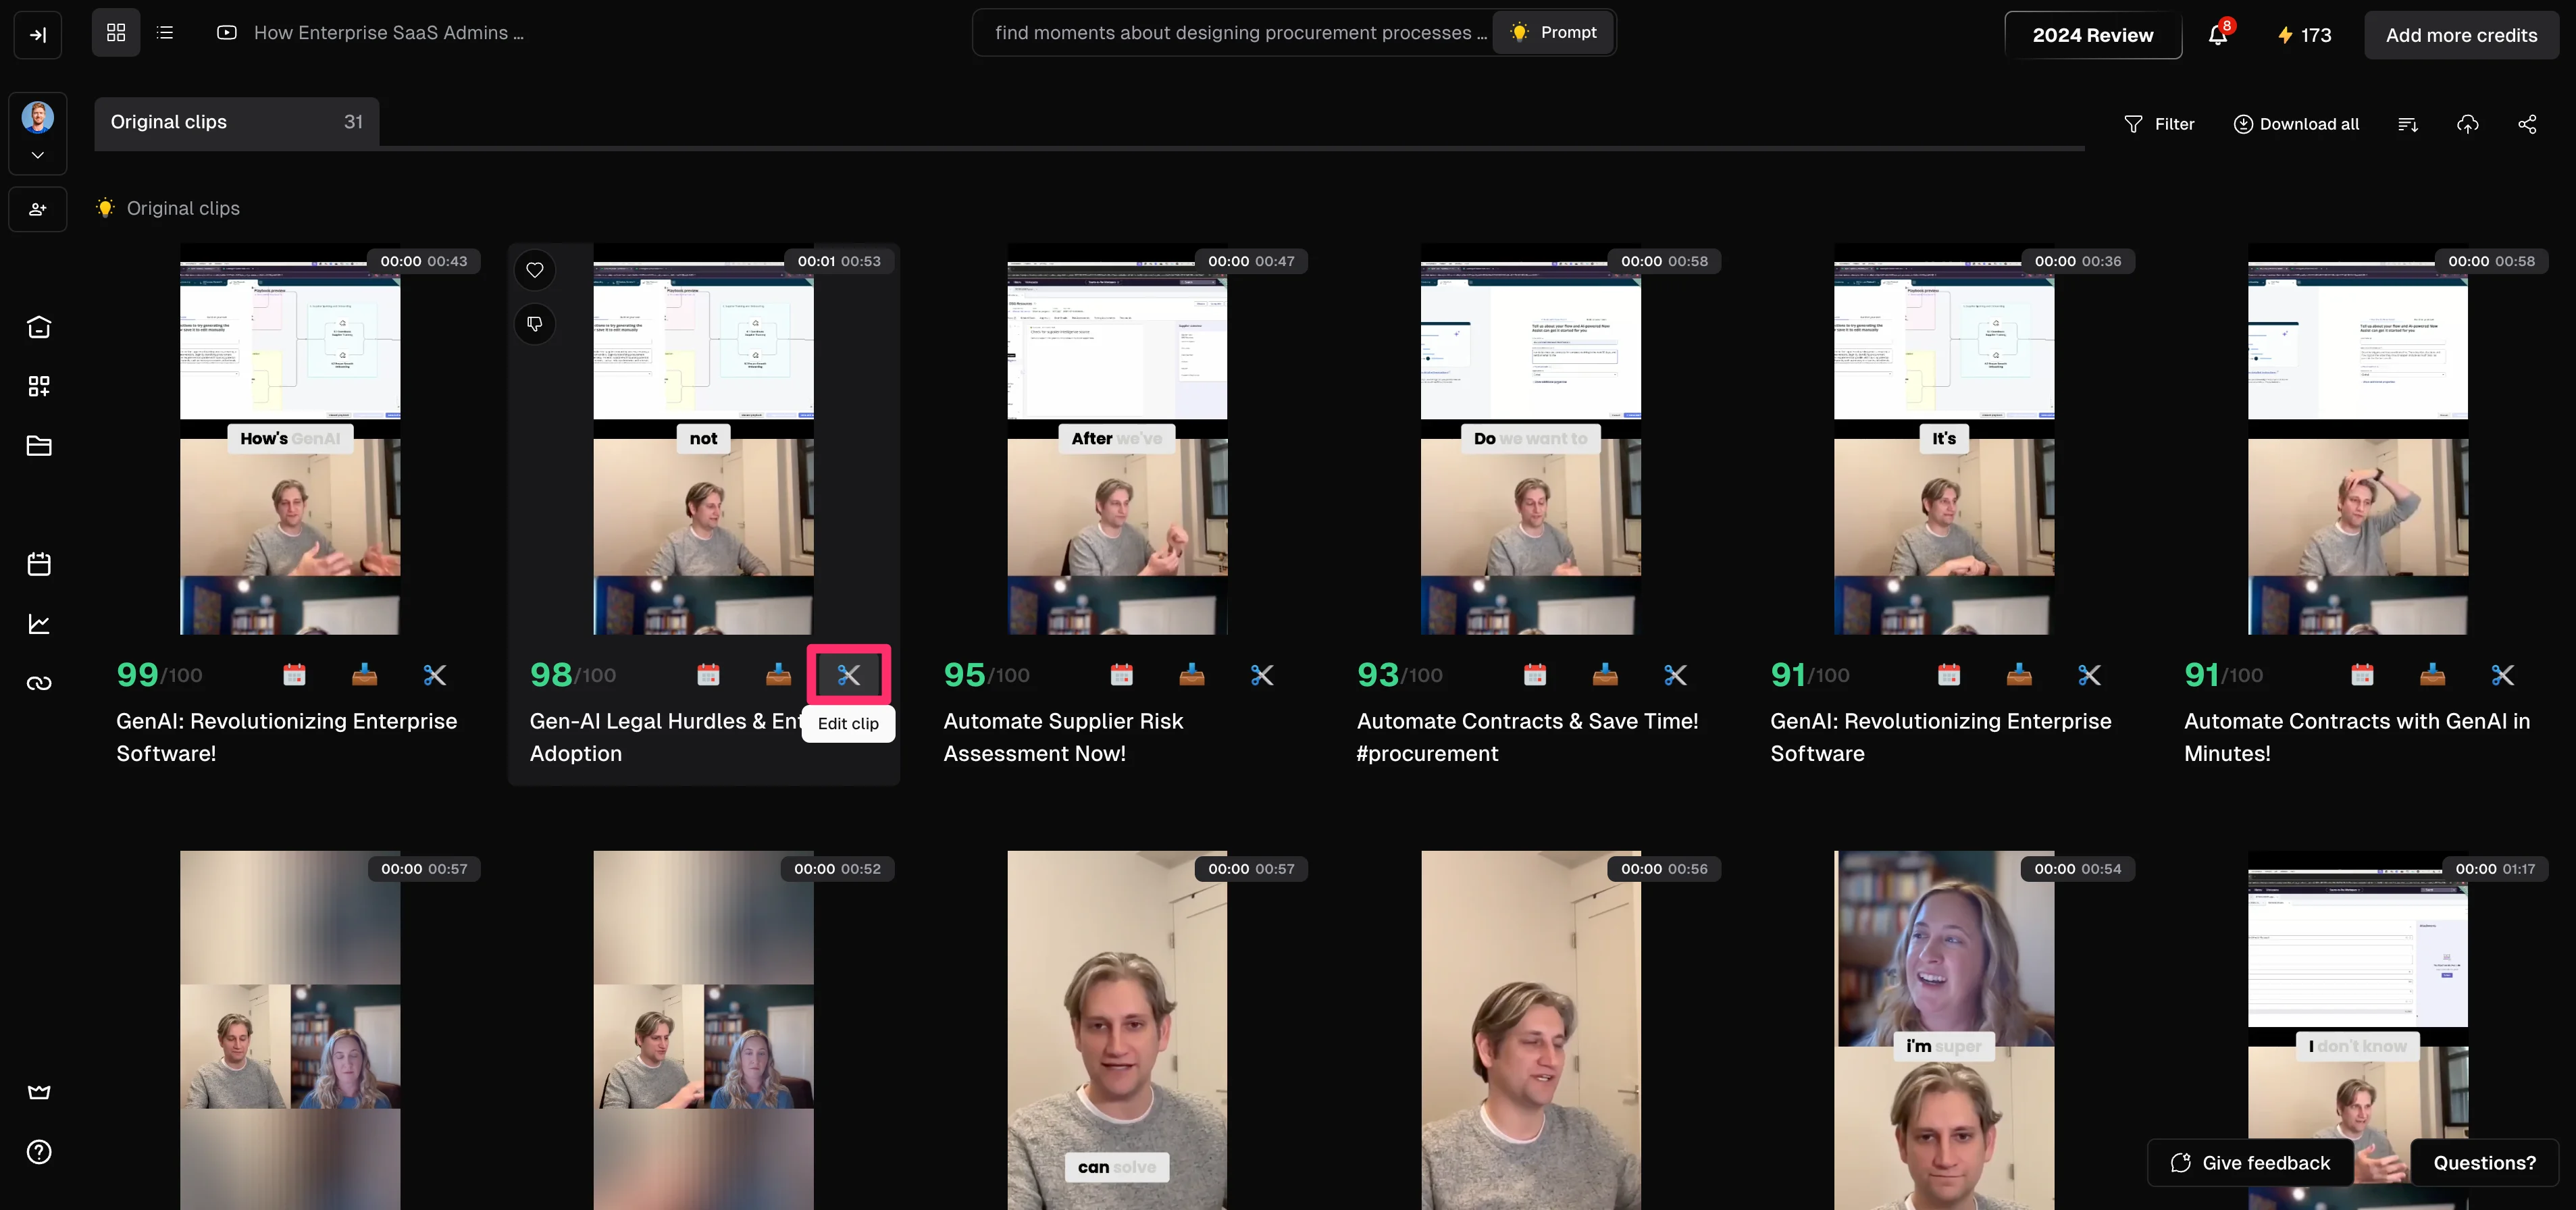
OpusClip will then generate your clips. When they’re ready, you’ll get an email and you’ll see your completed project in the bottom left corner of your dashboard. Click on it to access your clips.
Once your clips are generated, you’ll see them in a grid layout. Each clip will come with a “viral” score, which is OpusClip’s rating of the virality of the clip (personally, we don’t find this feature too helpful).
Also, in this same area below the video preview are the main buttons you’ll use (schedule, download, and edit).
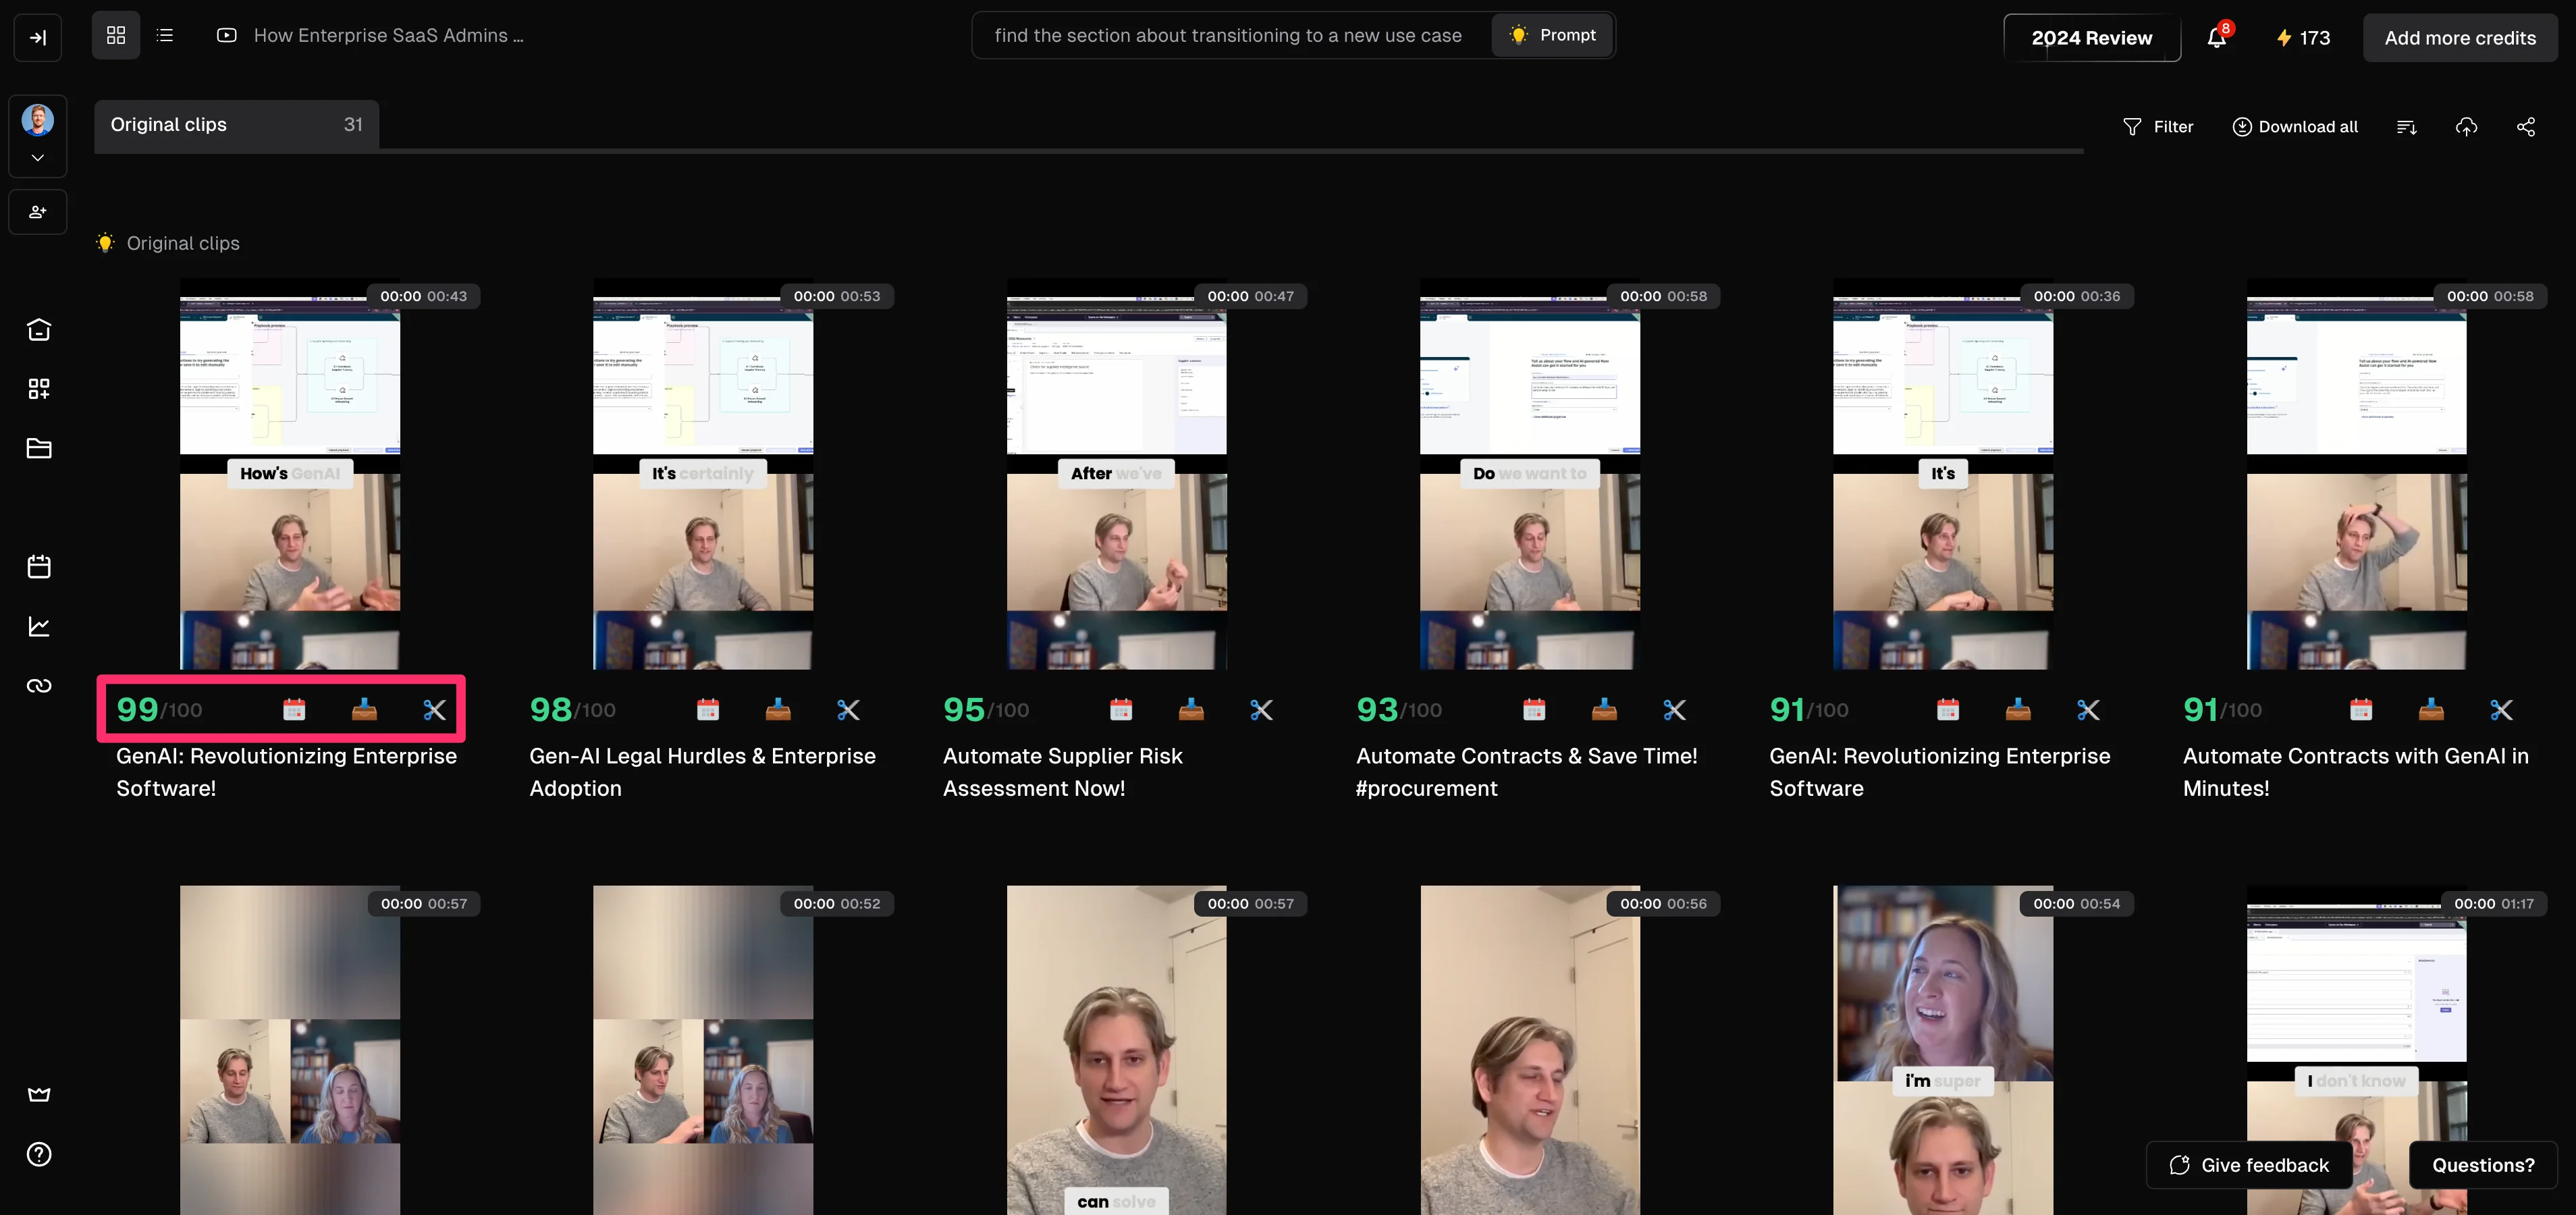
At the top of the page, you can prompt the AI clipping model to explicitly generate clips about a certain topic. For example, if we’re interested in clips about sales workflows, we can prompt for clips accordingly.
Sample Prompt:
Find moments about GenAI’s impact on sales workflows.

Not every video clip is going to be a winner. We’d recommend watching the clips in the grid view to get a sense of what looks good and what doesn’t to save you the hassle of clicking in and out of the video editing view.
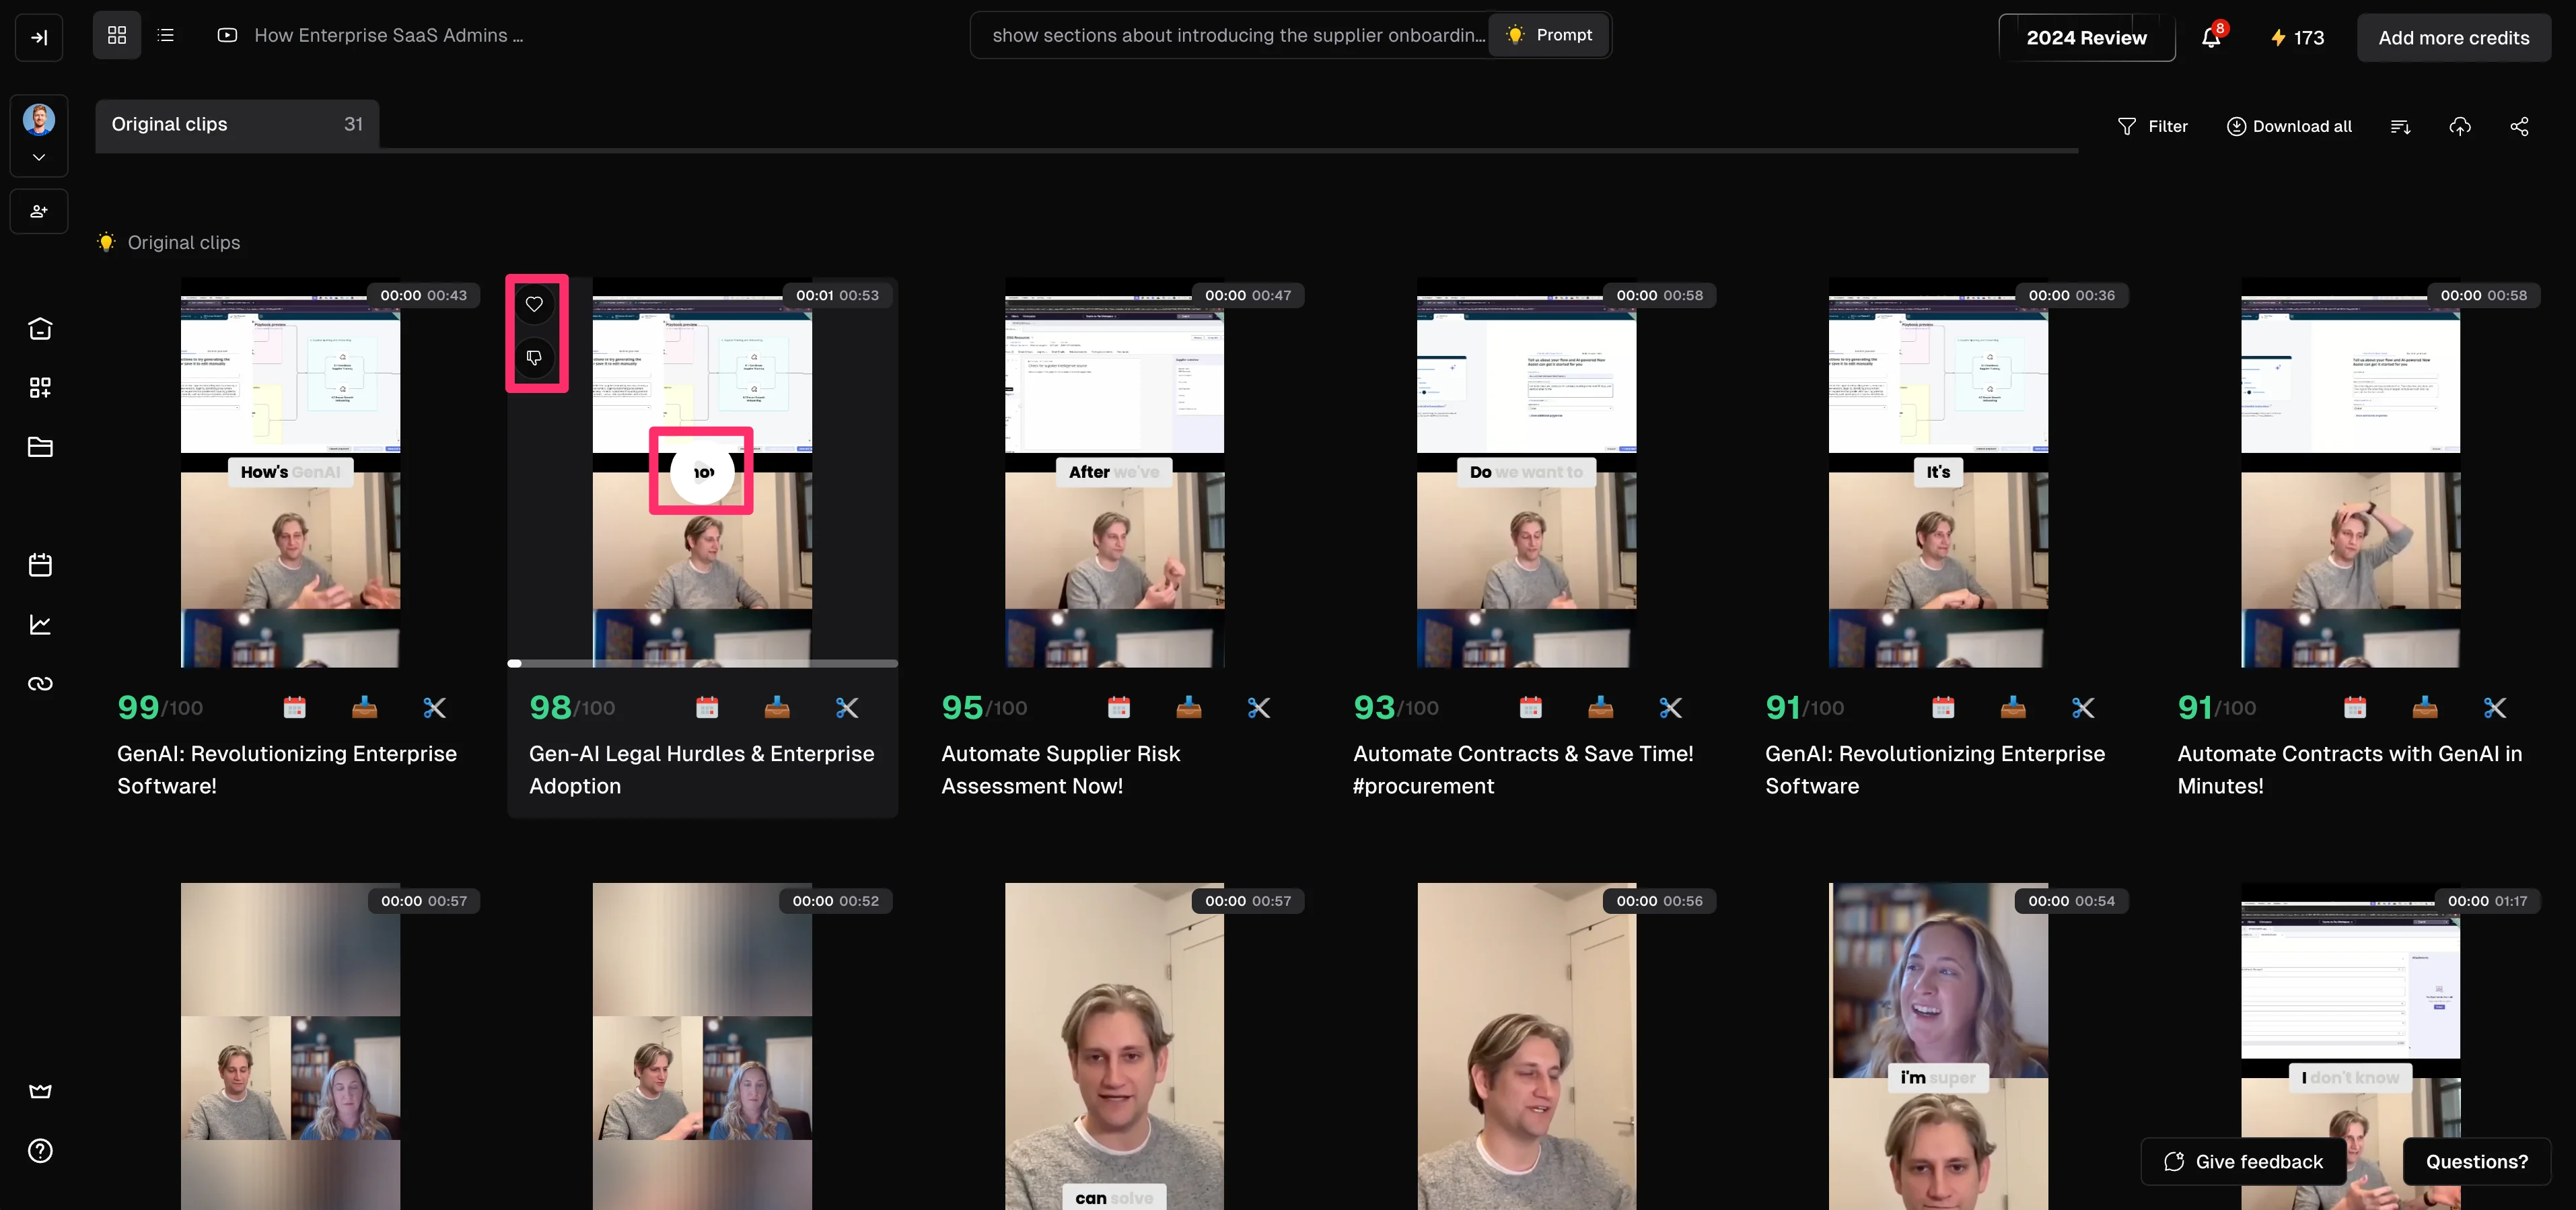
When you find a clip you want to edit, click the “Edit clip” button under the video.
Edit clips with built-in video editing tools
This will take you to the OpusClip video editor. There are a lot of editing tools in this area. We’ll focus on a few of our favorites.
Crop the frame
First, OpusClip will apply an auto-layout to your video based on the number of speakers, content, and more. This is a great feature, but sometimes you’ll still need to crop specific frames. To do this, click on a video component and click the “Crop” button that appears.

In the resulting pop-up window, you can set the aspect ratio and crop the video frame. We’re going to crop this clip to just one speaker.
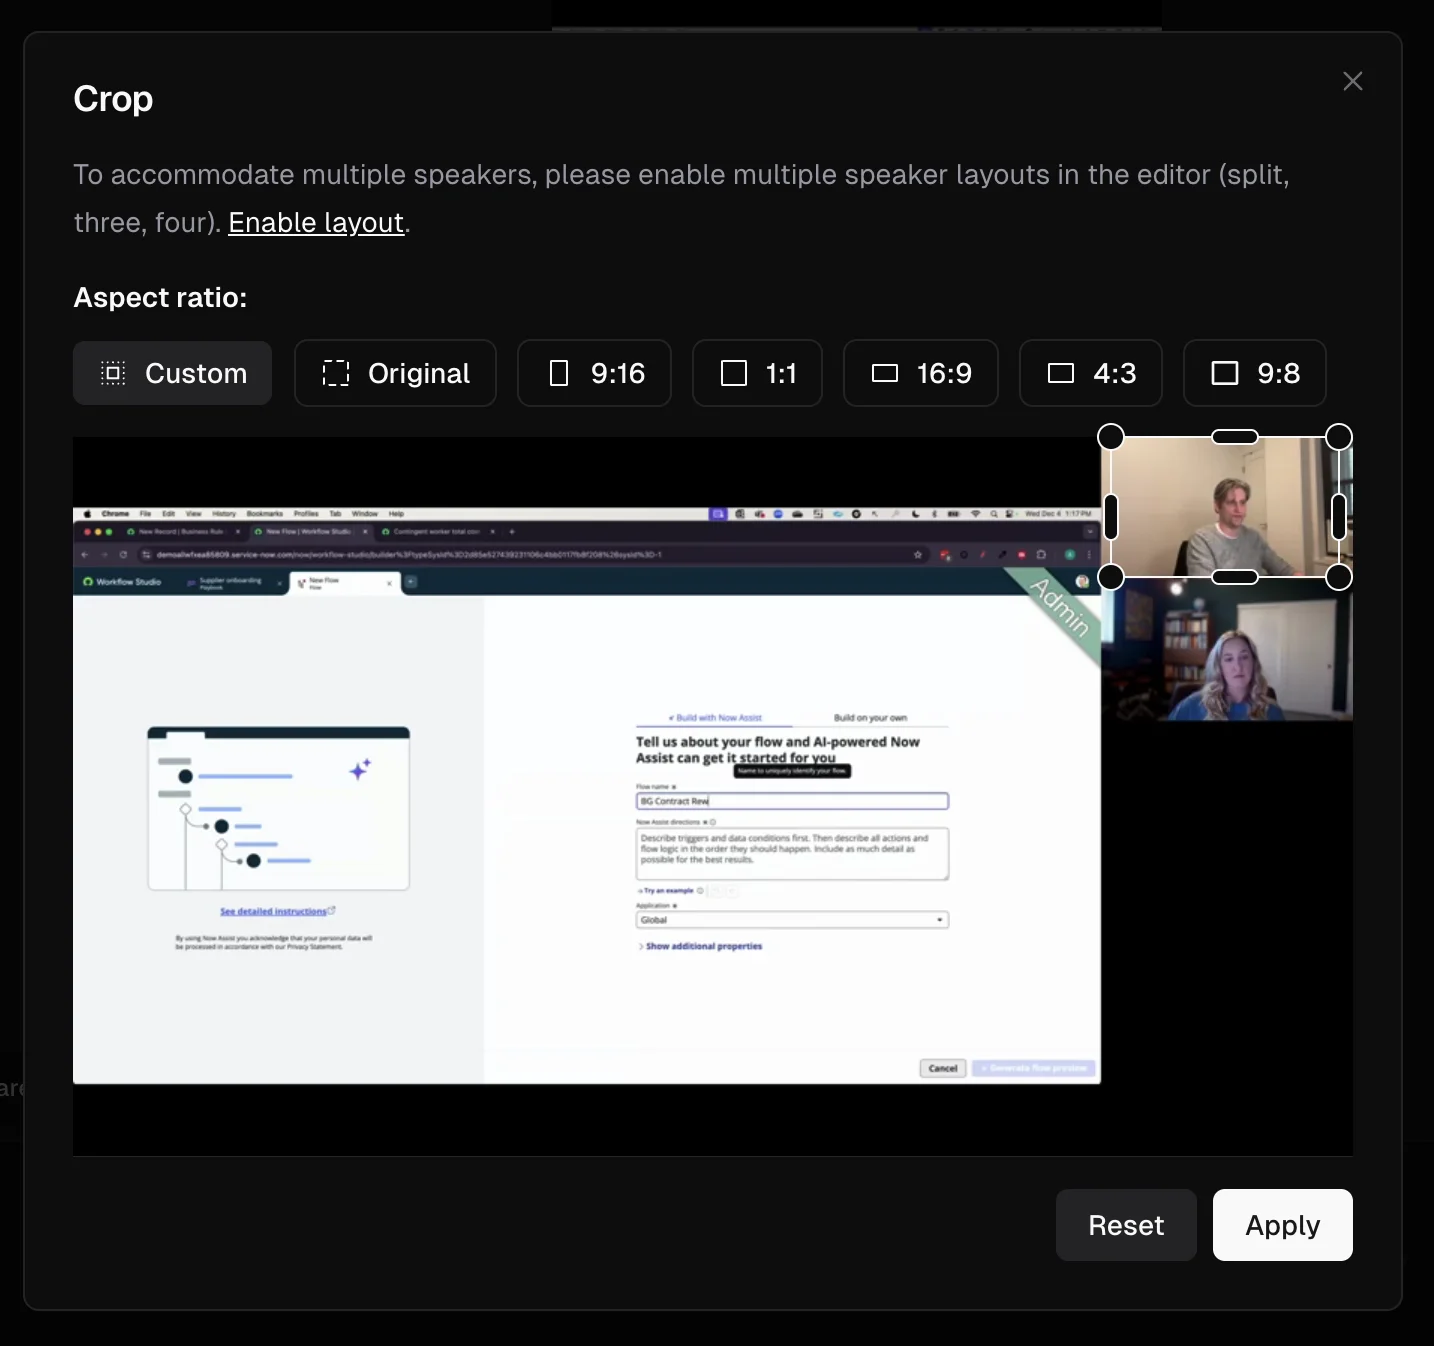
We’ll also re-size our video elements by dragging and dropping them on the screen to improve the layout for the vertical screen.
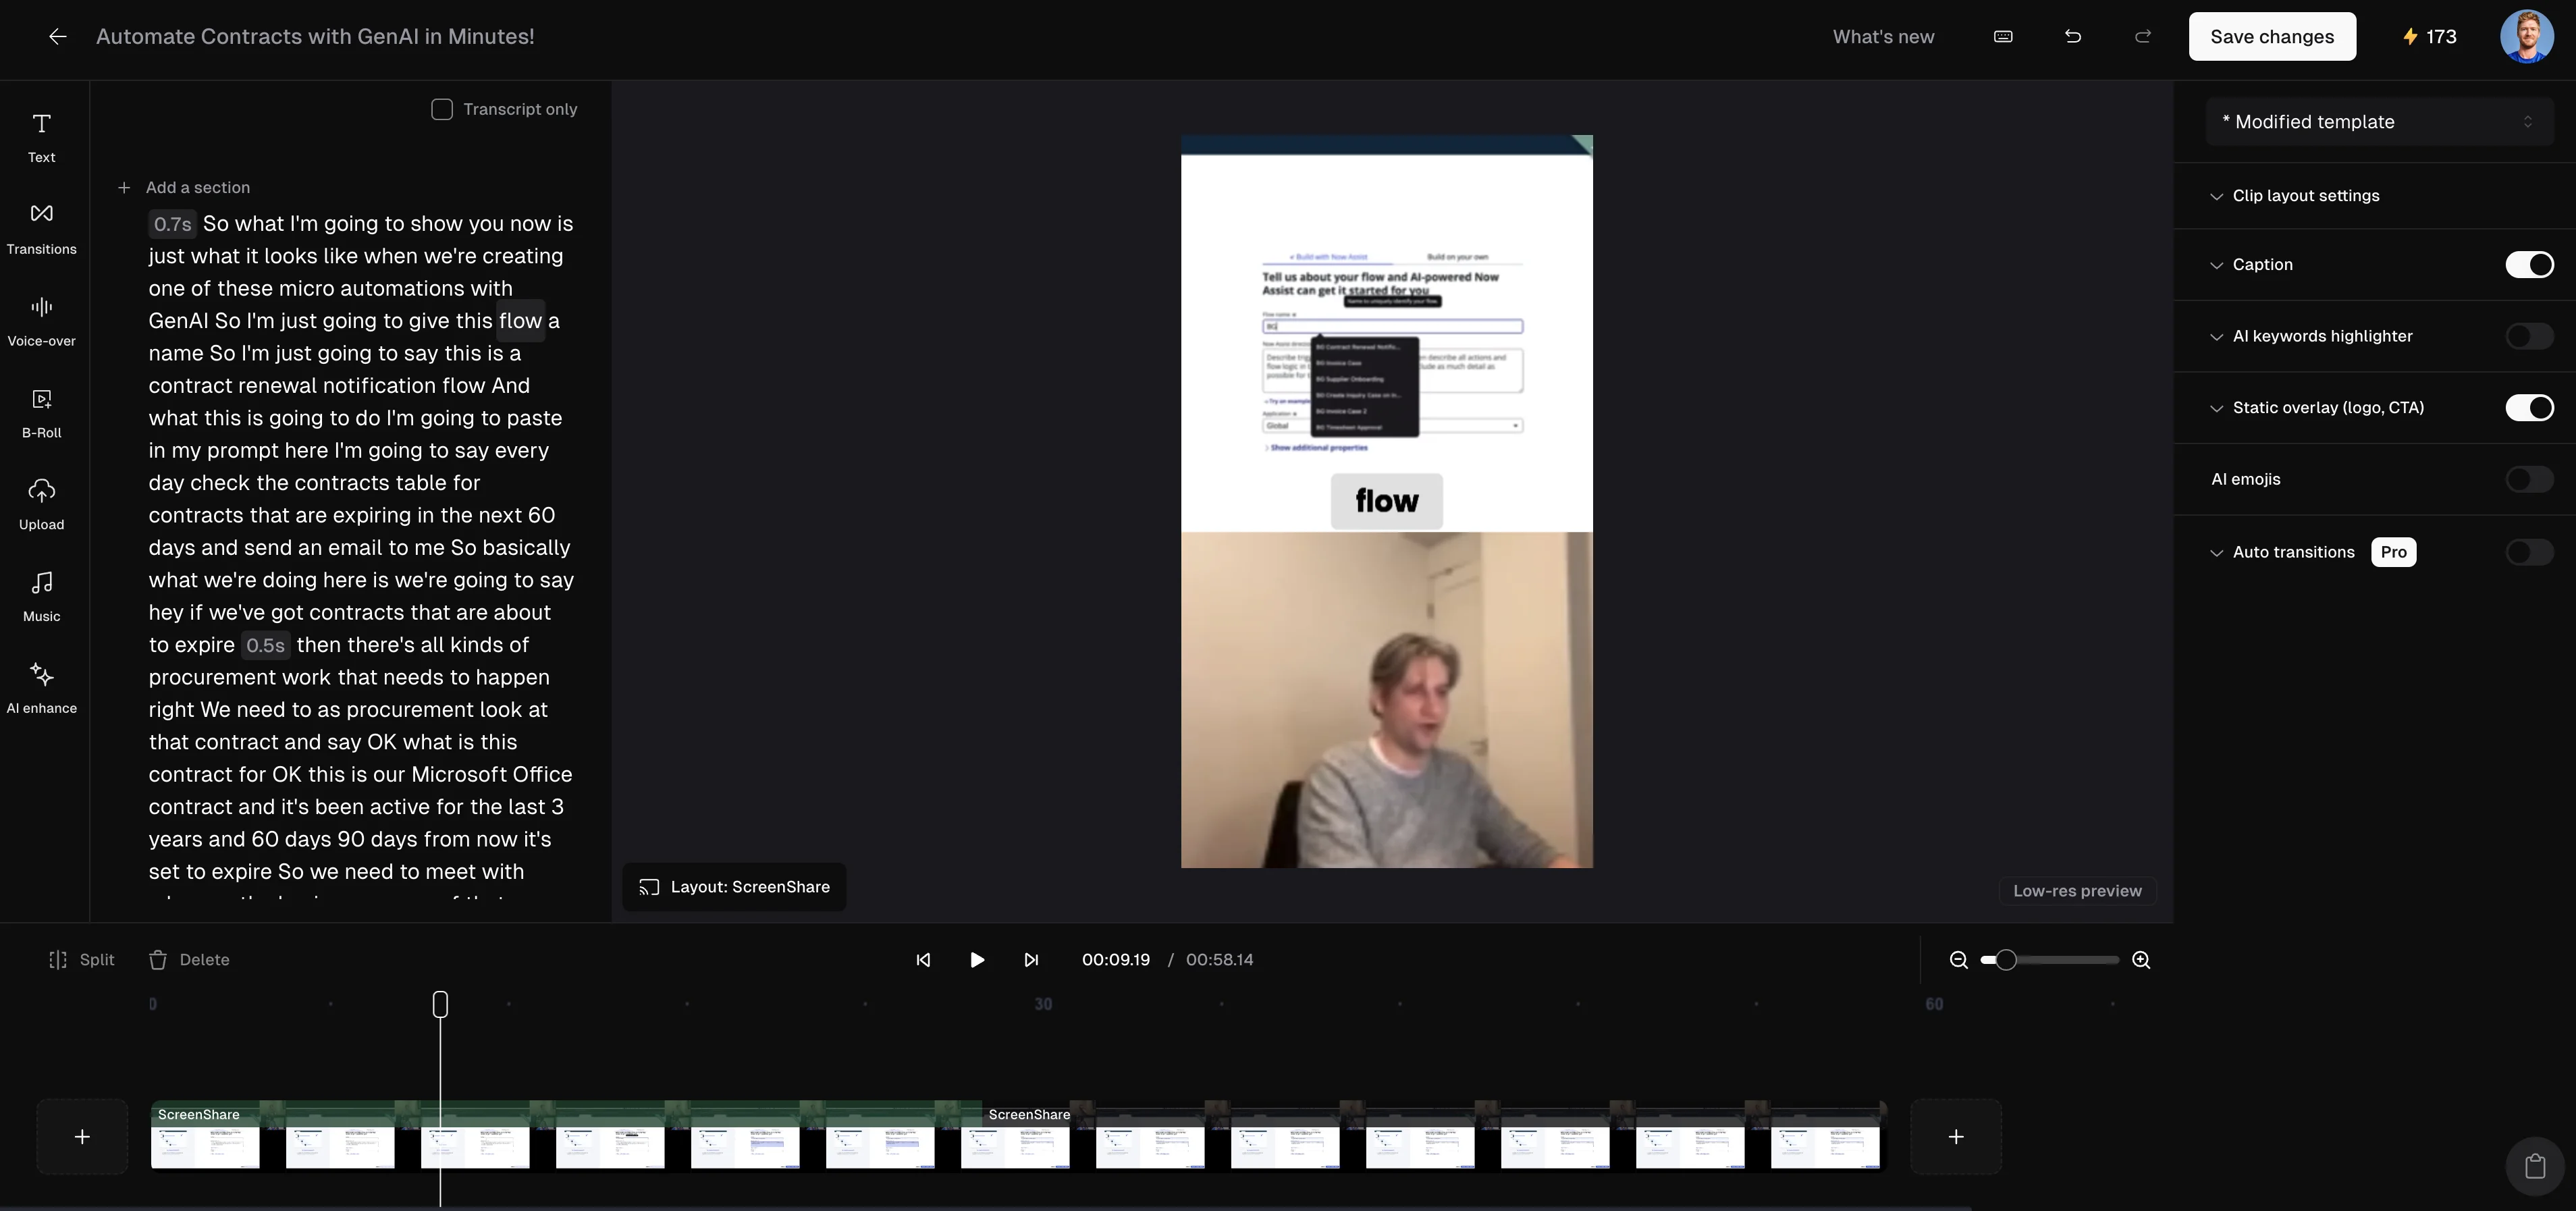
Edit captions
OpusClip auto-generates a video transcript and captions for your clips, which is helpful, but you can further improve your captions and audio with some of their “AI enhance” features. To do this, click on the “AI enhance” tab and click “Remove filler words” and “Remove pauses” to auto-remove these from your video transcript, captions, and audio.
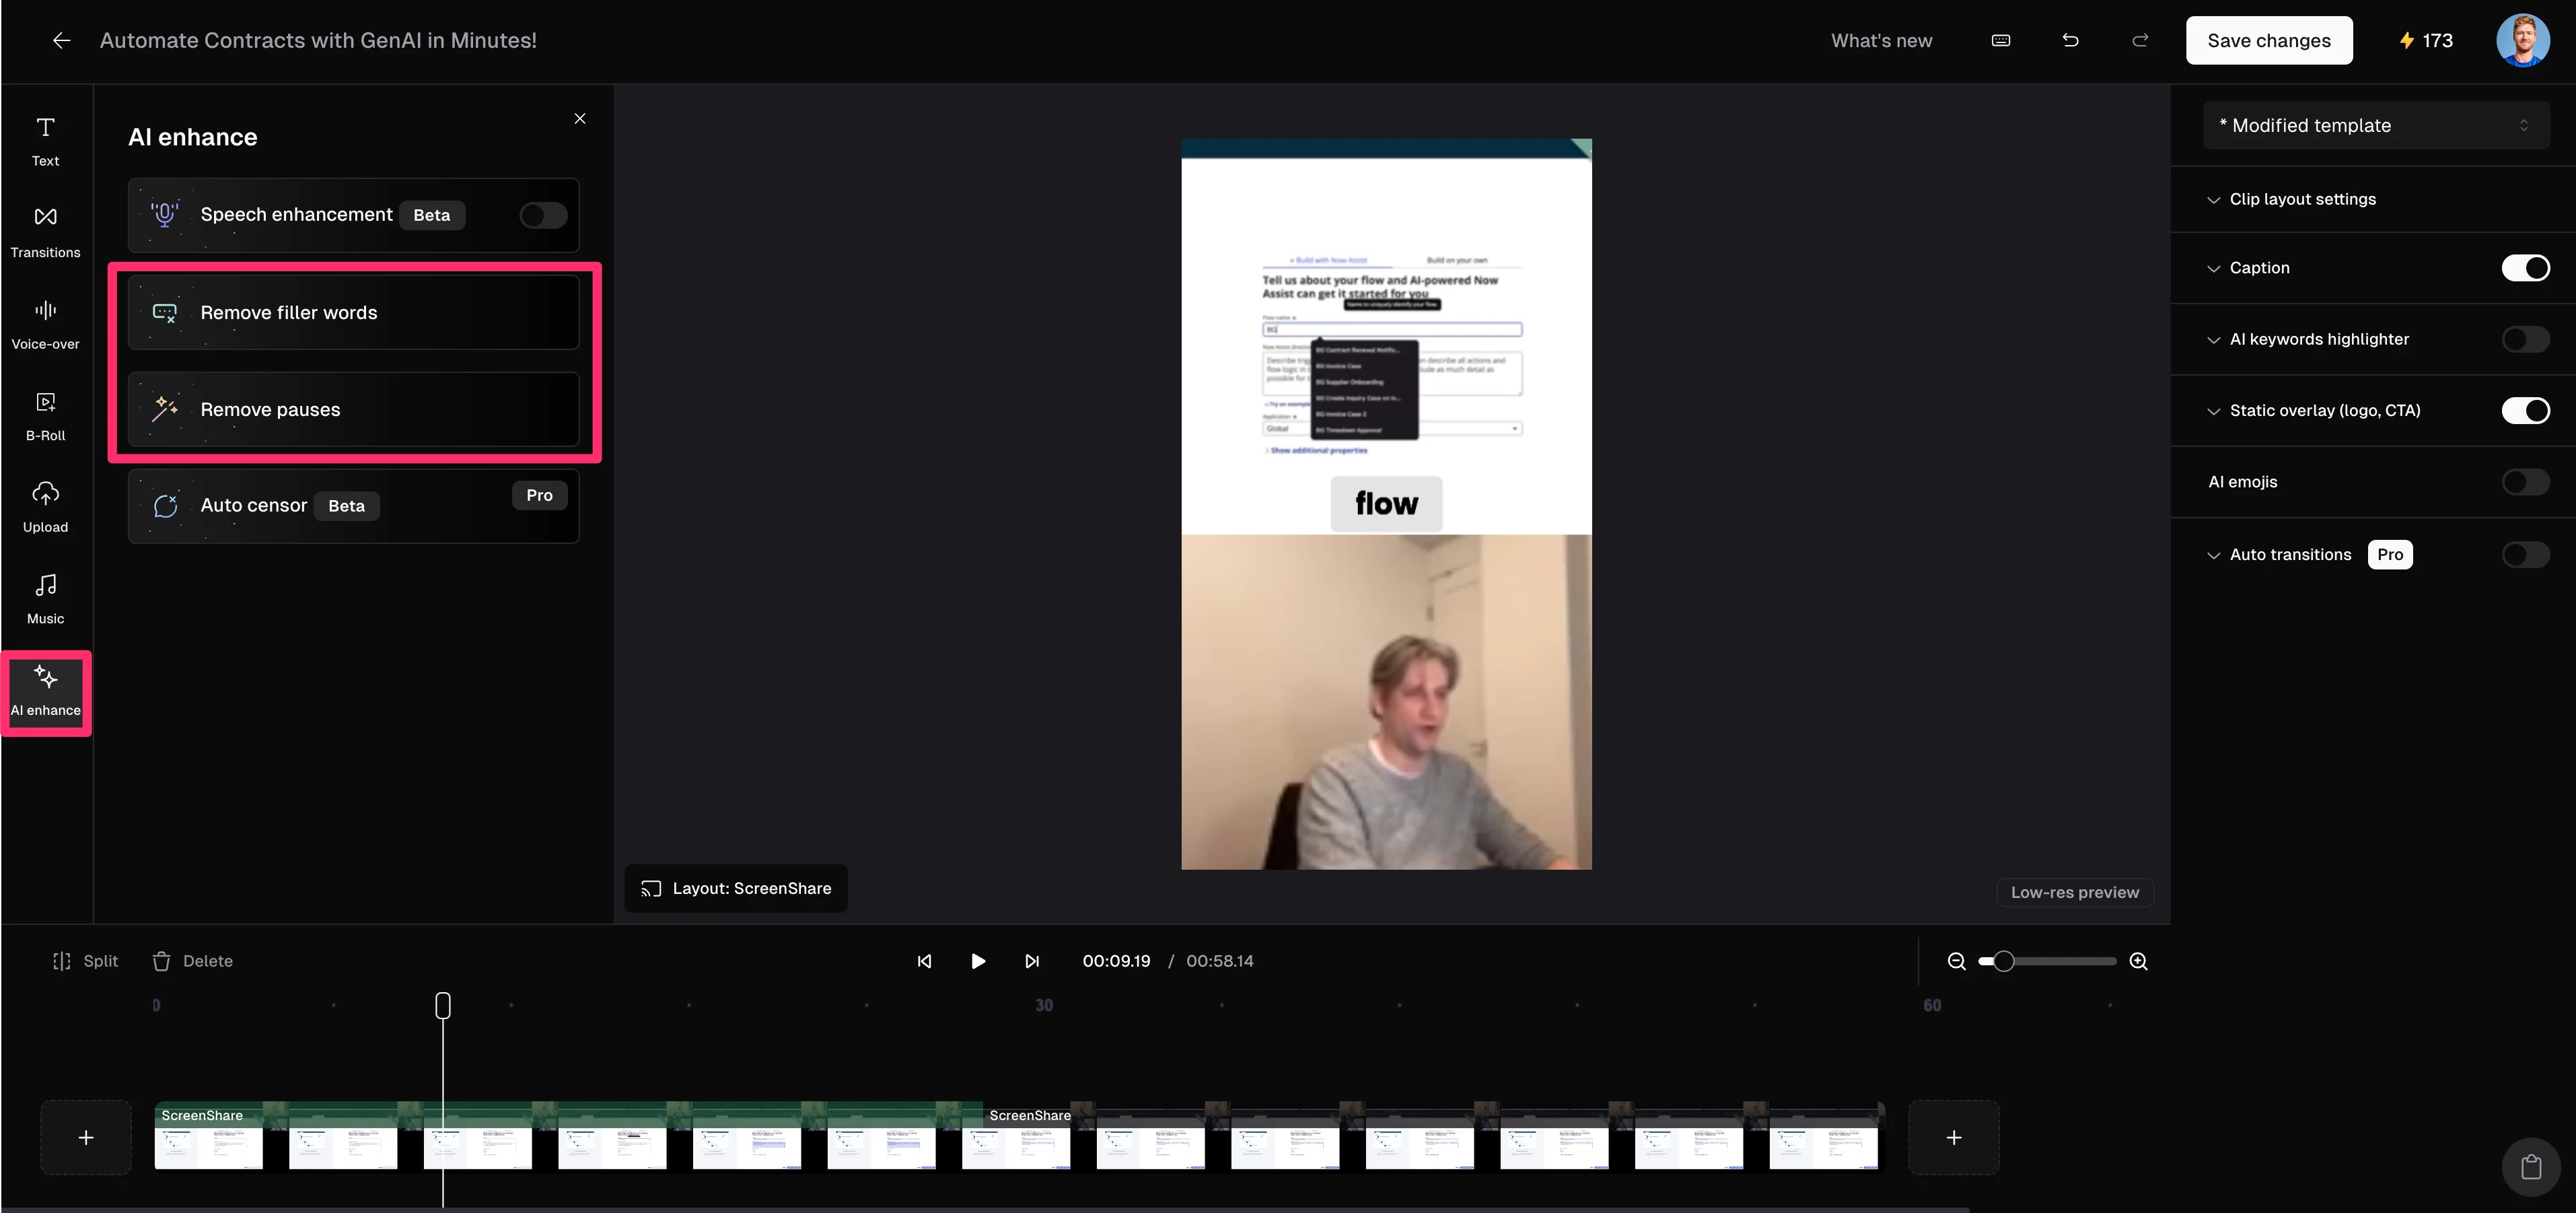
When you’re happy with your clip, click the “Save changes” button to finalize your edits.

Export, schedule, and post clips to social channels
Finally, when you’re ready to post your content to social, click the Calendar icon under a clip.

Then, add the social accounts you want to post the video to in the resulting pop-up window.

OpusClip will auto-generate the video description text, which you can refine.
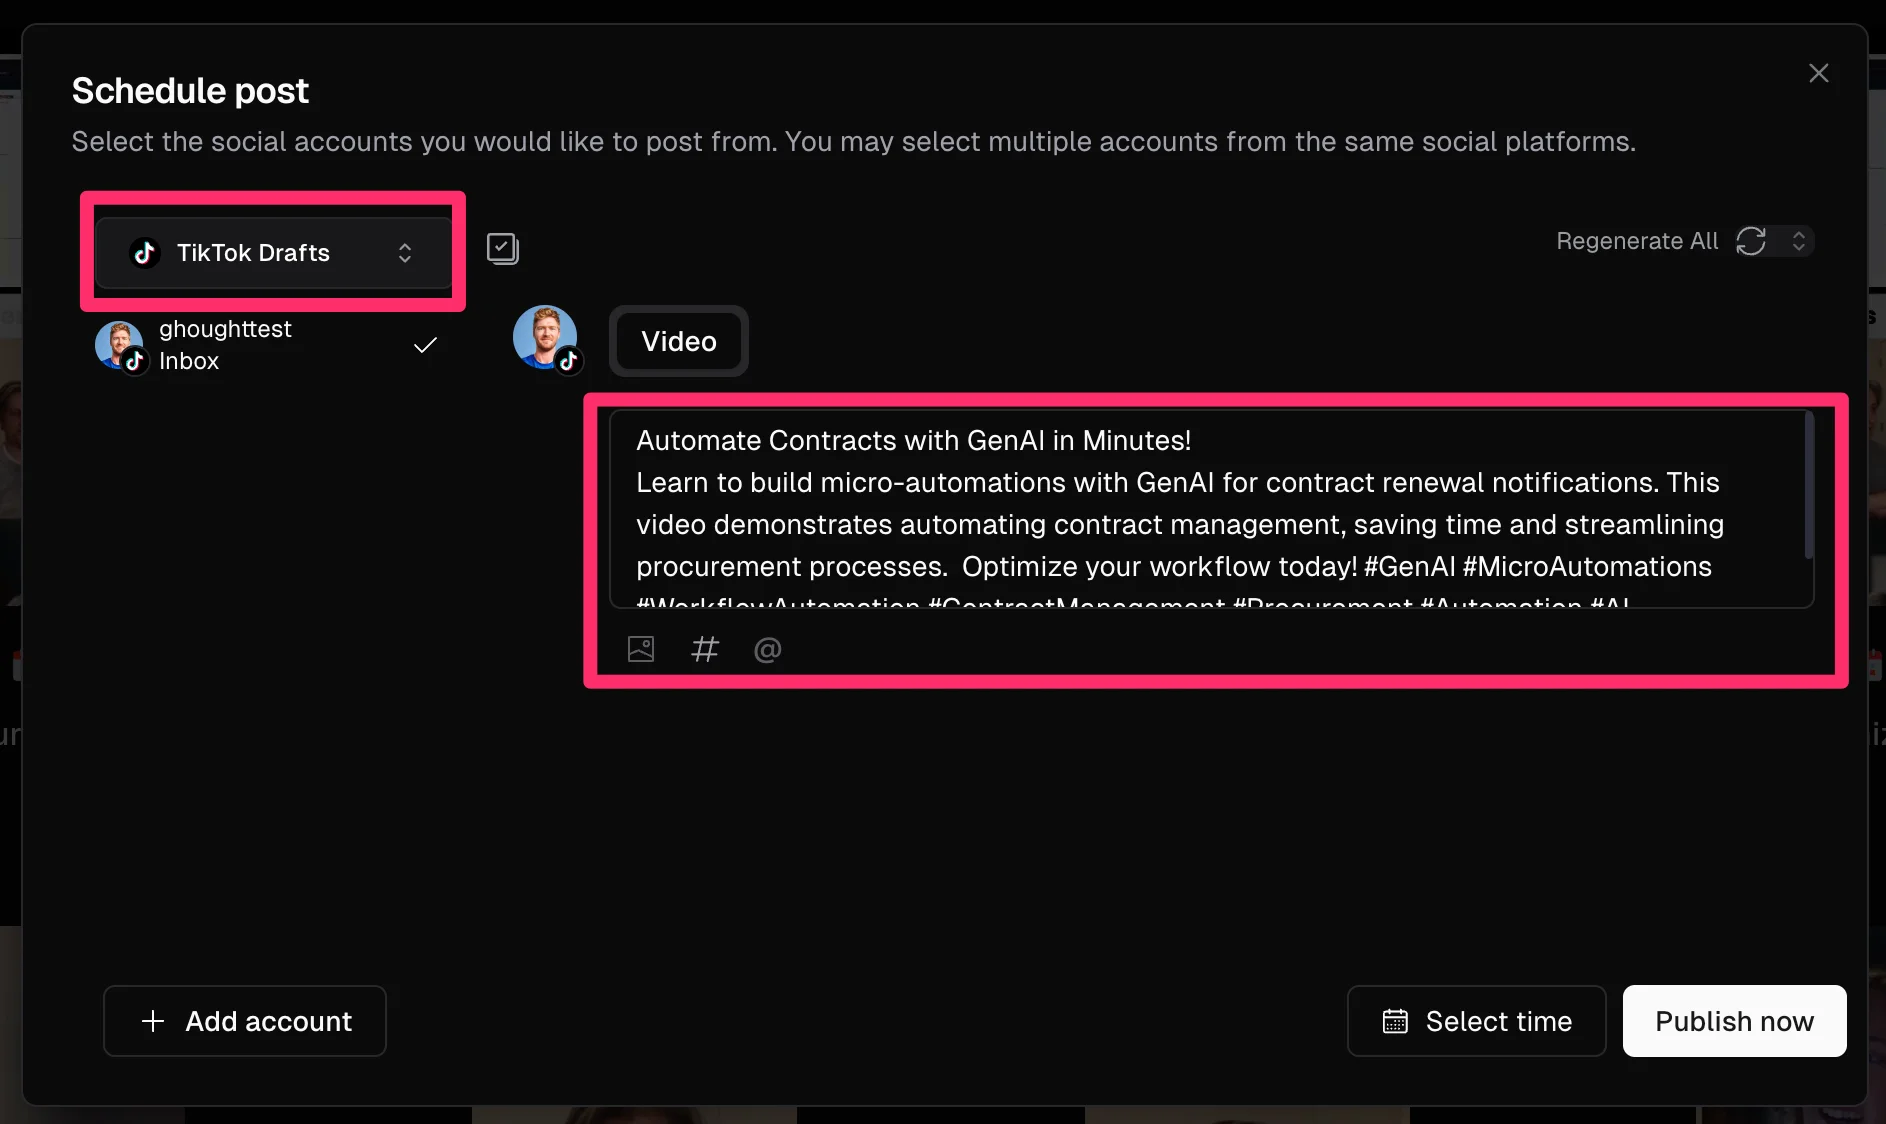
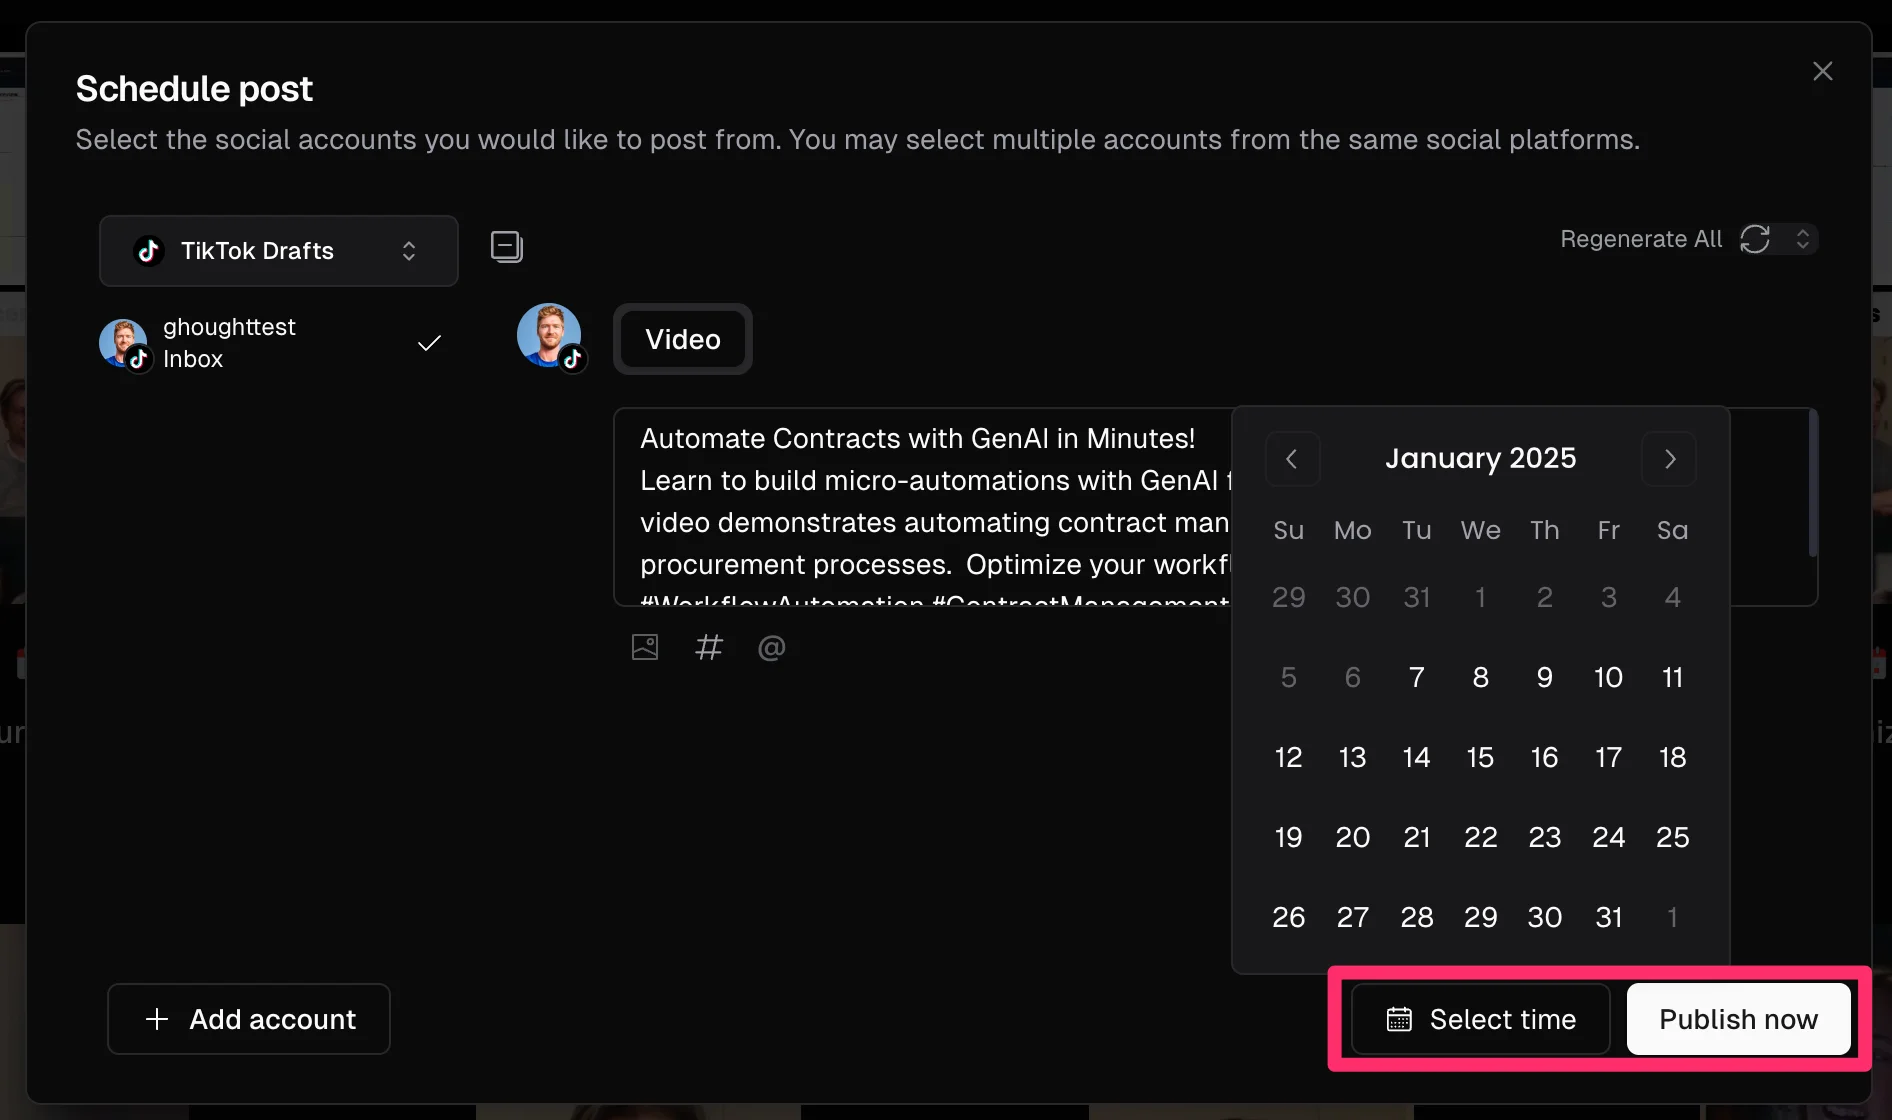
Lastly, you can schedule your post or publish it instantly at the bottom of the pop-up window.
And that’s it! If you’ve followed along, you’ve gone from a long-form video to a fully produced video clip that you can post to your social channels.
There’s a lot more you can explore in OpusClip. We recommend checking out their brand template creator next, which will speed up your clipping process by applying your preferred stylings to your clips automatically. Happy posting!
This tutorial was created by Garrett.