Upscale images for better resolution
Learn how to upscale images using Topaz Lab’s Gigapixel.
2025-02-26
In this tutorial, we’re going to take you through how to upscale images using Topaz Lab’s Gigapixel product. This product does have a one-time $99 fee, but we’ve picked it because it’s one of the best tools for upscaling images.
Why might you want to upscale images? And what even is upscaling?
Upscaling refers to enhancing the resolution and quality of media (typically images, videos, or audio) using AI models. Oftentimes, AI-generated images are smaller in resolution than a typical image. Using an upscaler helps to bring them to a higher resolution.
Outside of improving the resolution of AI-generated images, you can use upscaling to enlarge non-AI-generated images or improve textures and detail on your images.
Tools needed:
Steps we’ll follow in this tutorial:
- Install Gigapixel
- Upload, crop, and upscale image
- Select AI model
- Sharpen, deblur, and fix compression
- Export image
Let’s get into it!
Install Gigapixel
To get started, go to the Topaz Labs site and navigate to the Gigapixel tab.
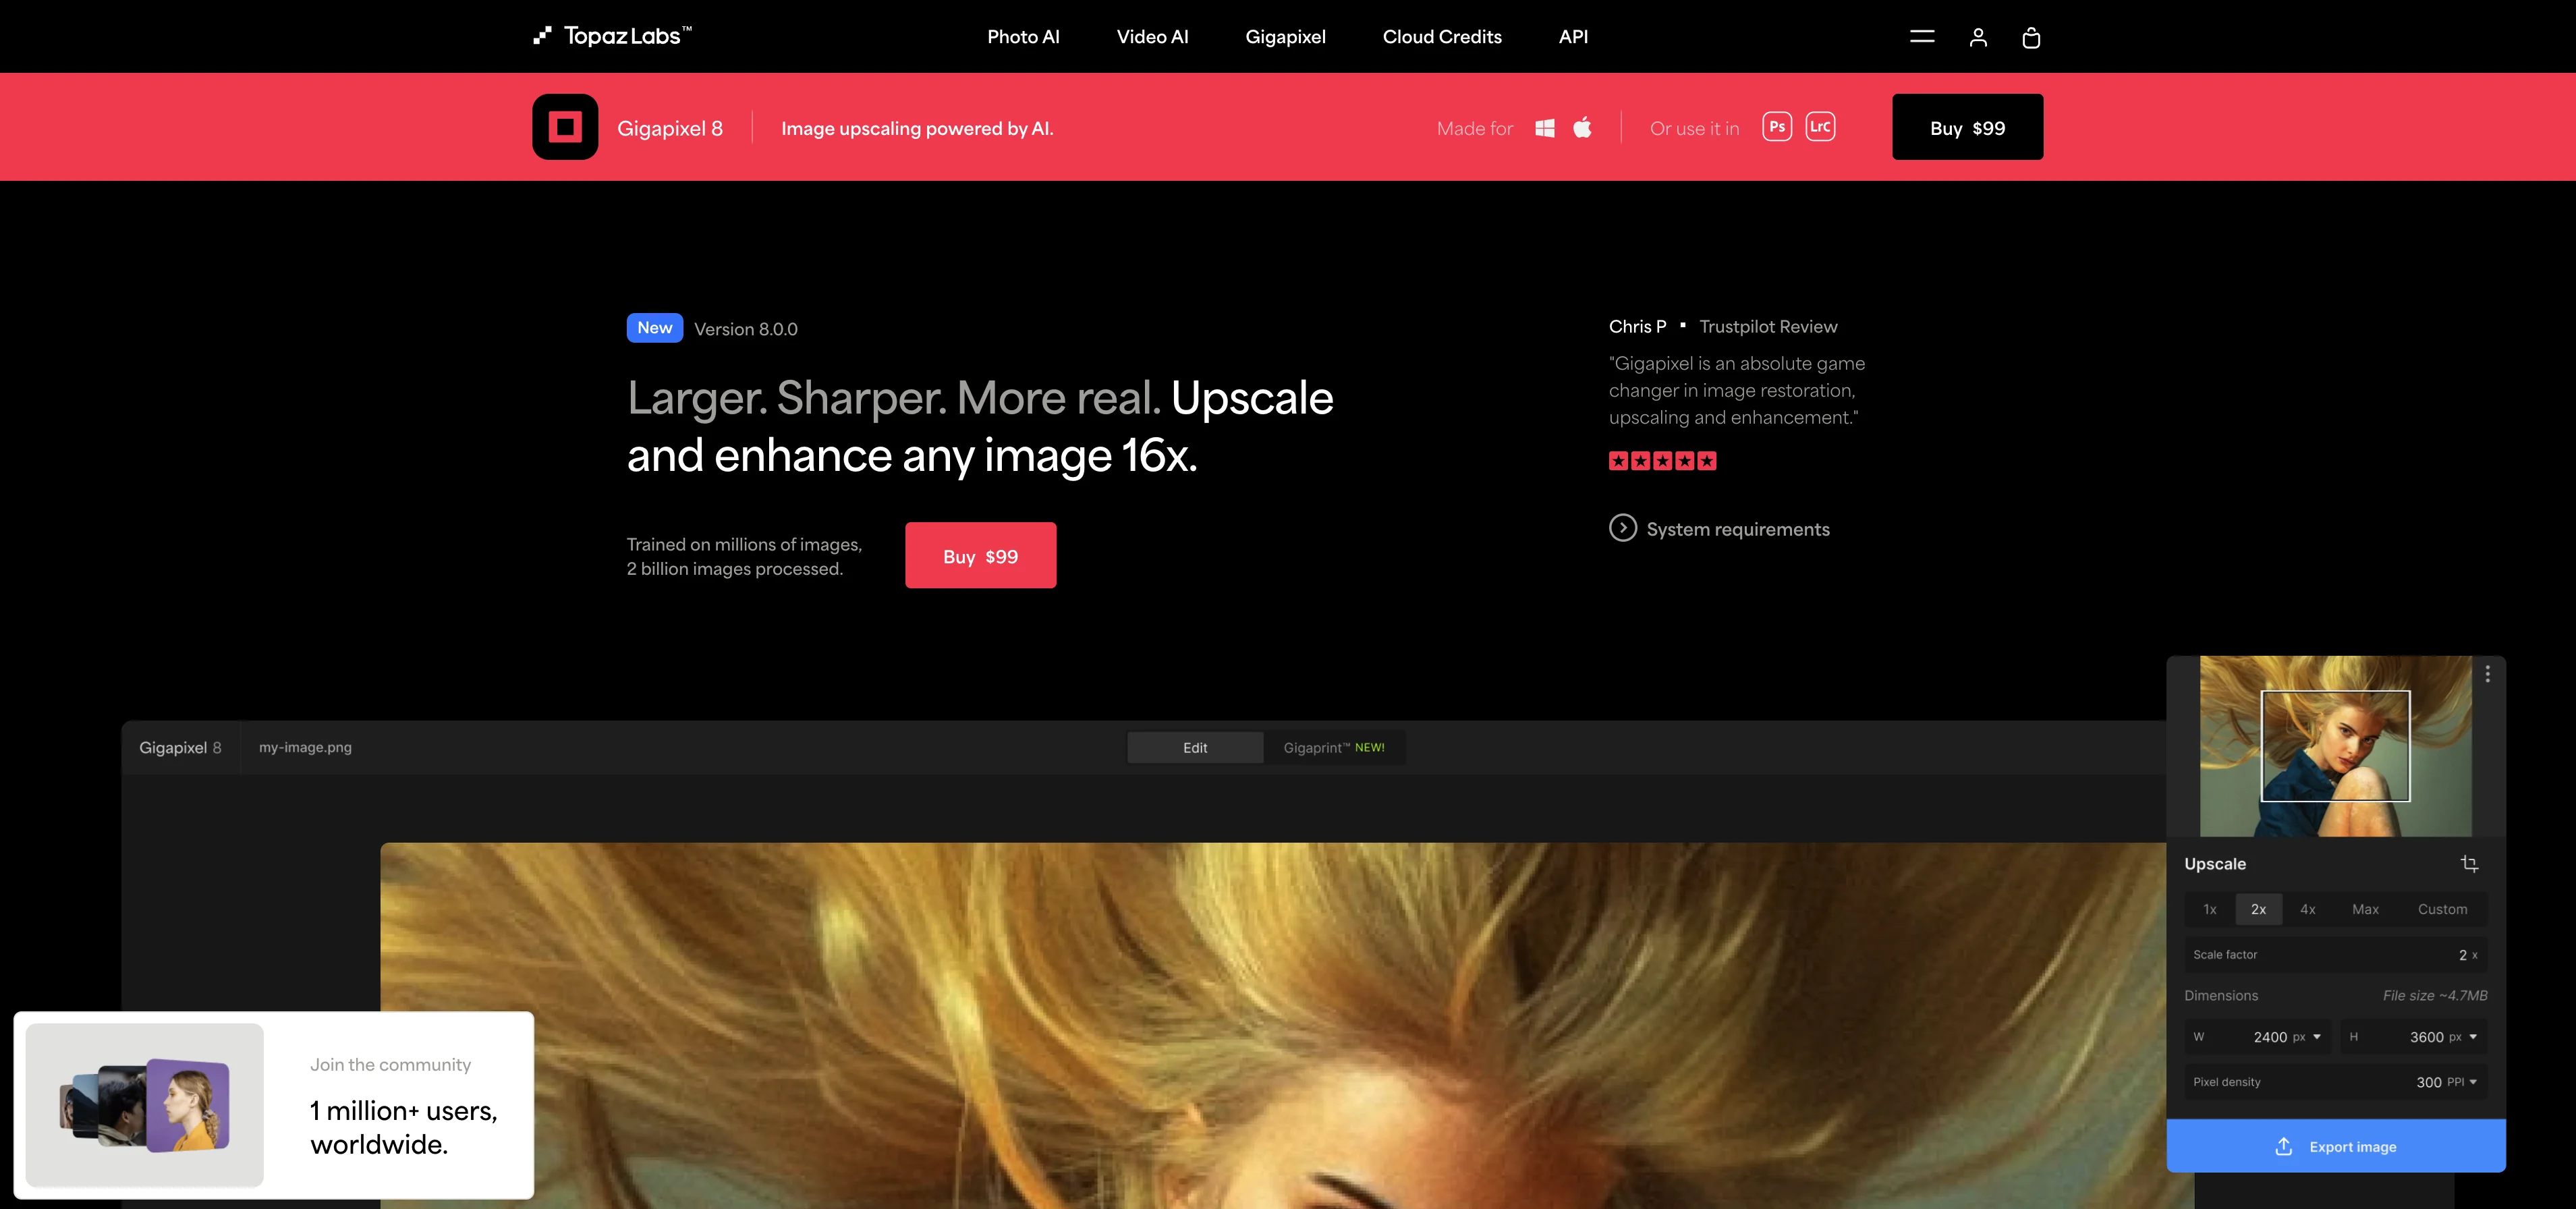
Purchase the Gigapixel software for $99 and create an account.
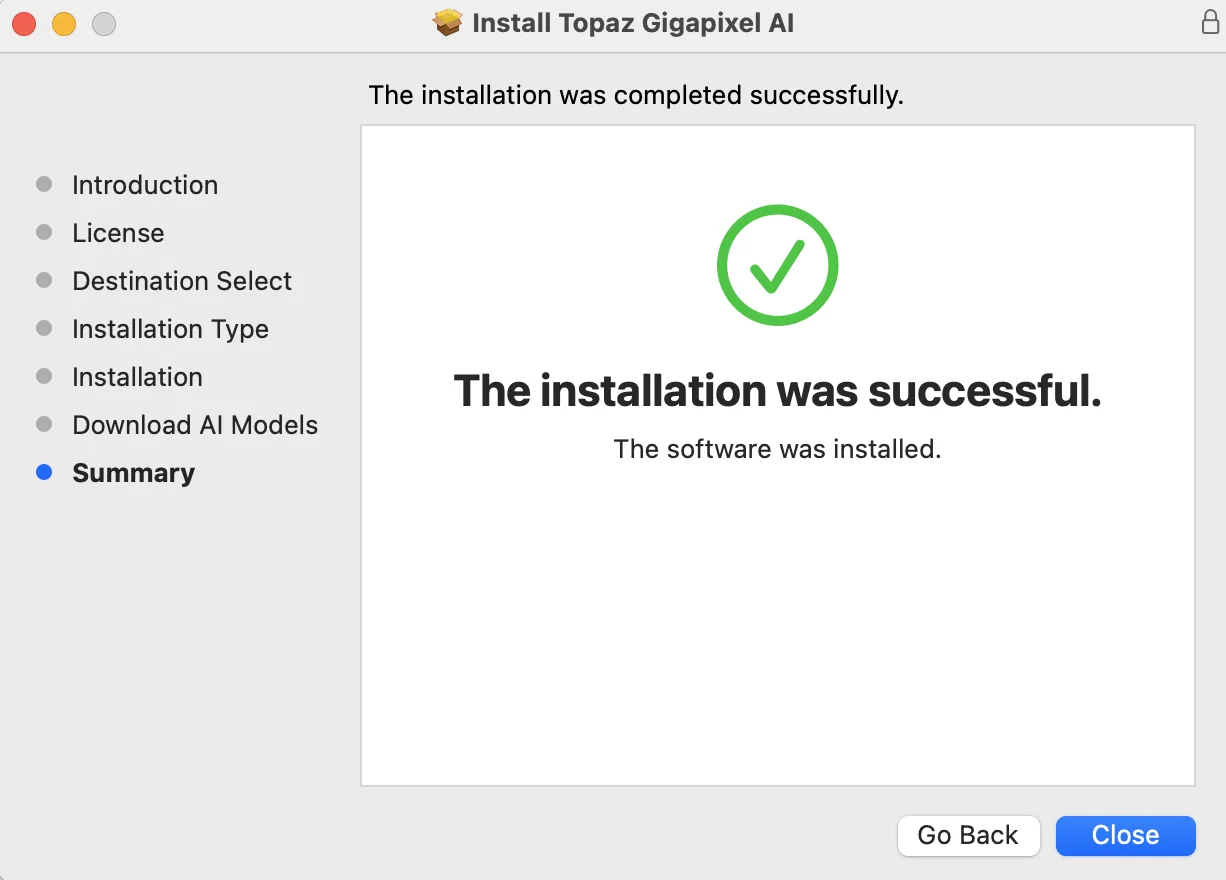
Once purchased, you’ll be prompted to install the software on your device.
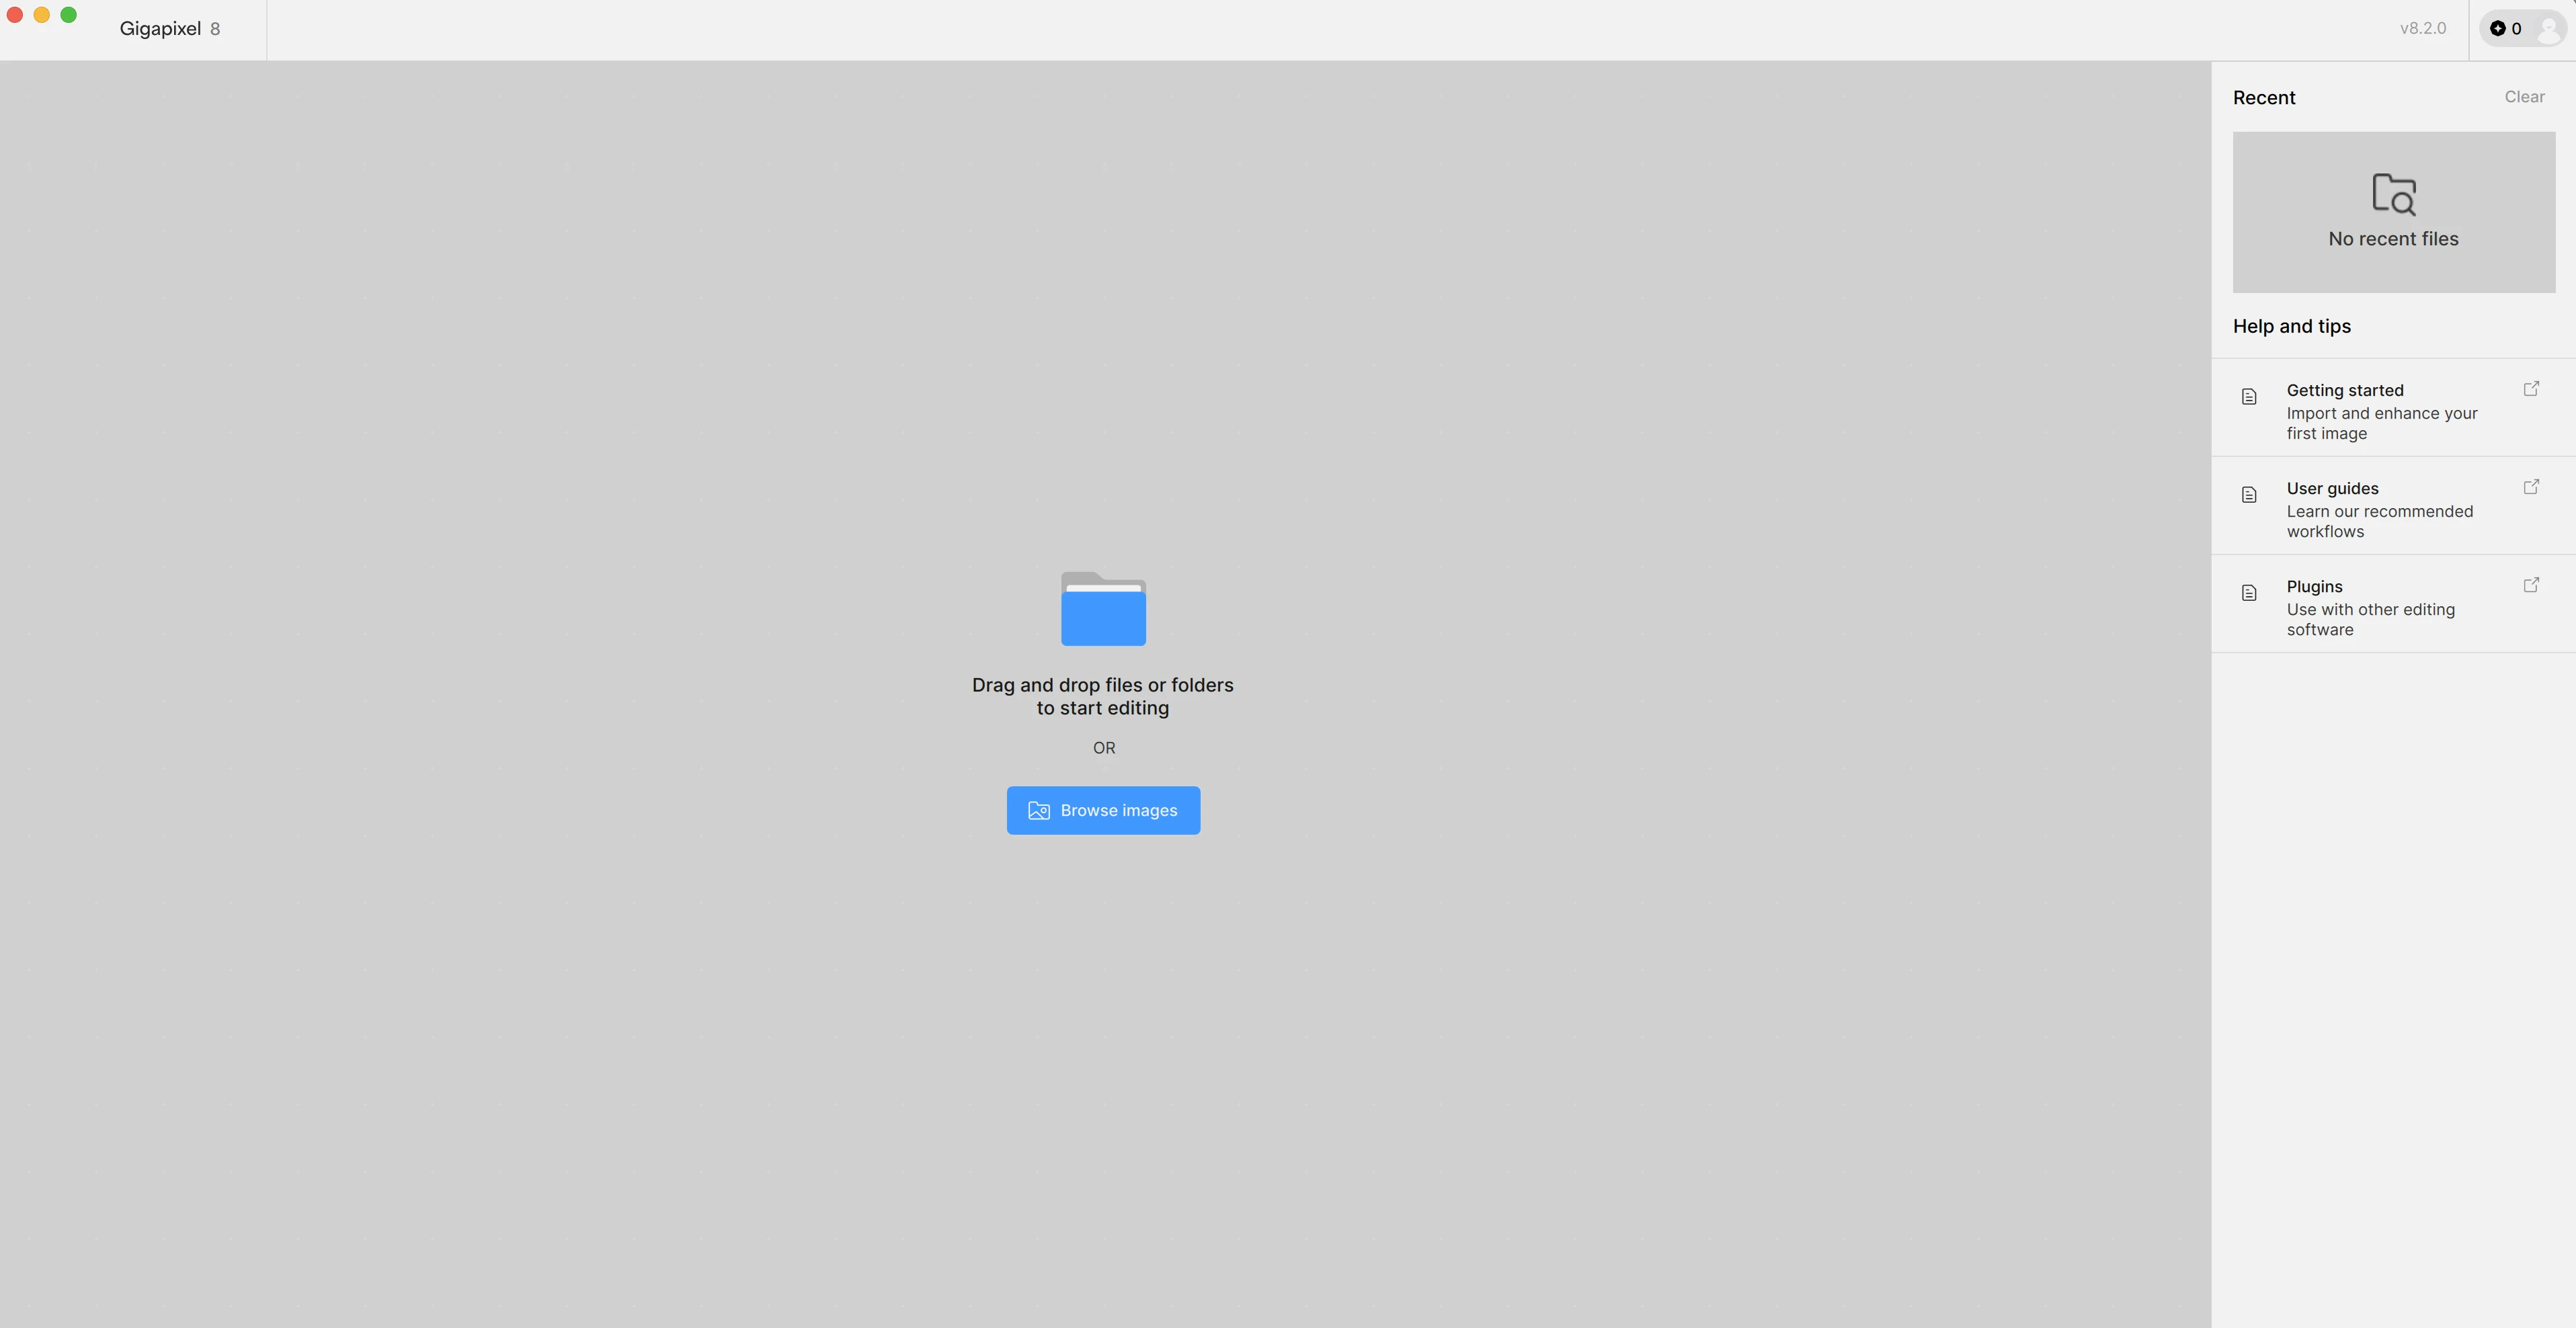
When everything is installed, you’ll be taken to the starting page of the Gigapixel app, where you can access user documentation, guides, and plugins, and upload your first image for upscaling.
Upload, crop, and upscale image
To get started, upload an image from your local device. We’re going to use a horse image from Pexels (photo credit). Once uploaded, the image will appear in the main canvas.
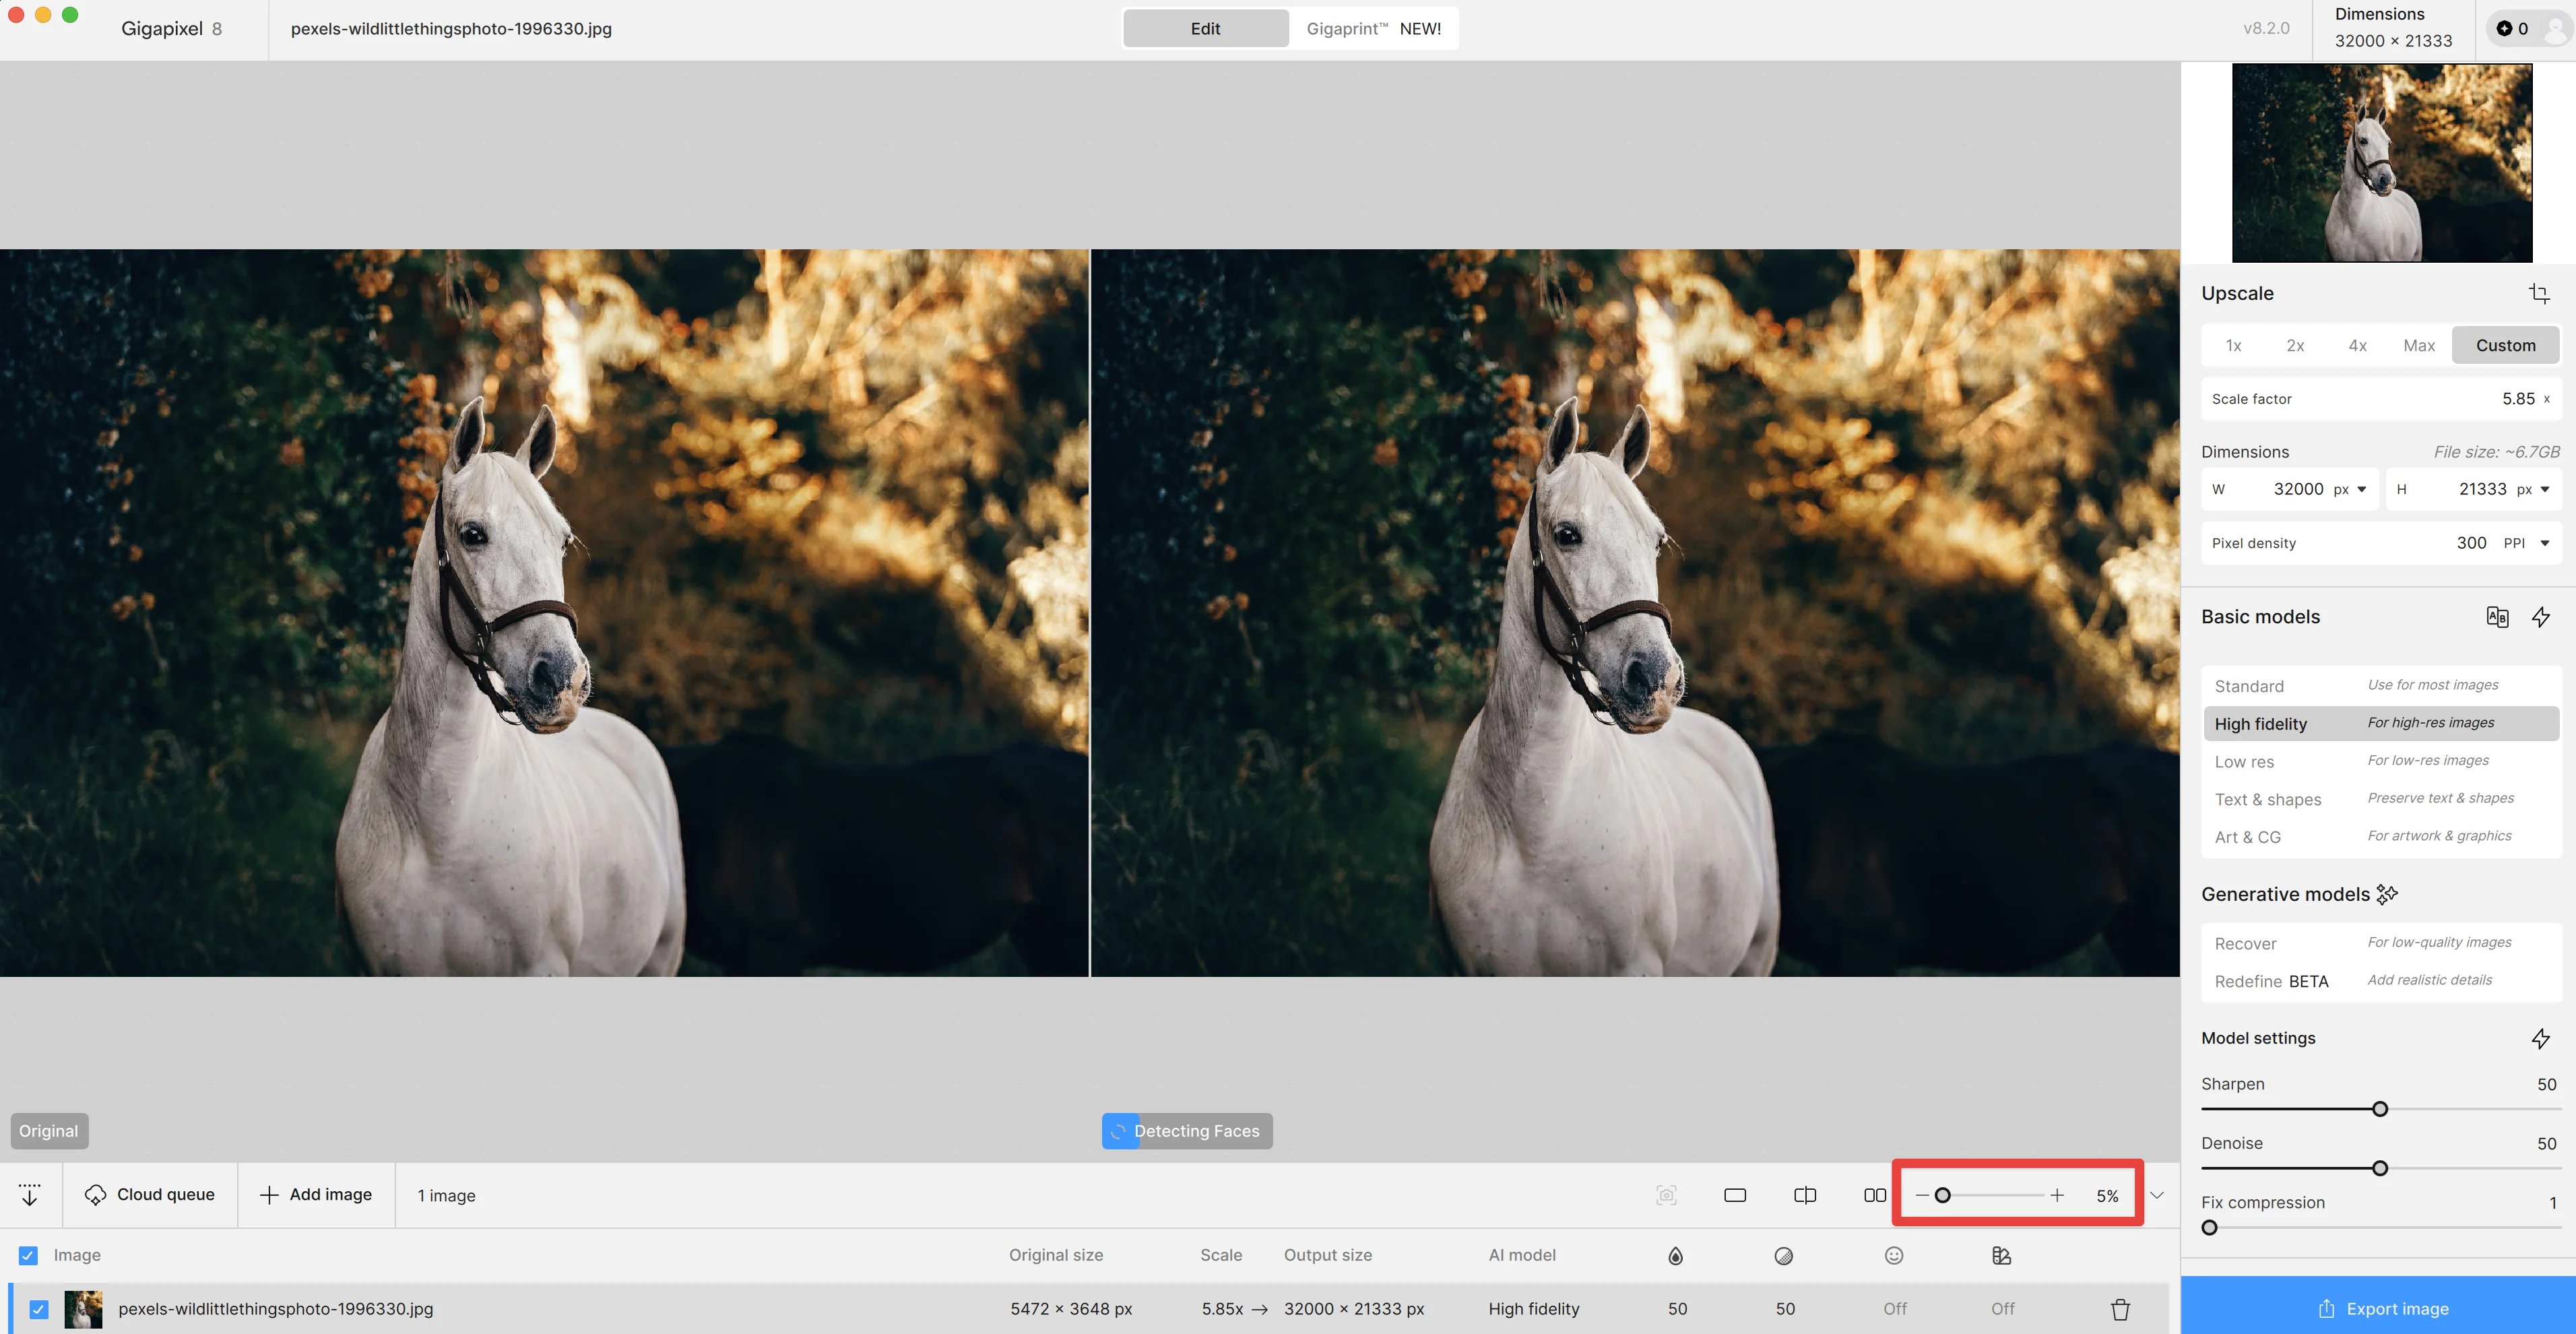
You can change the zoom of the image by moving the slider in the bottom right corner of the app.
Next to the zoom slider, you can select three different ways of viewing the image:
- As the singular upscaled image
- As a slider experience between the original and the upscaled image
- As a side-by-side comparison of the original and upscaled image
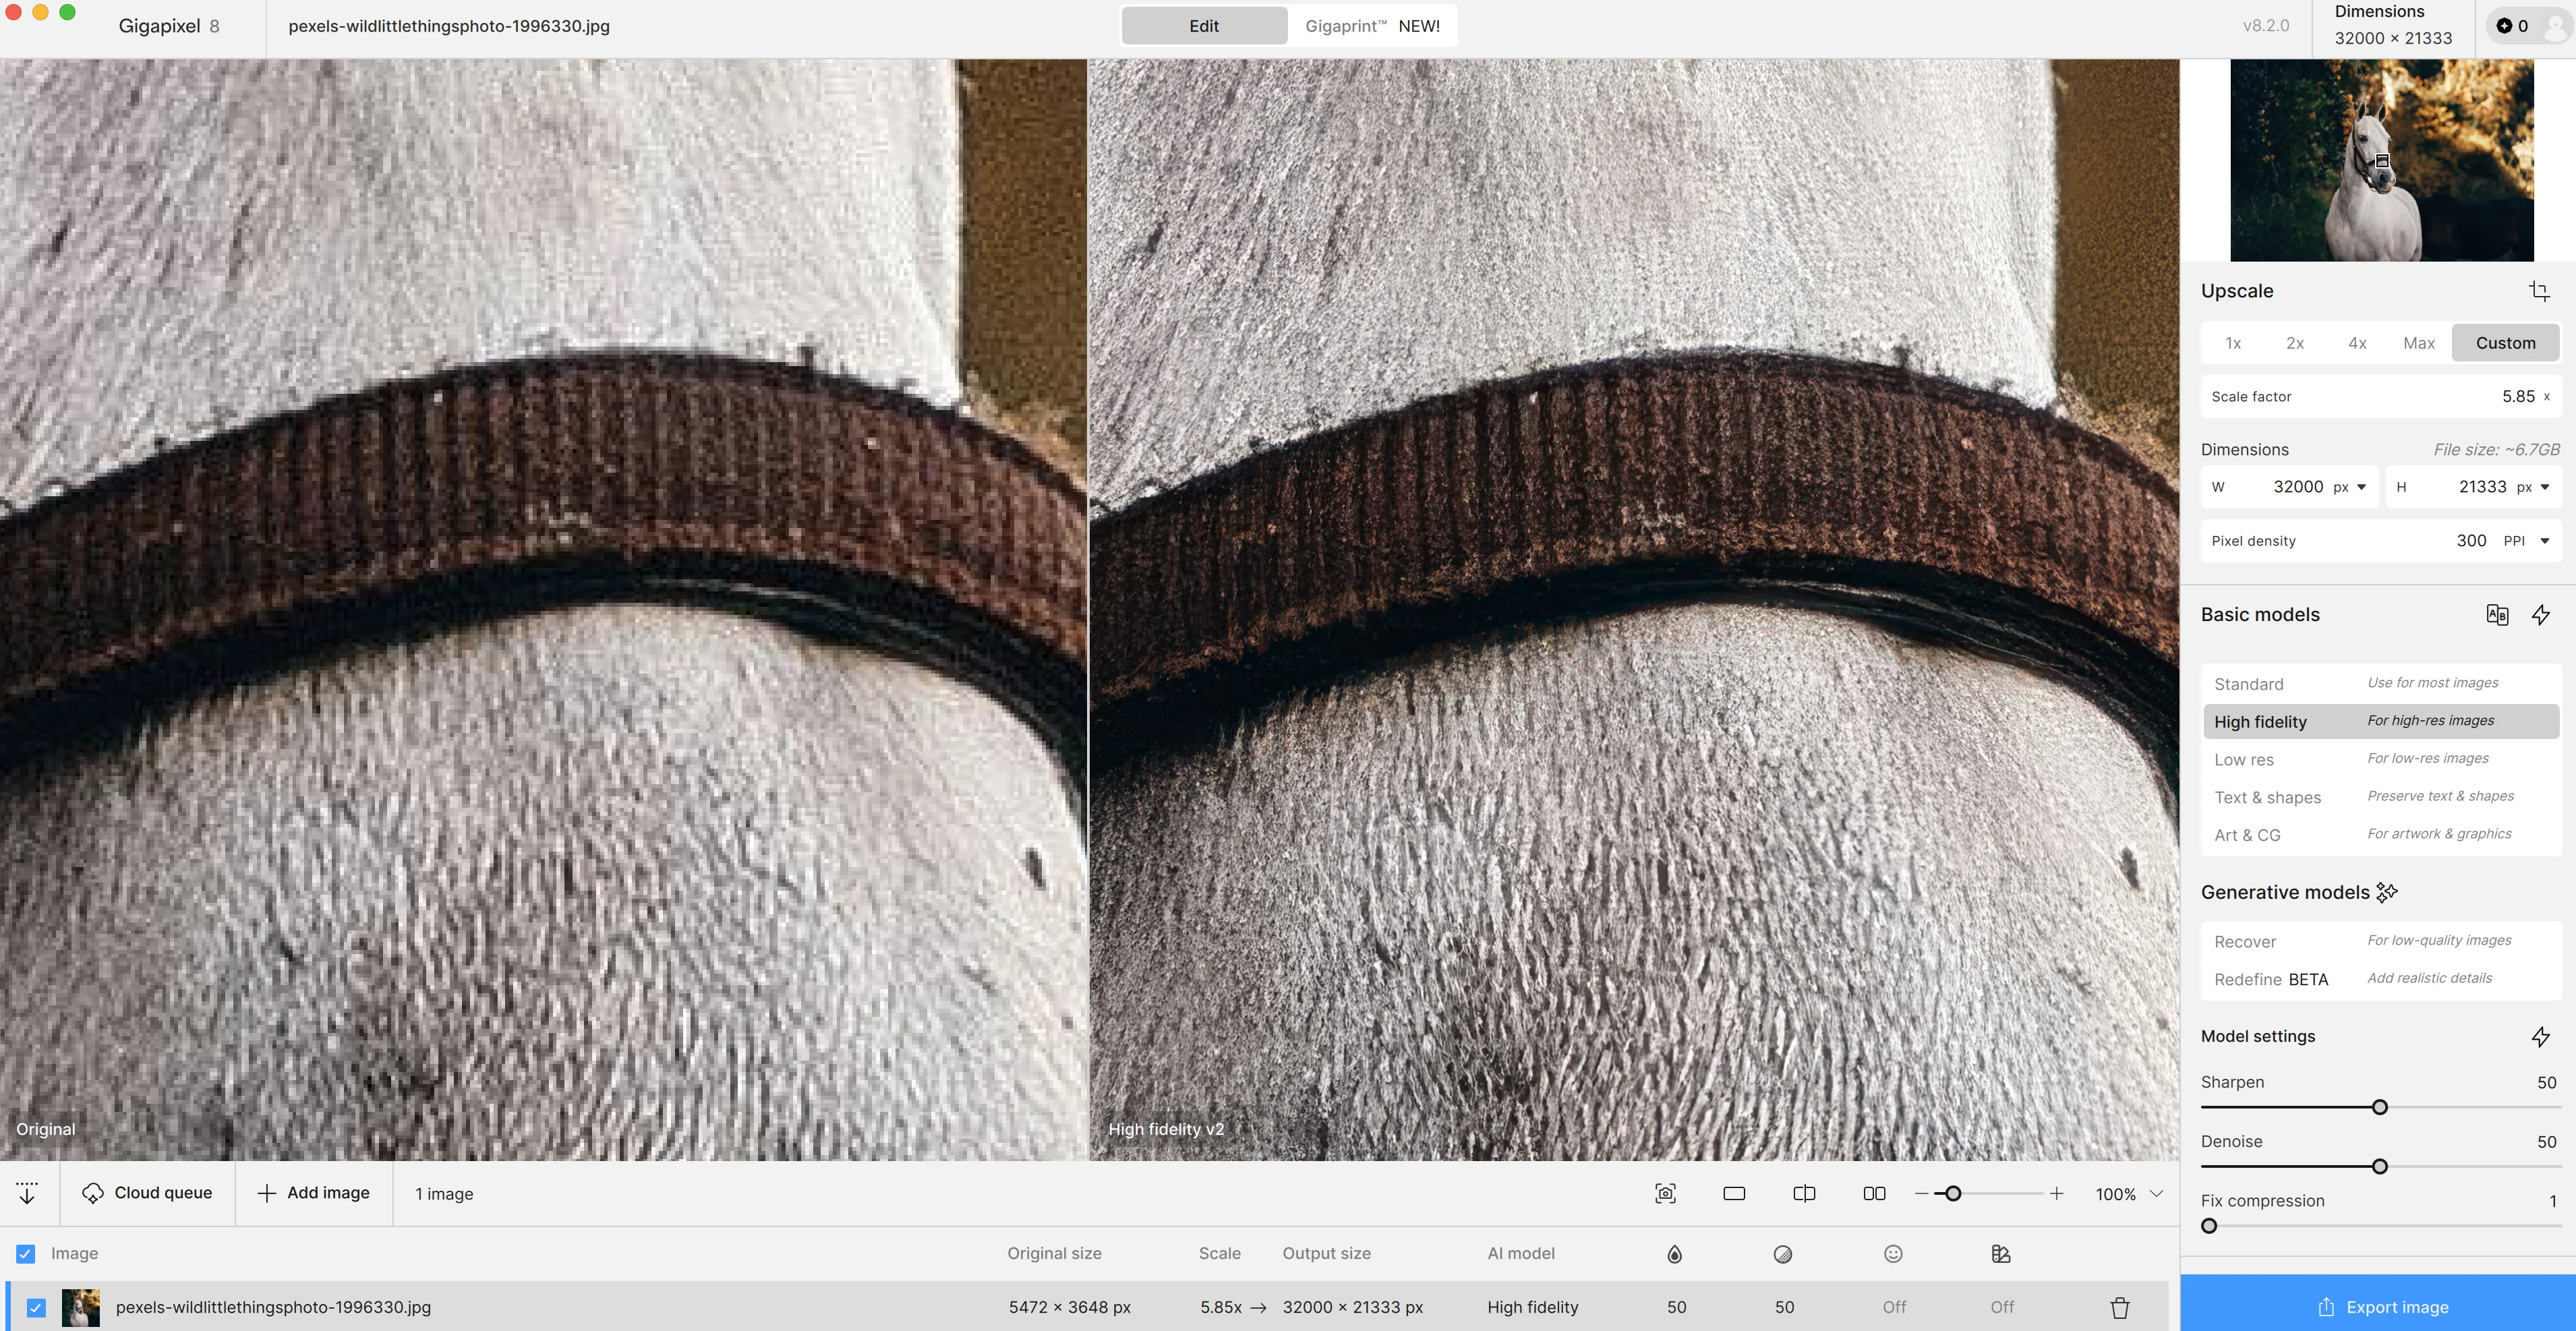
We’re going to leave our canvas in side-by-side mode so we can see the original image and the upscaled version at the same time.
Once your image is uploaded and your zoom is set, we can crop the image in Gigapixel. Click the crop icon in the top right corner to do this.
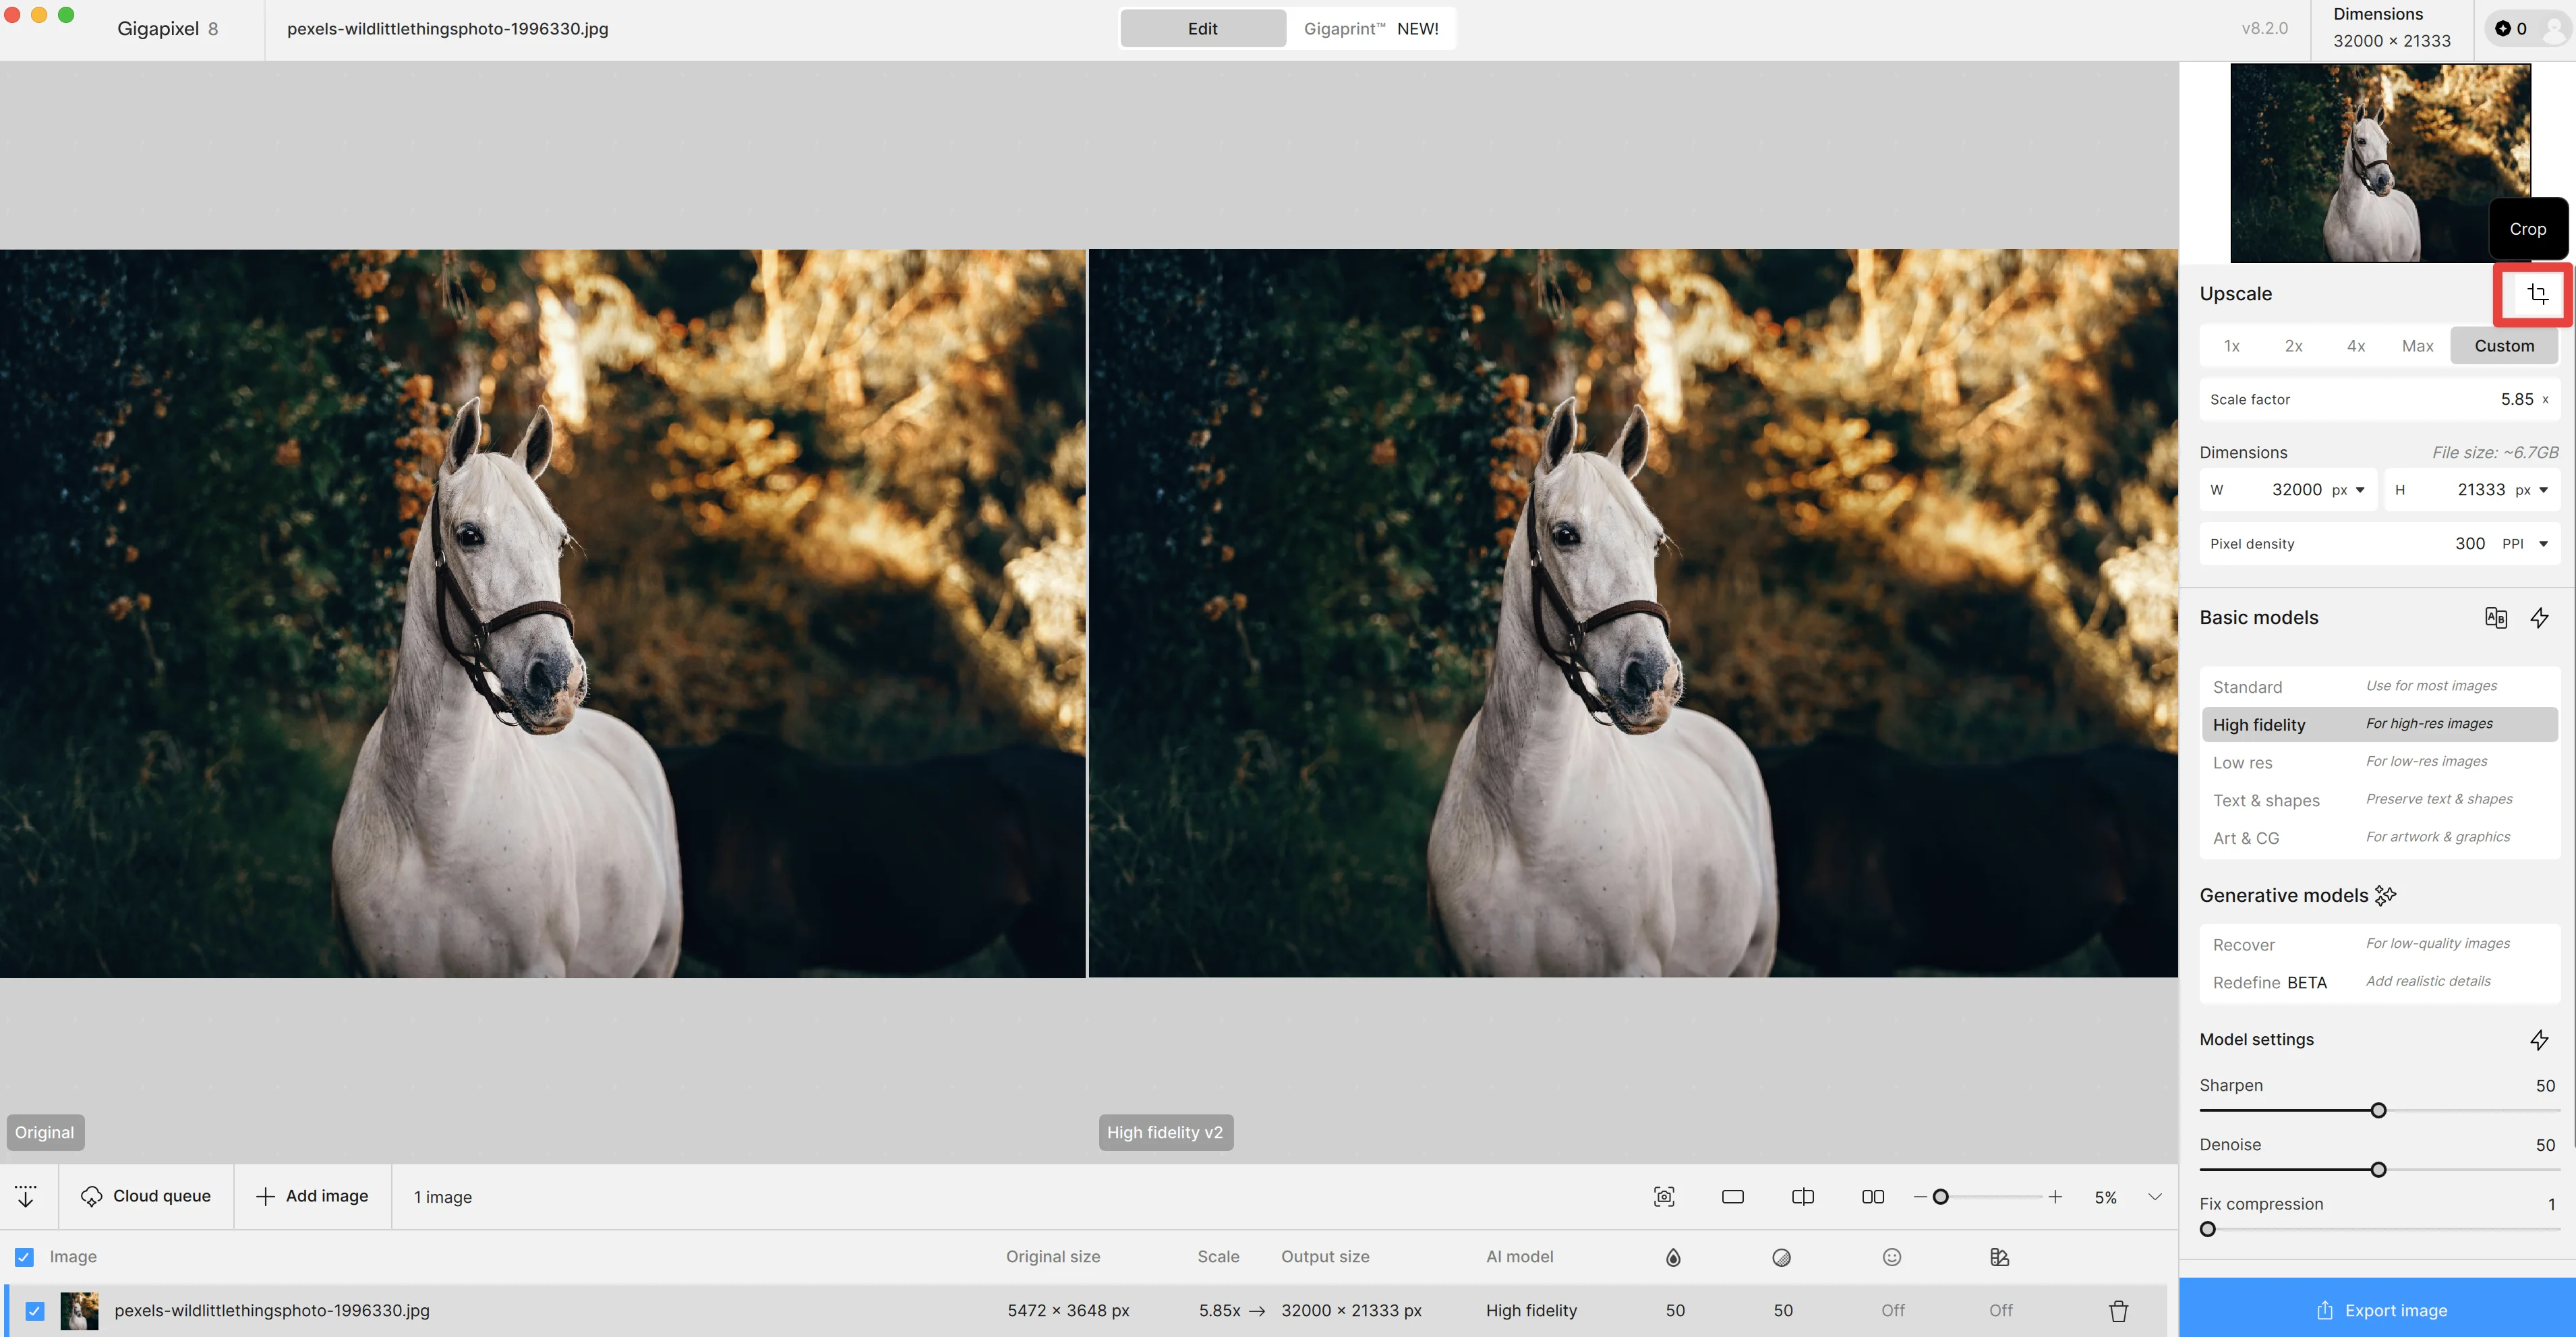
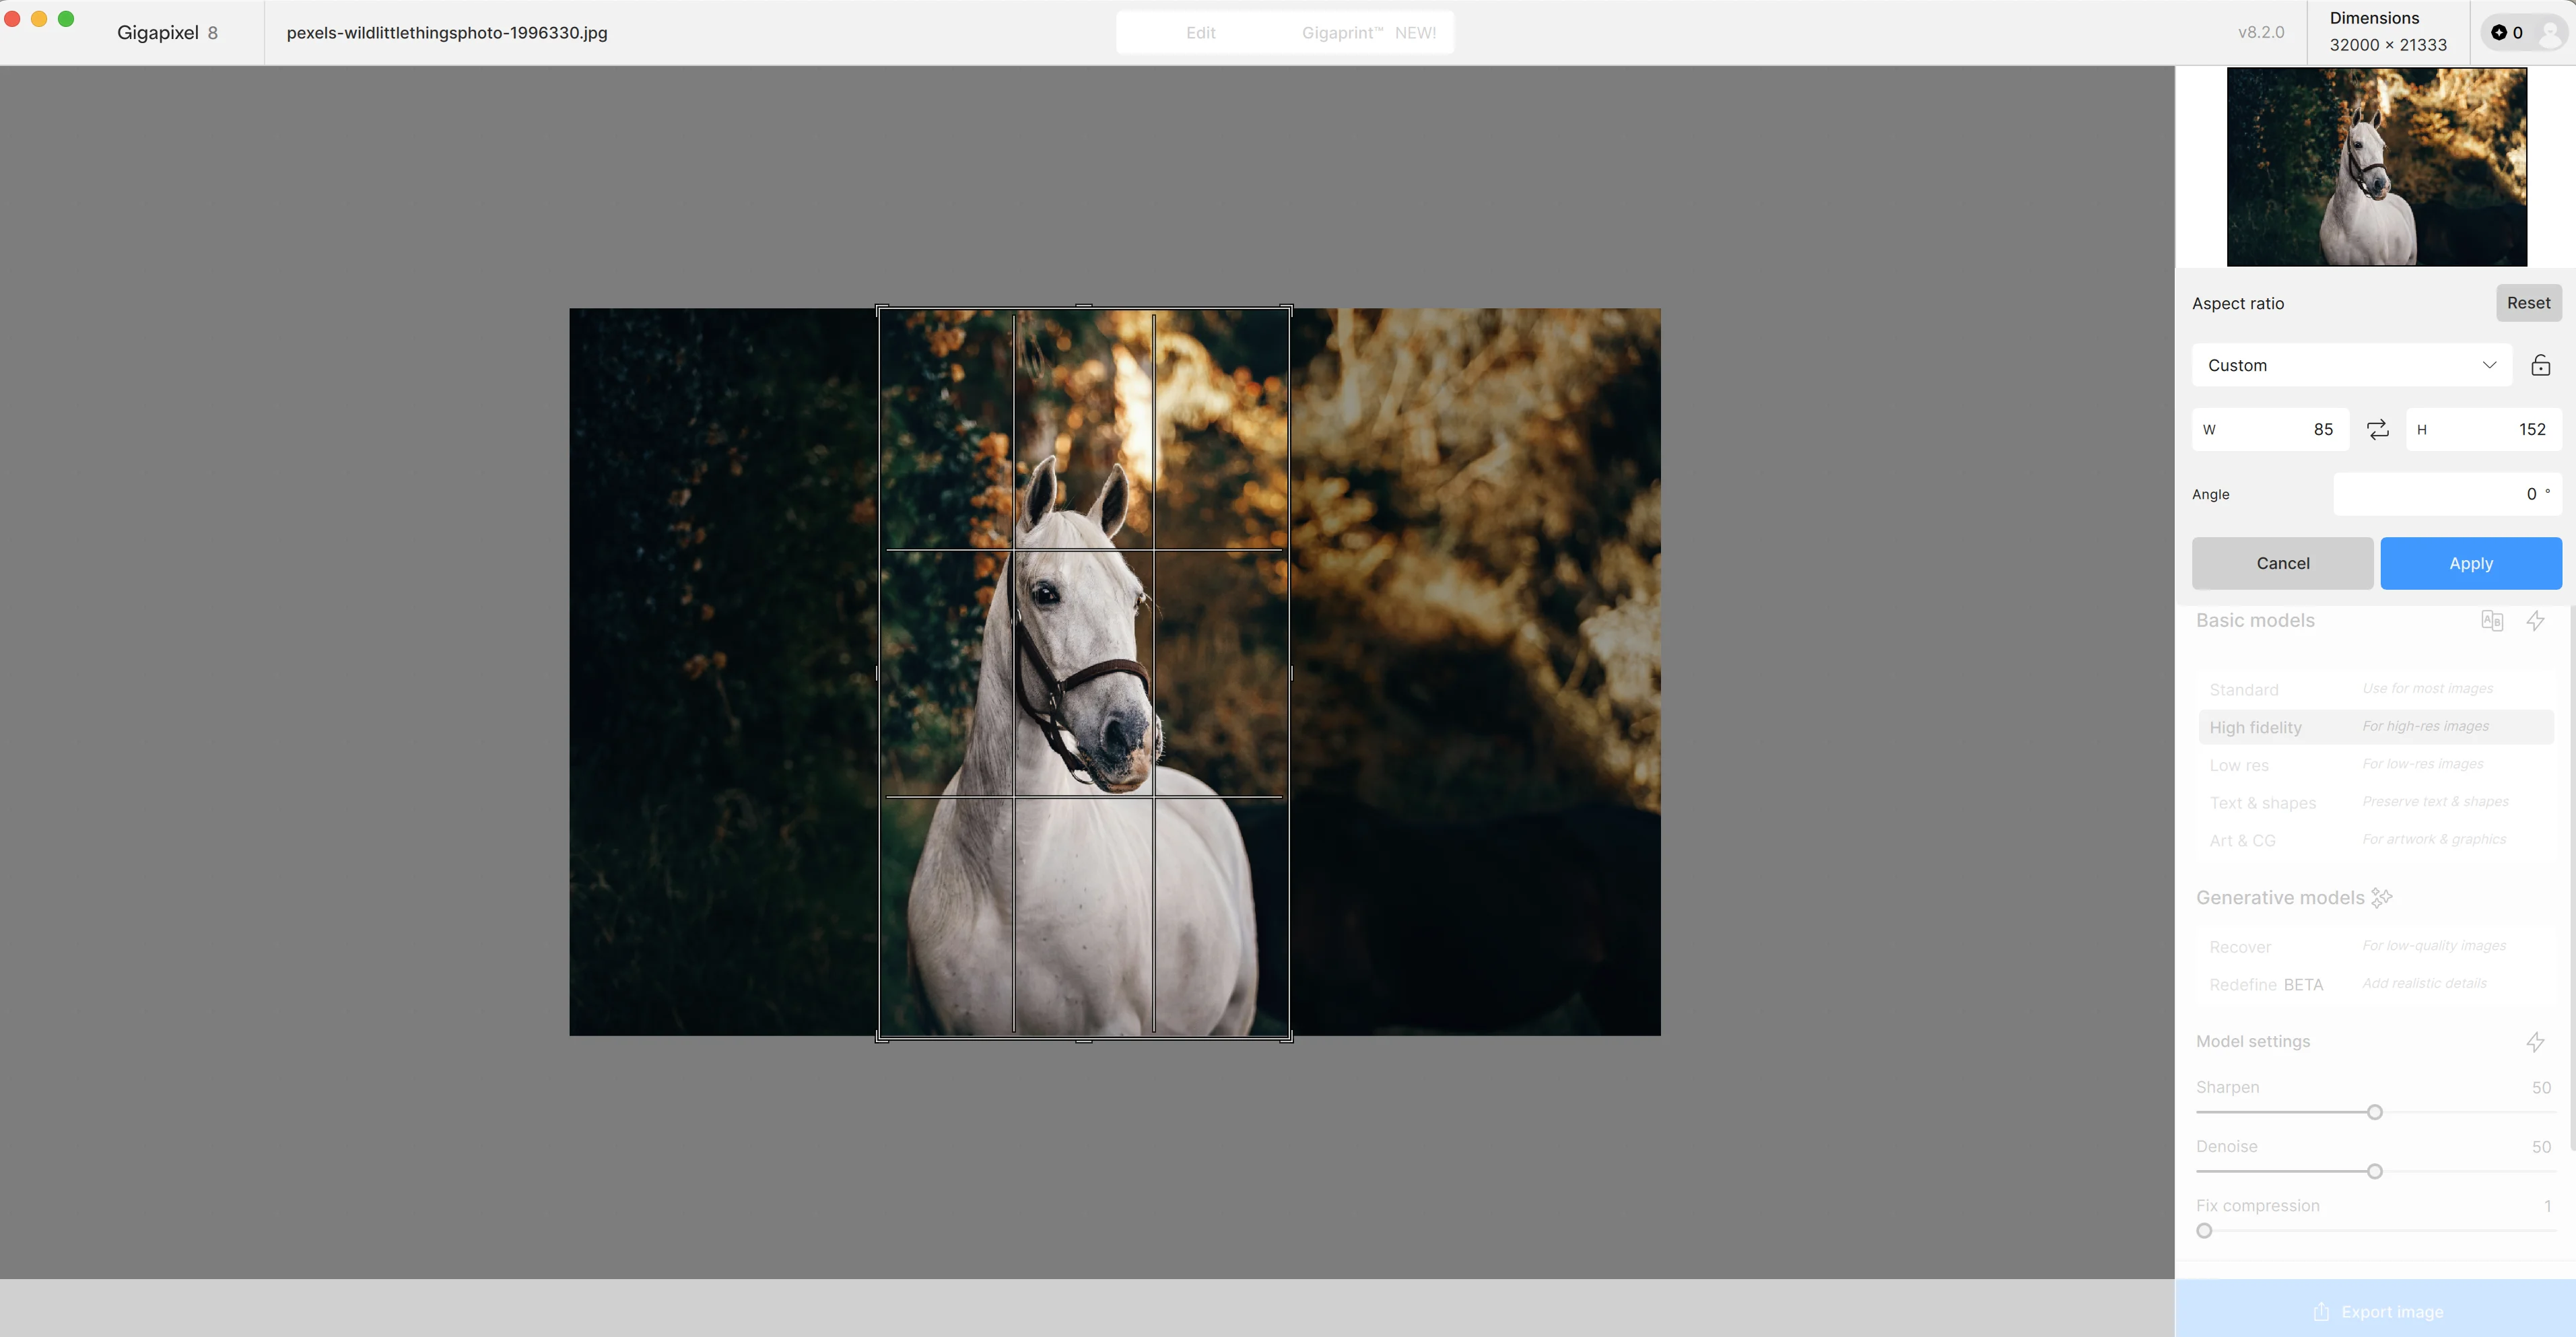
We’re going to drag the sides in with the crop tool on the canvas to focus our image on the horse. Click “Apply” when you’re done with cropping your photo.
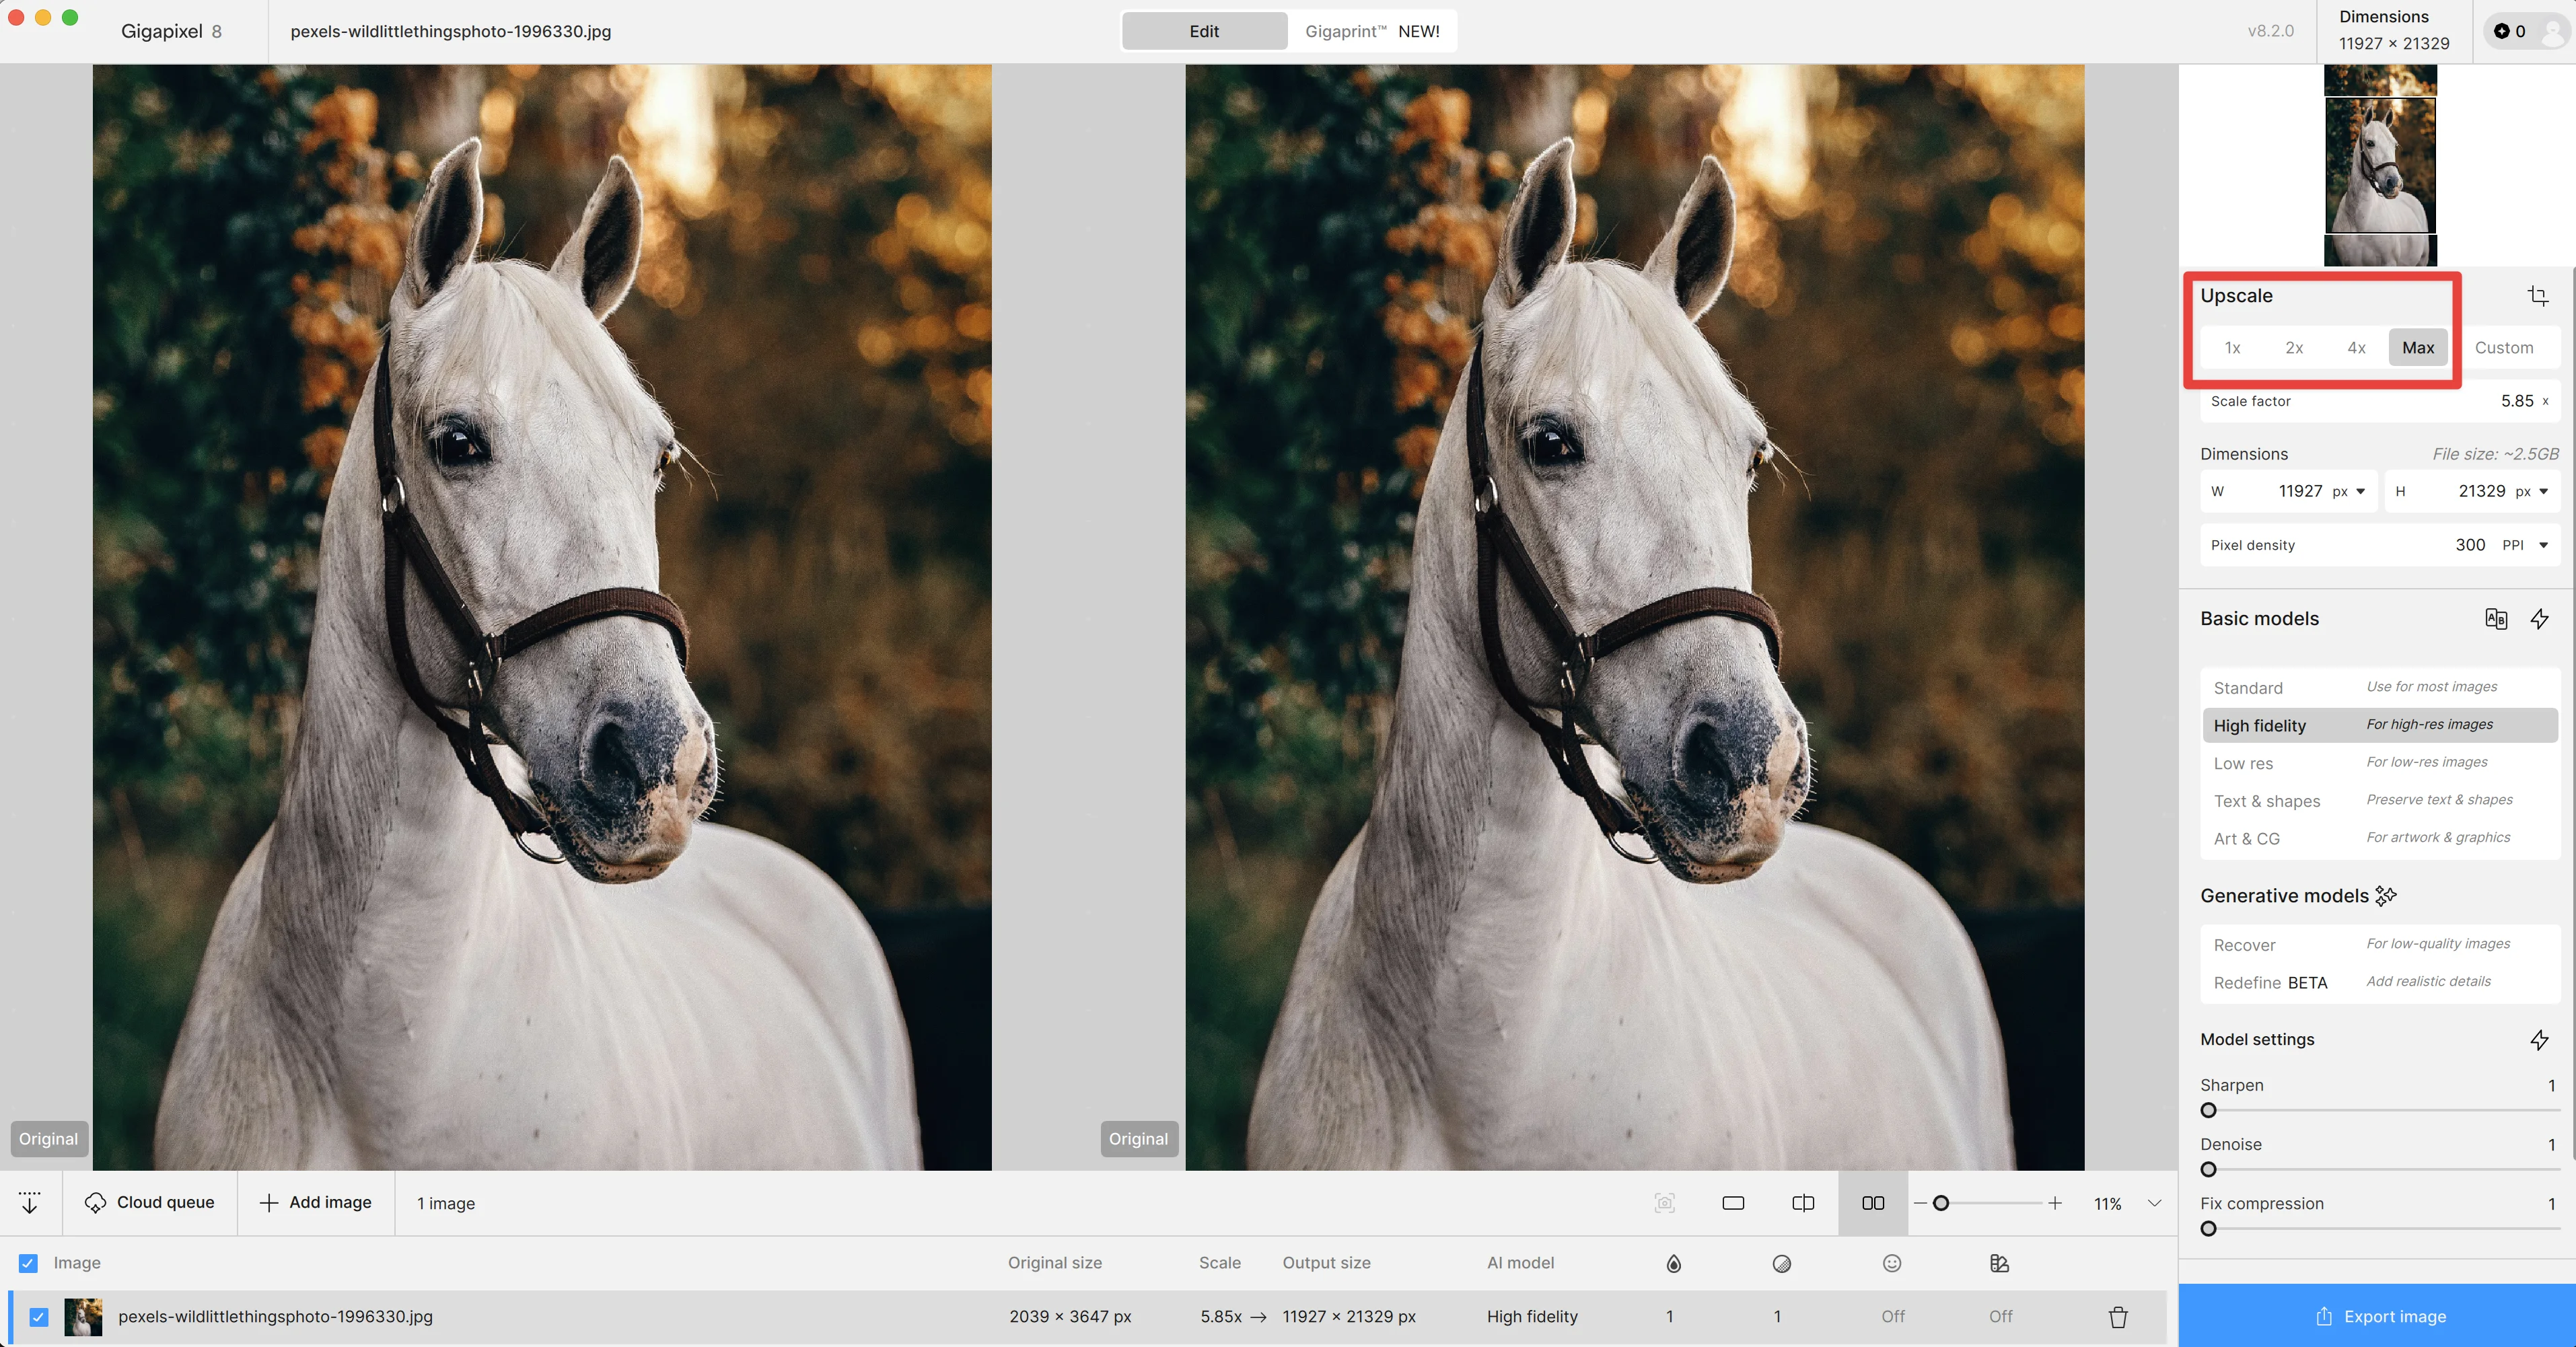
Finally, we can set an upscaling factor (between 1x-6x), which is how much we’ll increase the output size of the image. We’ll set ours to “Max,” which for this image is 5.85x.
Select AI model
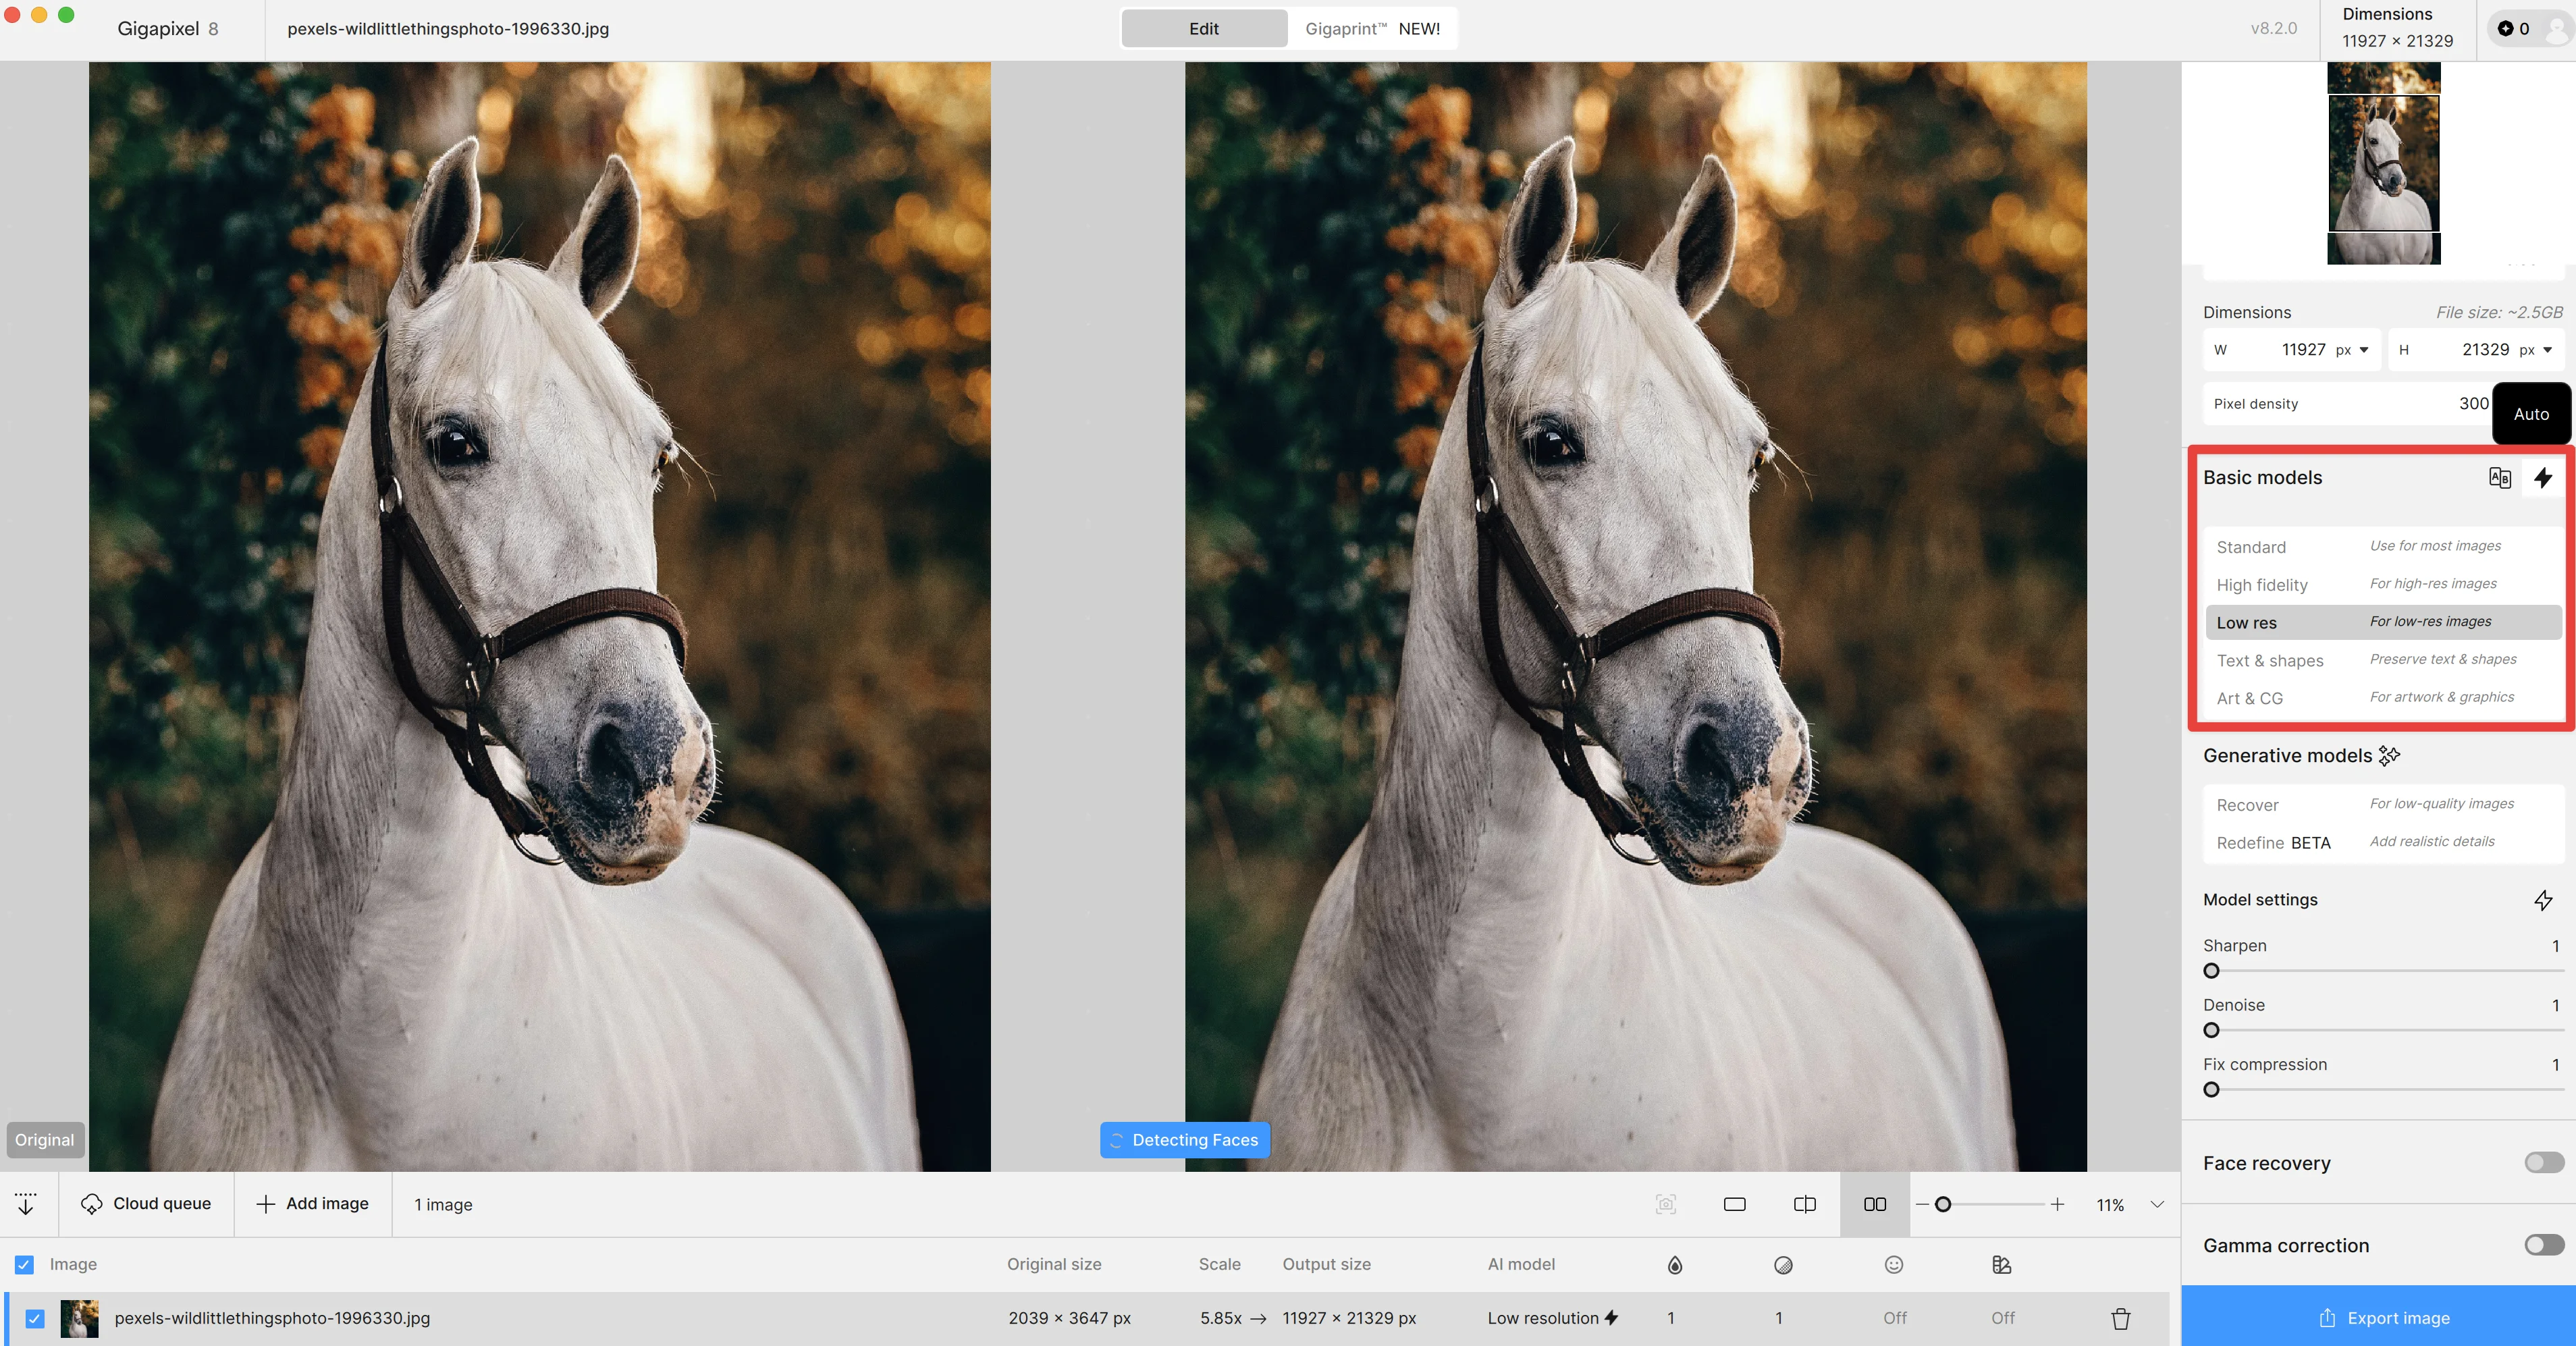
With our image uploaded, cropped, and upscaled, we can select the AI model to manage the processing of our upscaling.
Gigapixel comes with a lightning bolt icon in the top right corner of this setting, which can auto-detect which model to apply. For our image, it auto-selected “Low res”, given the quality of our initial image, which was a smaller resolution.
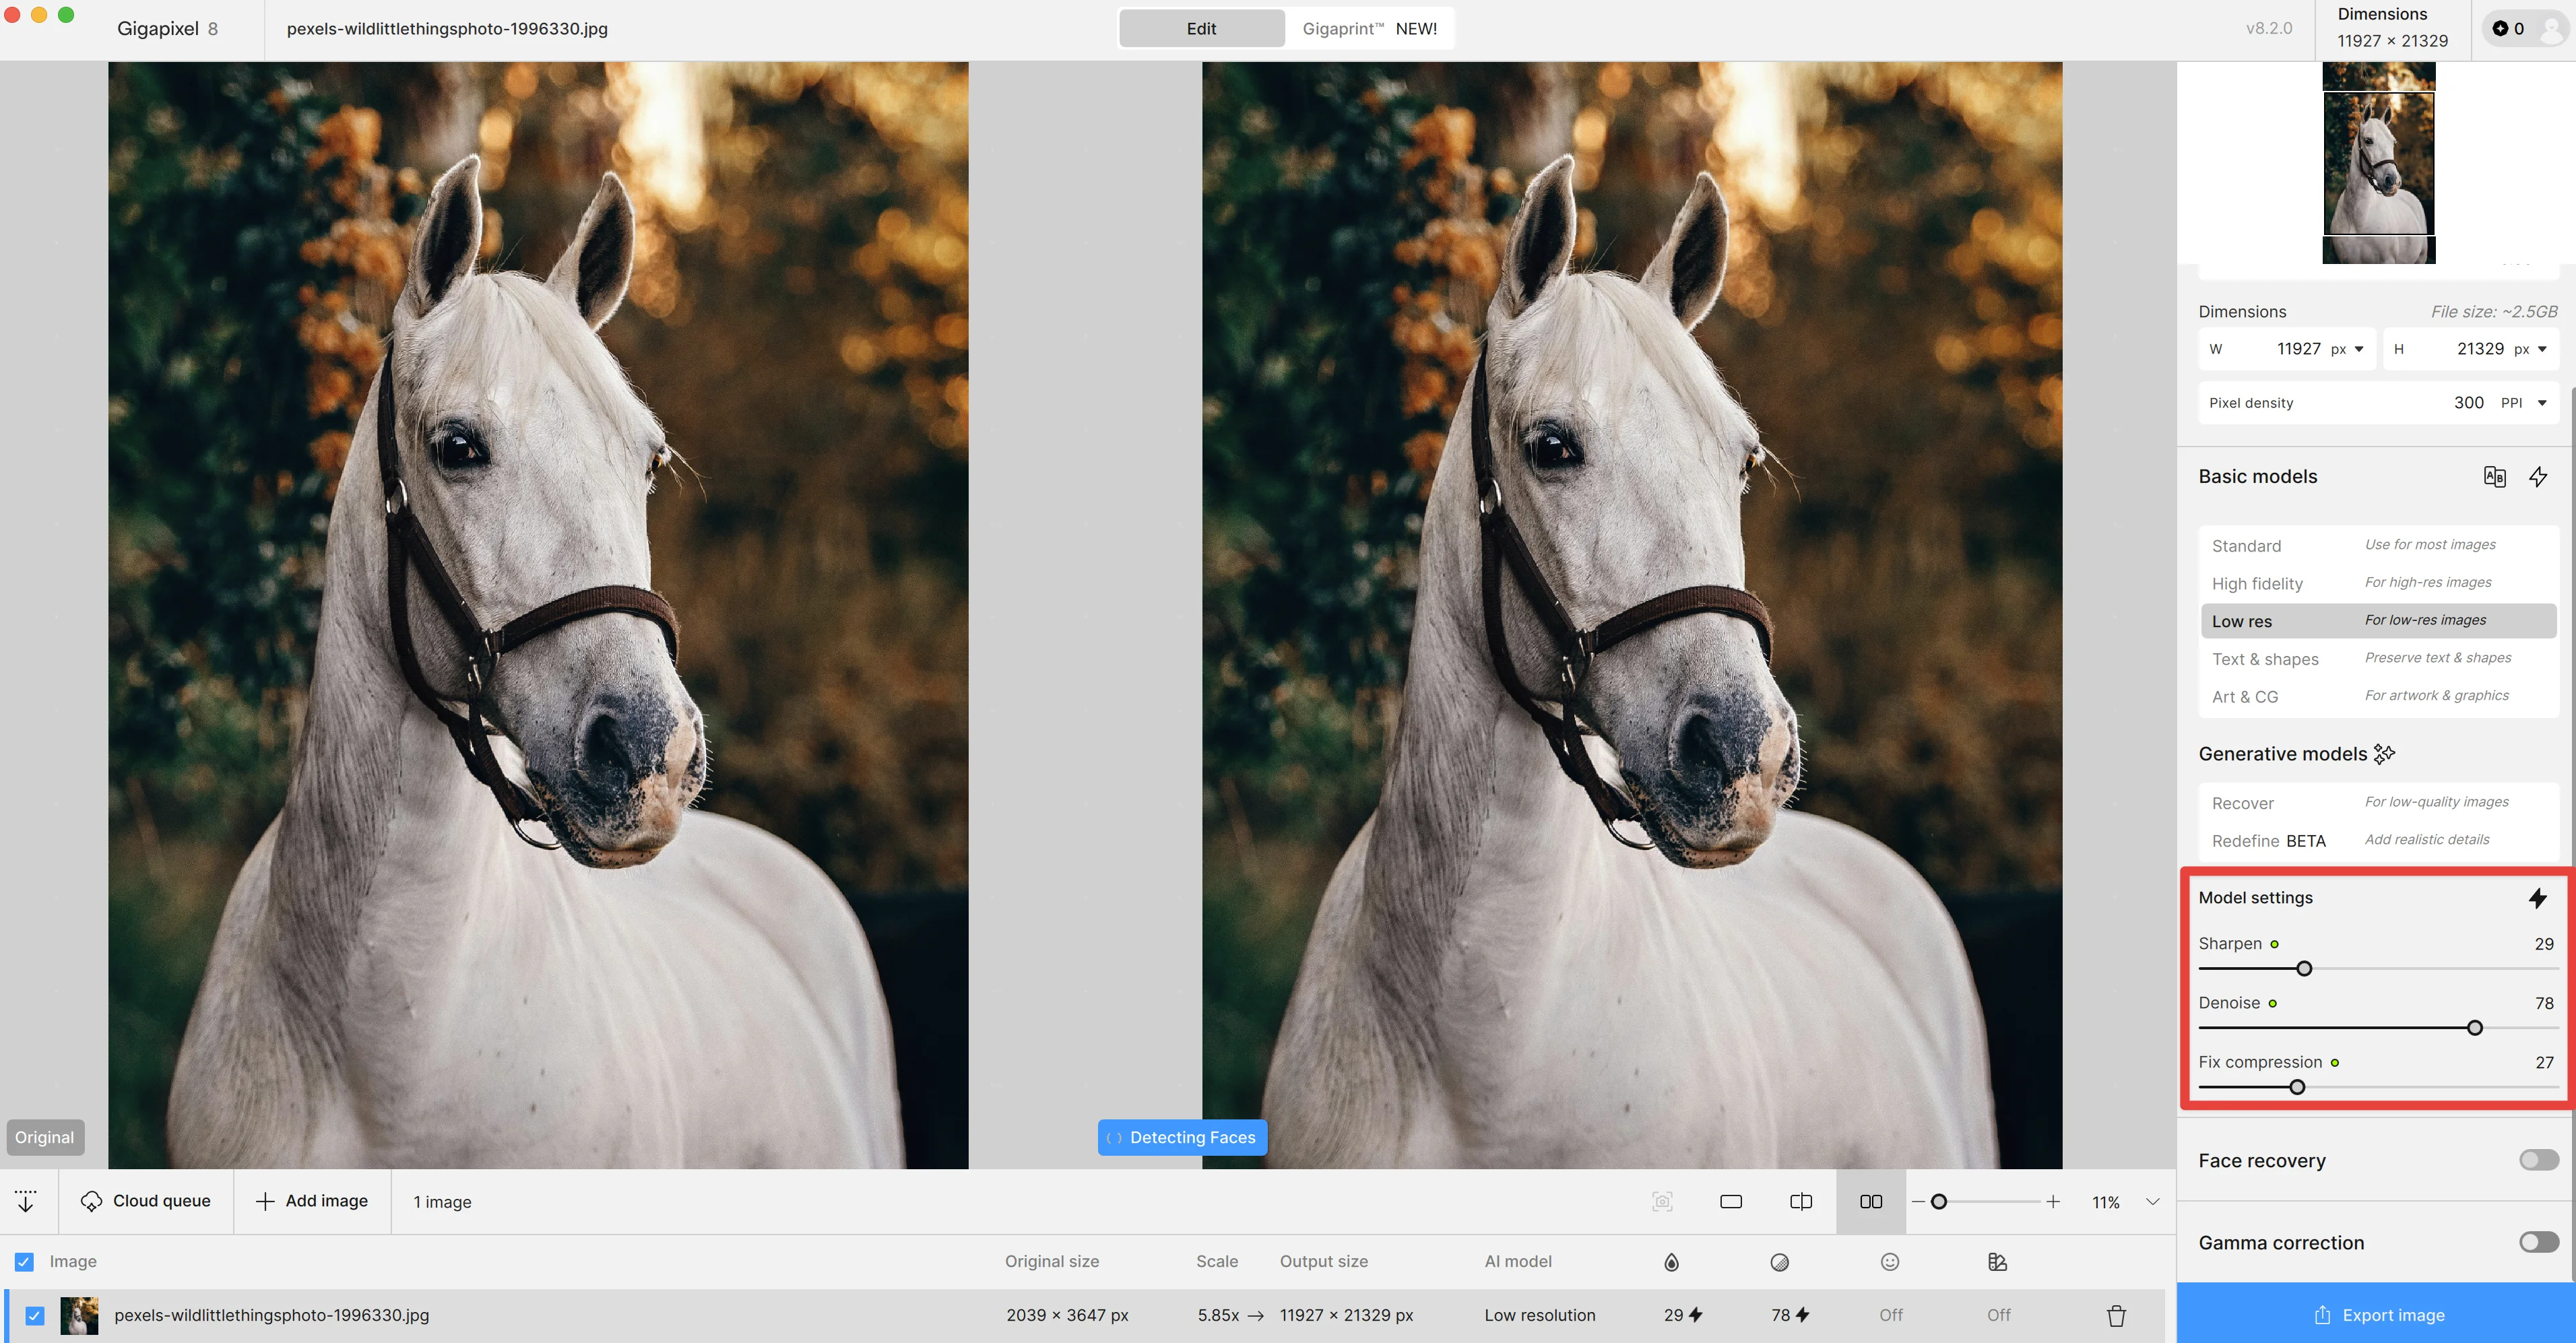
Sharpen, deblur, and fix compression
Finally, we can set the sharpen, deblur, and compression settings. These come with sliders, which will allow you to dial in your desired levels for your image. Similar to the model selection, we’ll use the auto-detect lightning bolt icon for this to have Gigapixel auto-set these settings for us.
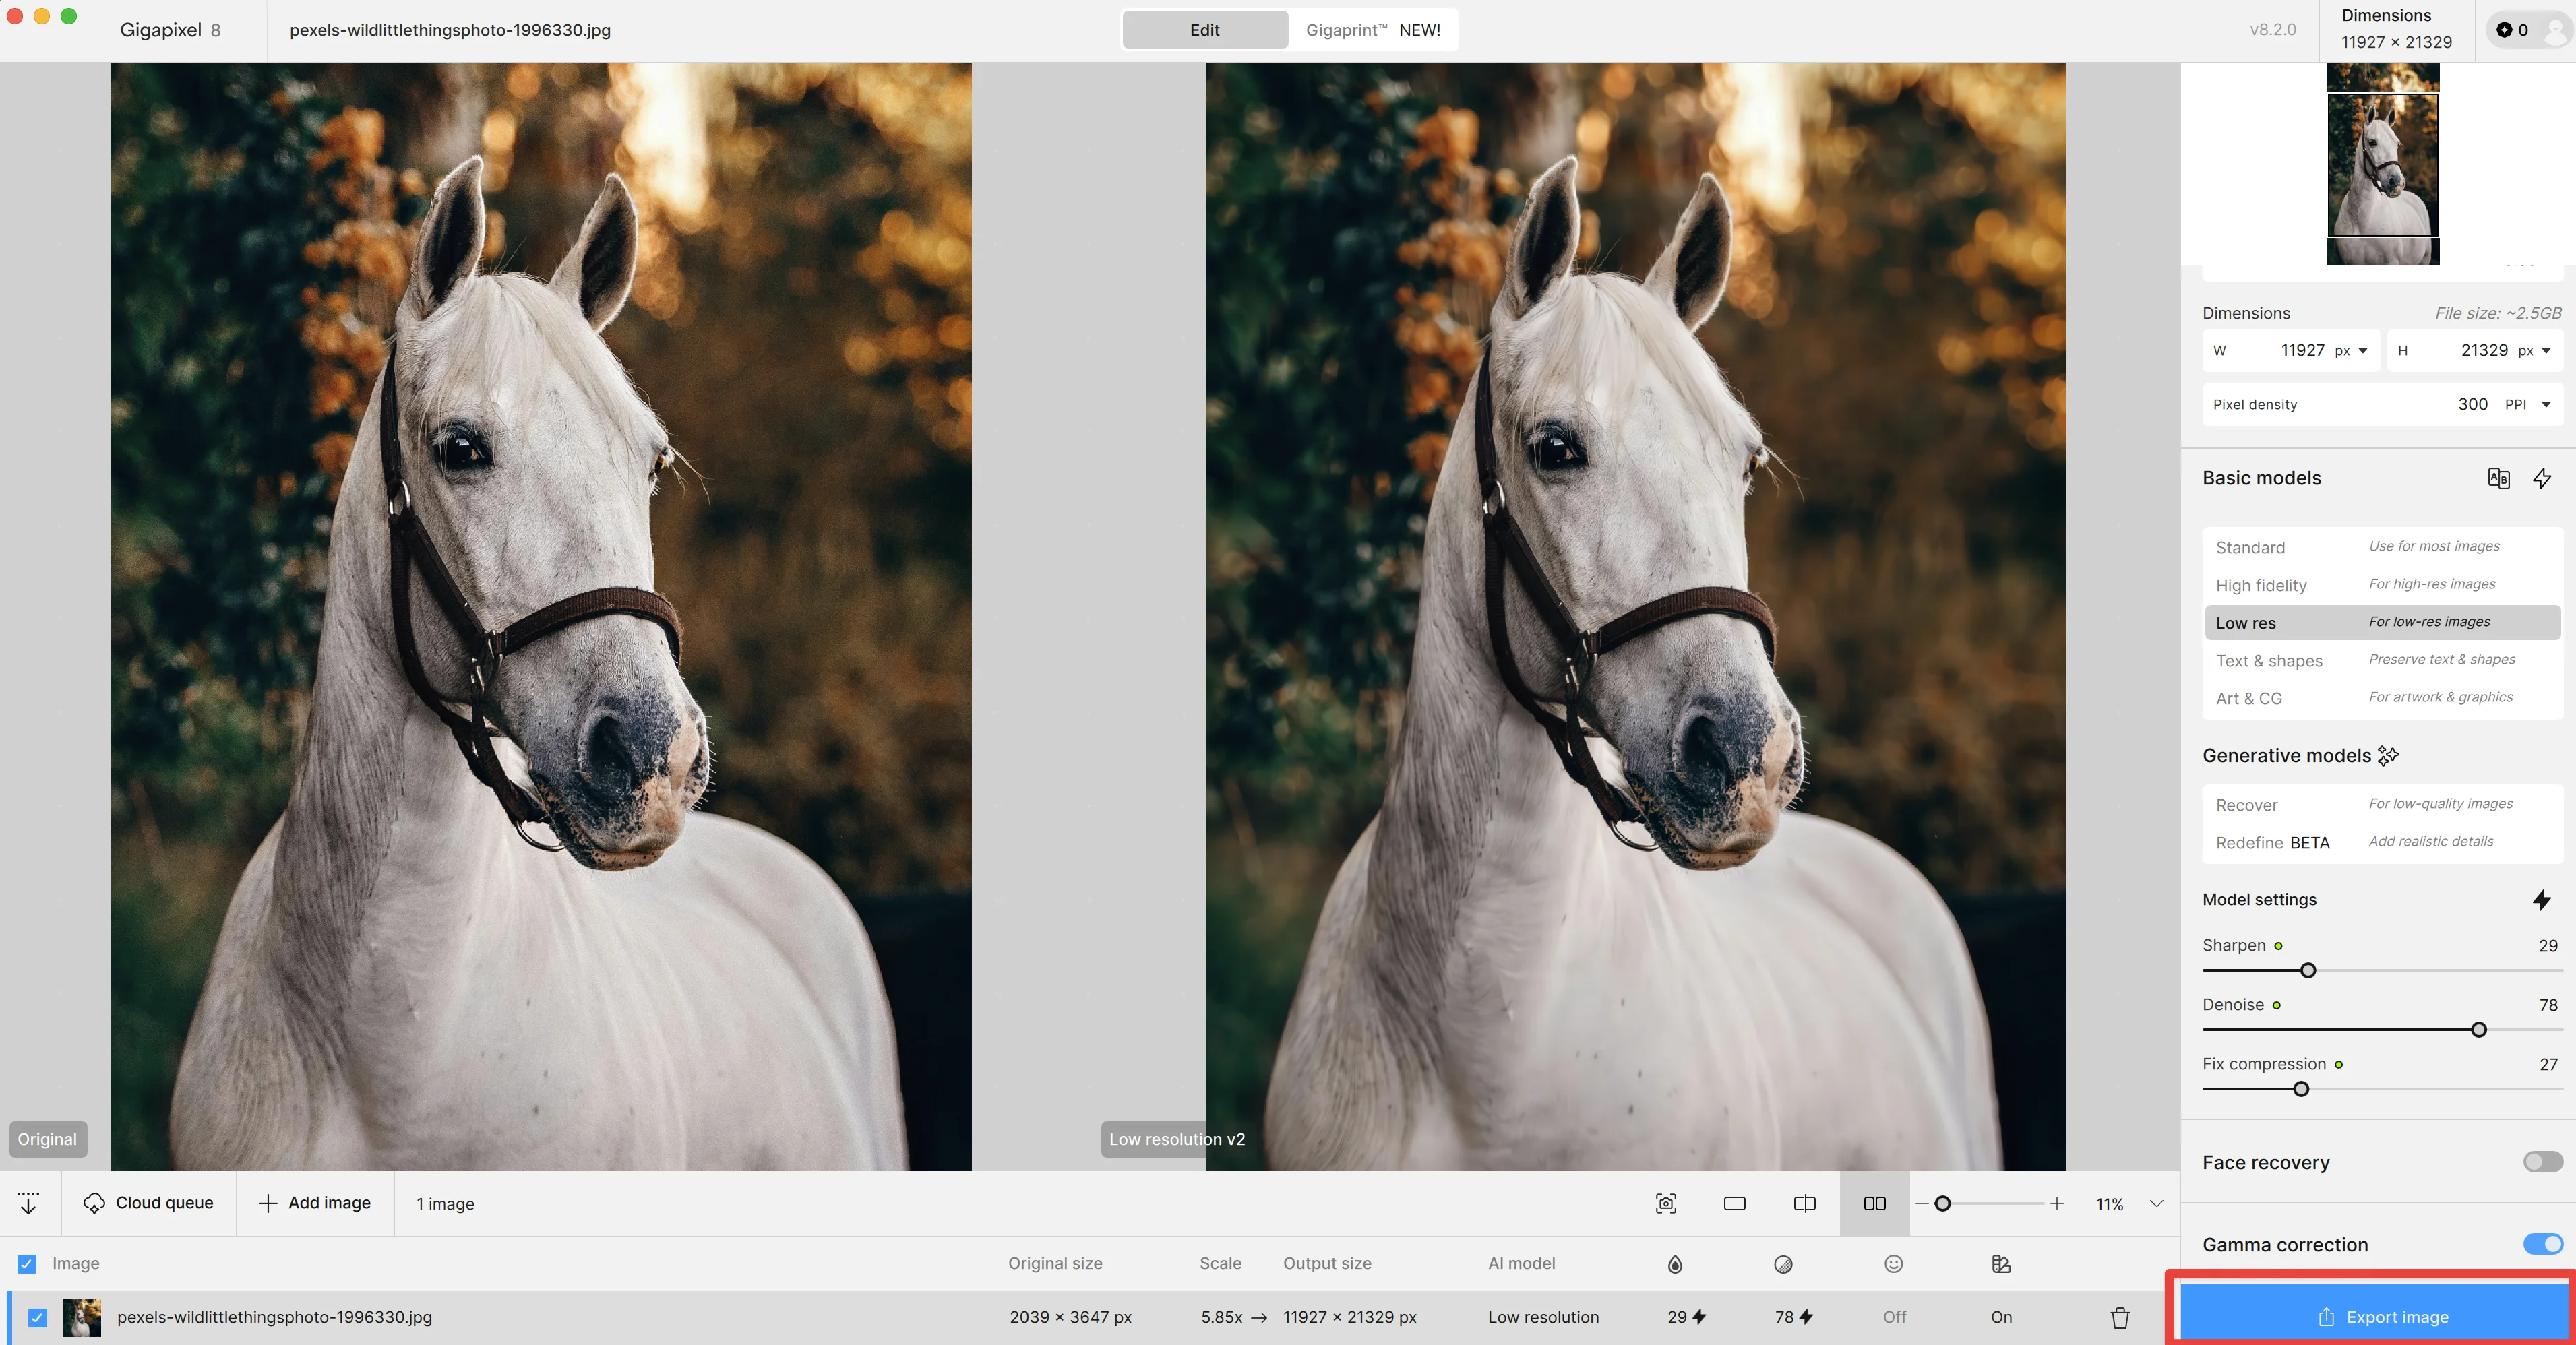
There are two additional settings—”Face recovery” and “Gamma correction”—which you can apply to your image. Face recovery only applies to human faces (which is why it’s disabled in our example) and can help recover obscured components to faces, and Gamma correction reduces color bleed from more saturated images.
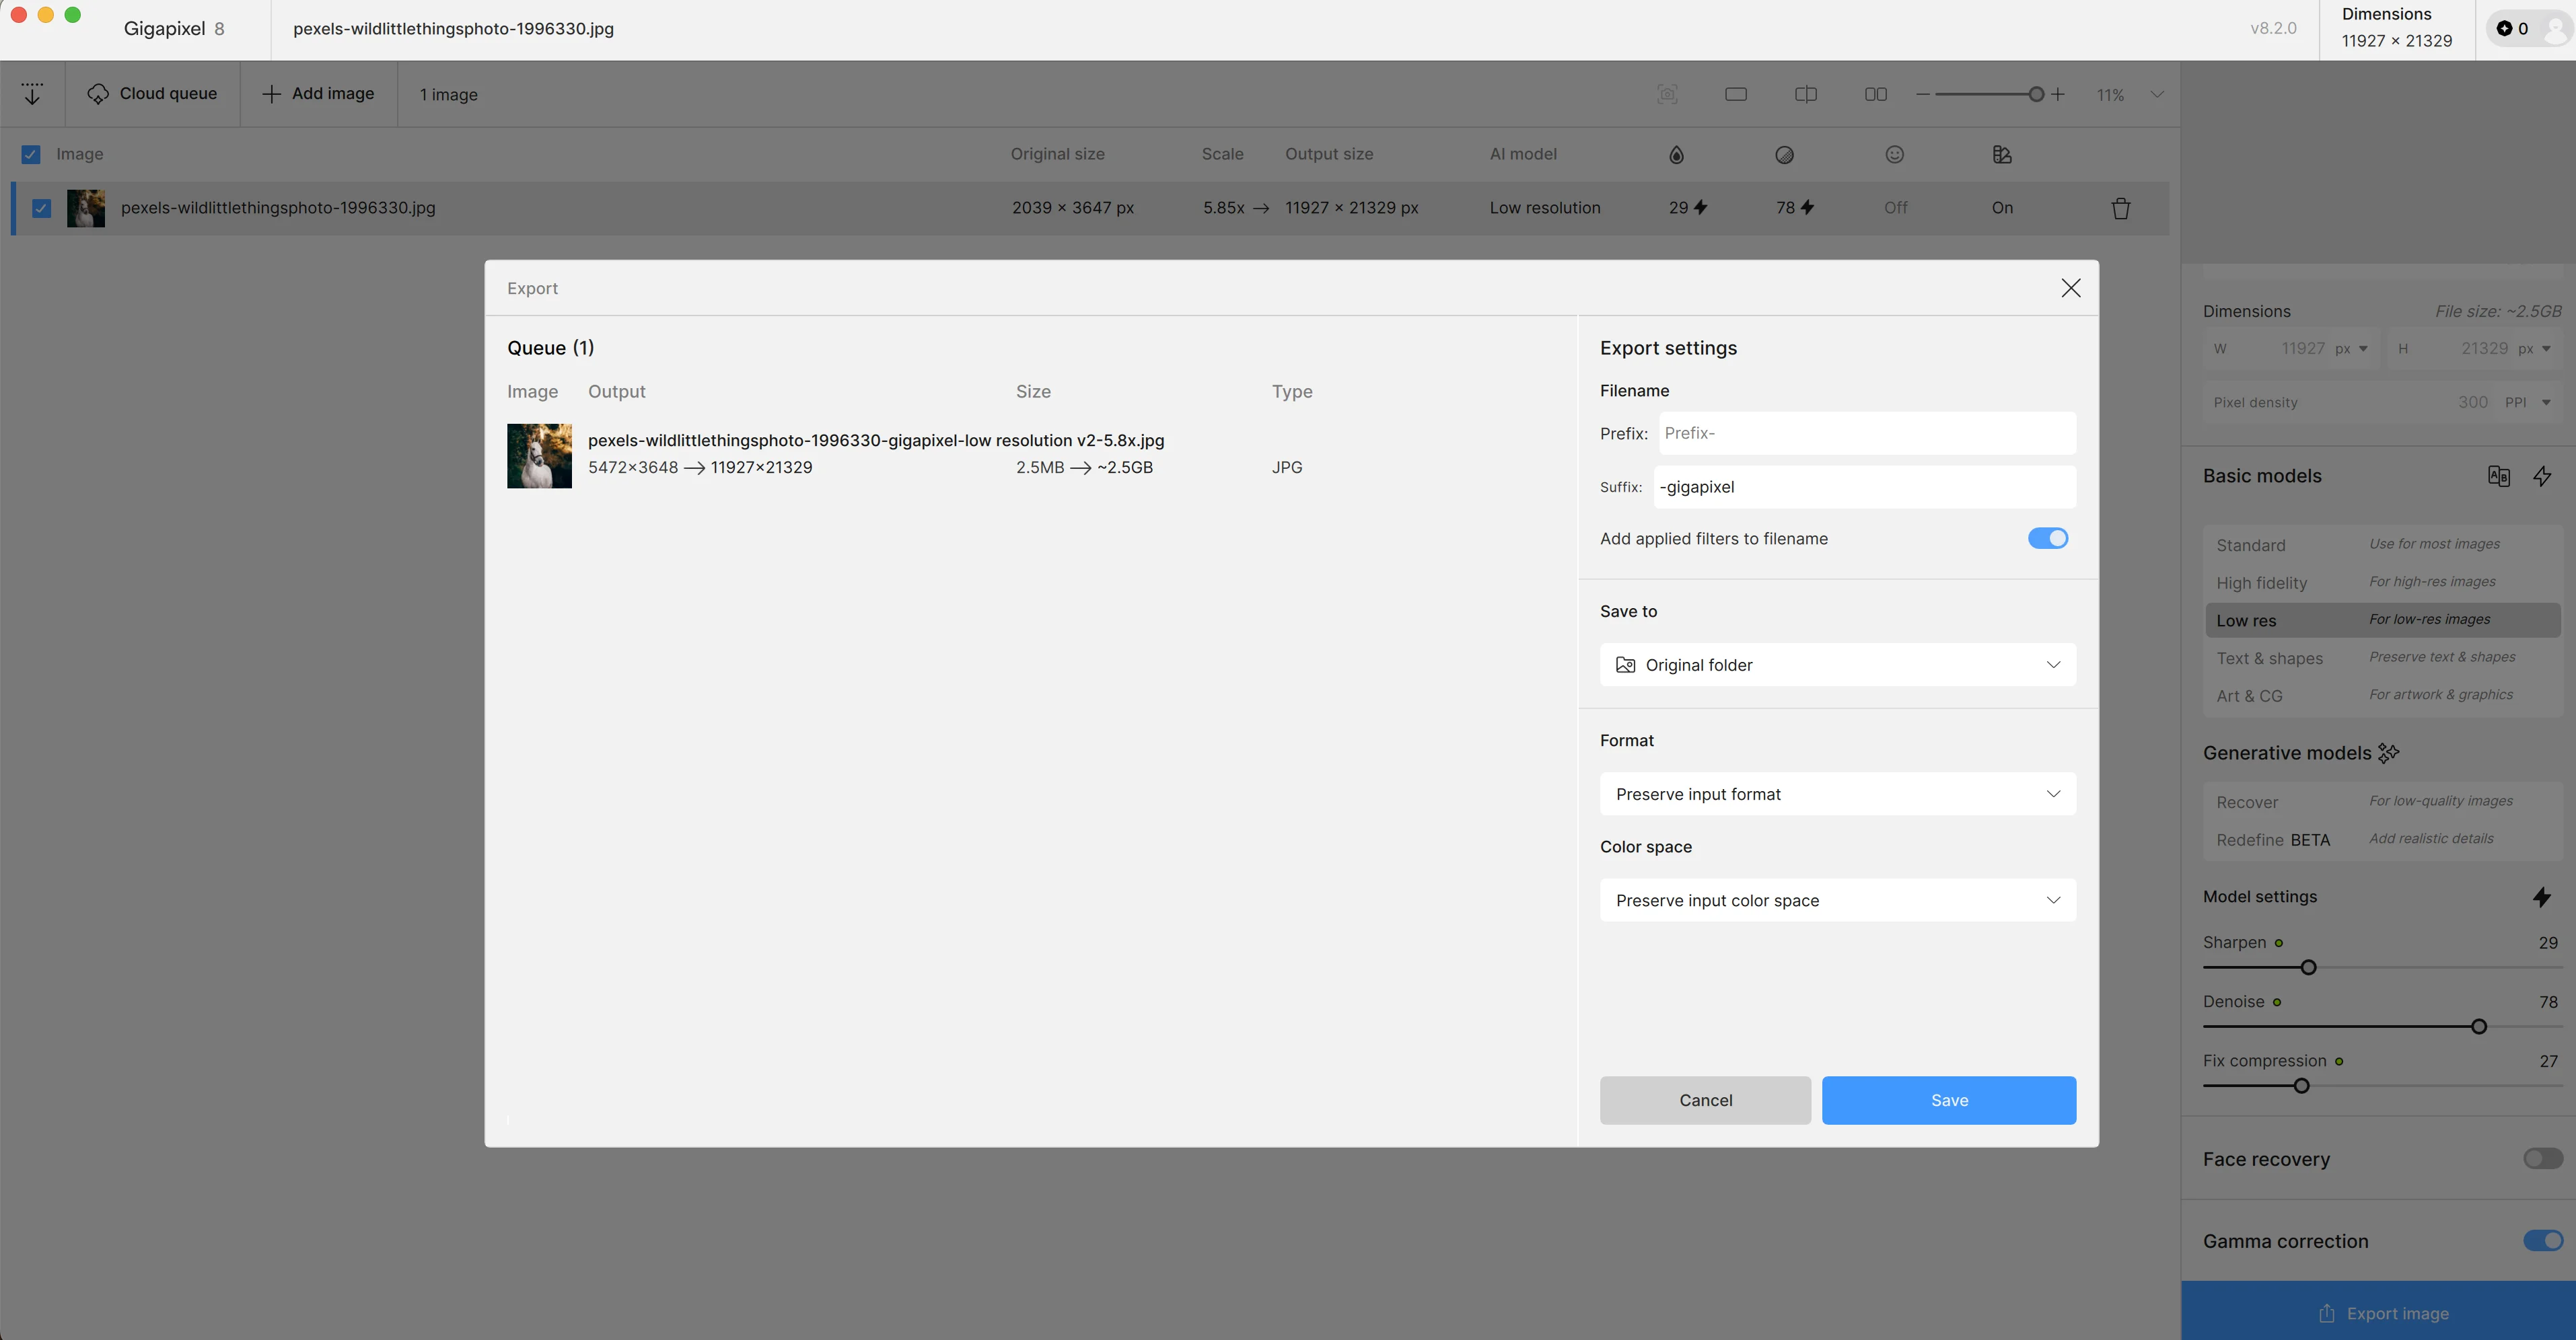
Export image
Once you’re happy with your upscaled image, you can export it via the “Export” button in the bottom right corner of the screen.
You can set the prefix and suffix of the file name in the resulting window, select the folder location for your export, and set the file format and color space.
This post was created by Garrett.