Use AI to create a daily summary of your inbox
Use AI to create a daily summary of your incoming emails.
2024-11-13
Nothing kills your potential productivity for the day like having to slog through an inbox full of emails.
Thankfully, using AI, you can create your very own inbox VA to read your emails as they come in and send you a daily summary so you can hit the ground running.
In this tutorial, you will learn how to:
- Prepare your inbox for easy AI management
- Build a zap that reads and stores the content of your email
- Send that content to OpenAI and generate a summary
- Send the summary as an email
Let’s get to it.
Step 1: Prepare your inbox for easy AI management
For this tutorial, we will assume you’re using Gmail - but this process can easily be adapted for Outlook.
There are two approaches we can take here.
- You can have AI read and summarise everything you receive. That will certainly be more hands-off, but it could also lead to a less valuable summary because you’re bound to receive some junk each day.
- If that sounds like your inbox, then instead I’d suggest you create a Gmail label called “Summarize”.
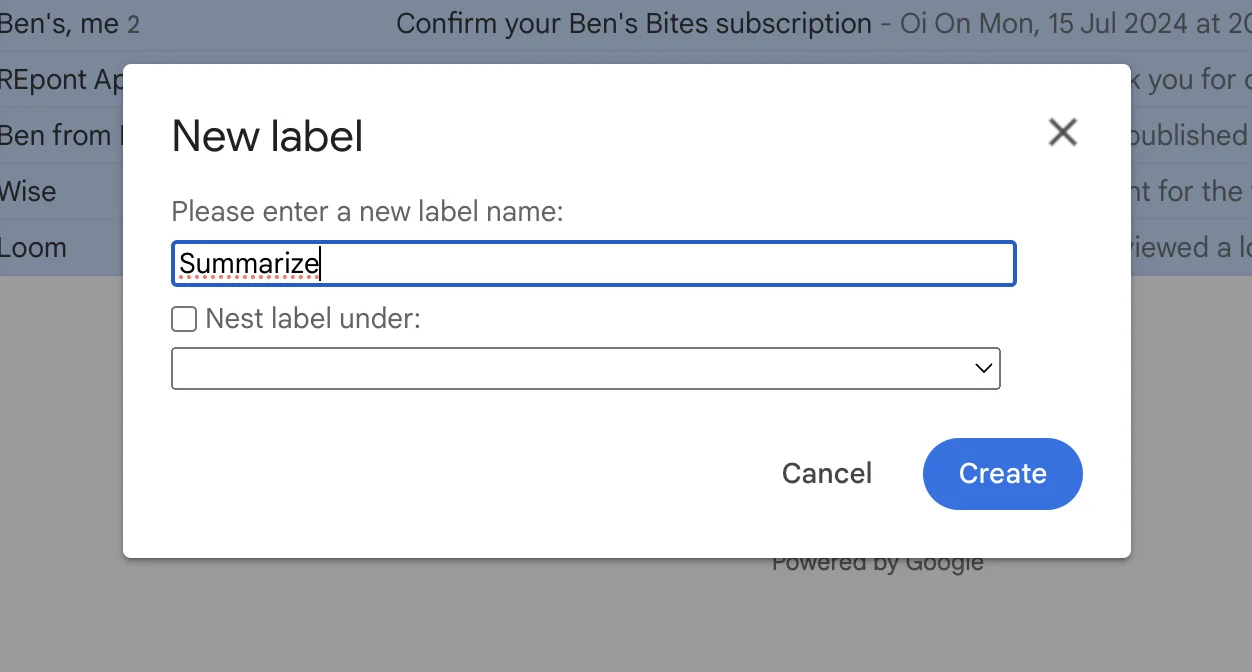
Then at some point before the summary is due to generate, scan your inbox and add the label to the emails you want included.
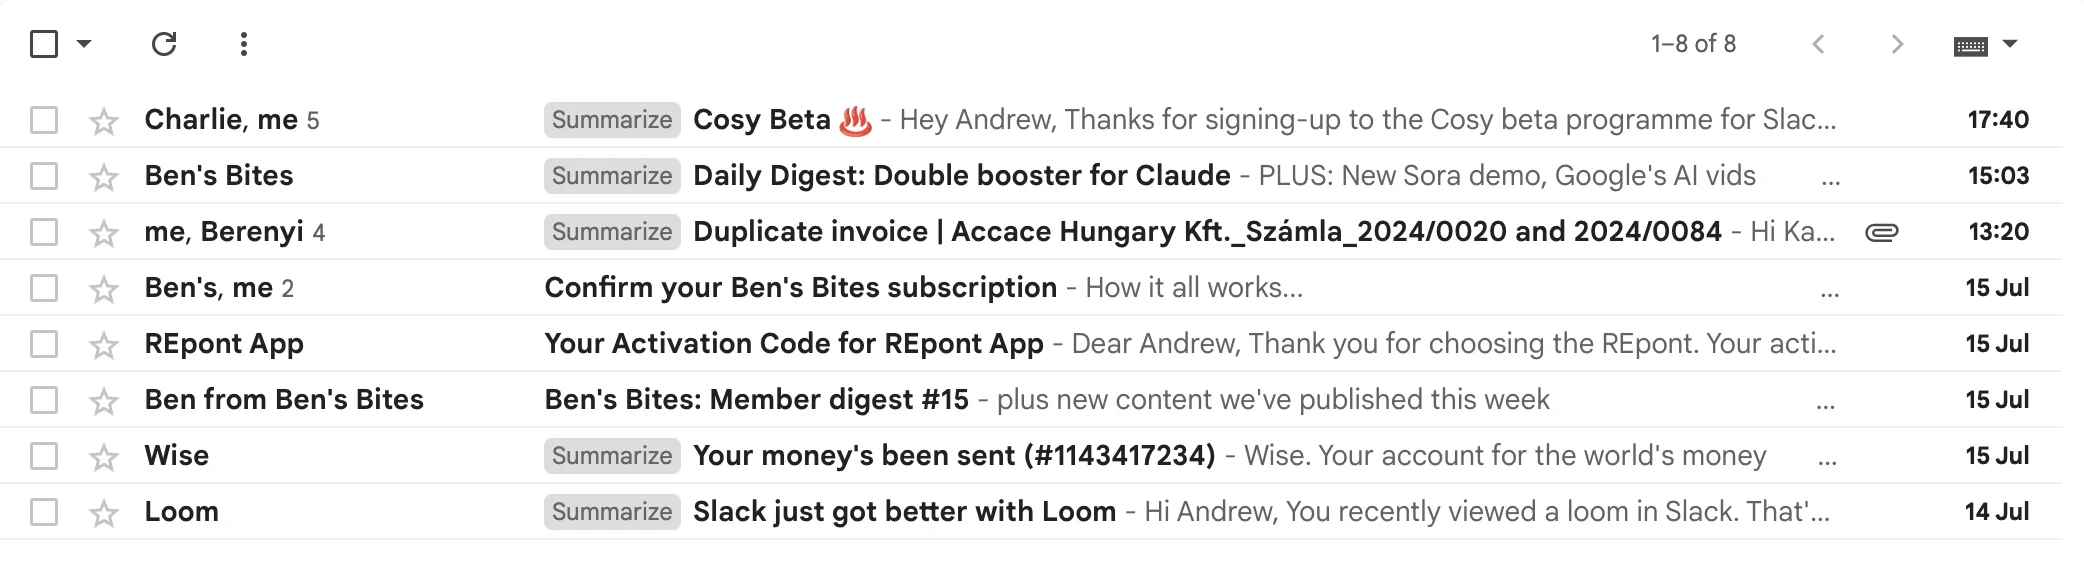
I’ve done that for my inbox as an example:
Step 2: Build a zap that reads and stores the content of your email
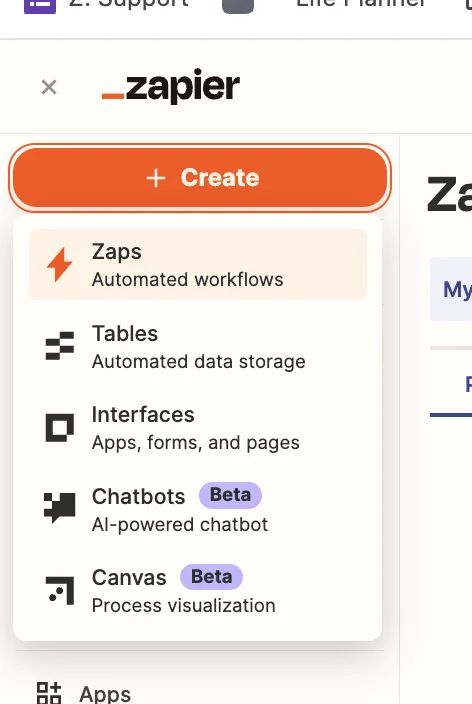
If you haven’t already, sign up for Zapier, then in the dashboard, in the top left, click the big orange “Create” button and select ‘Zaps’.
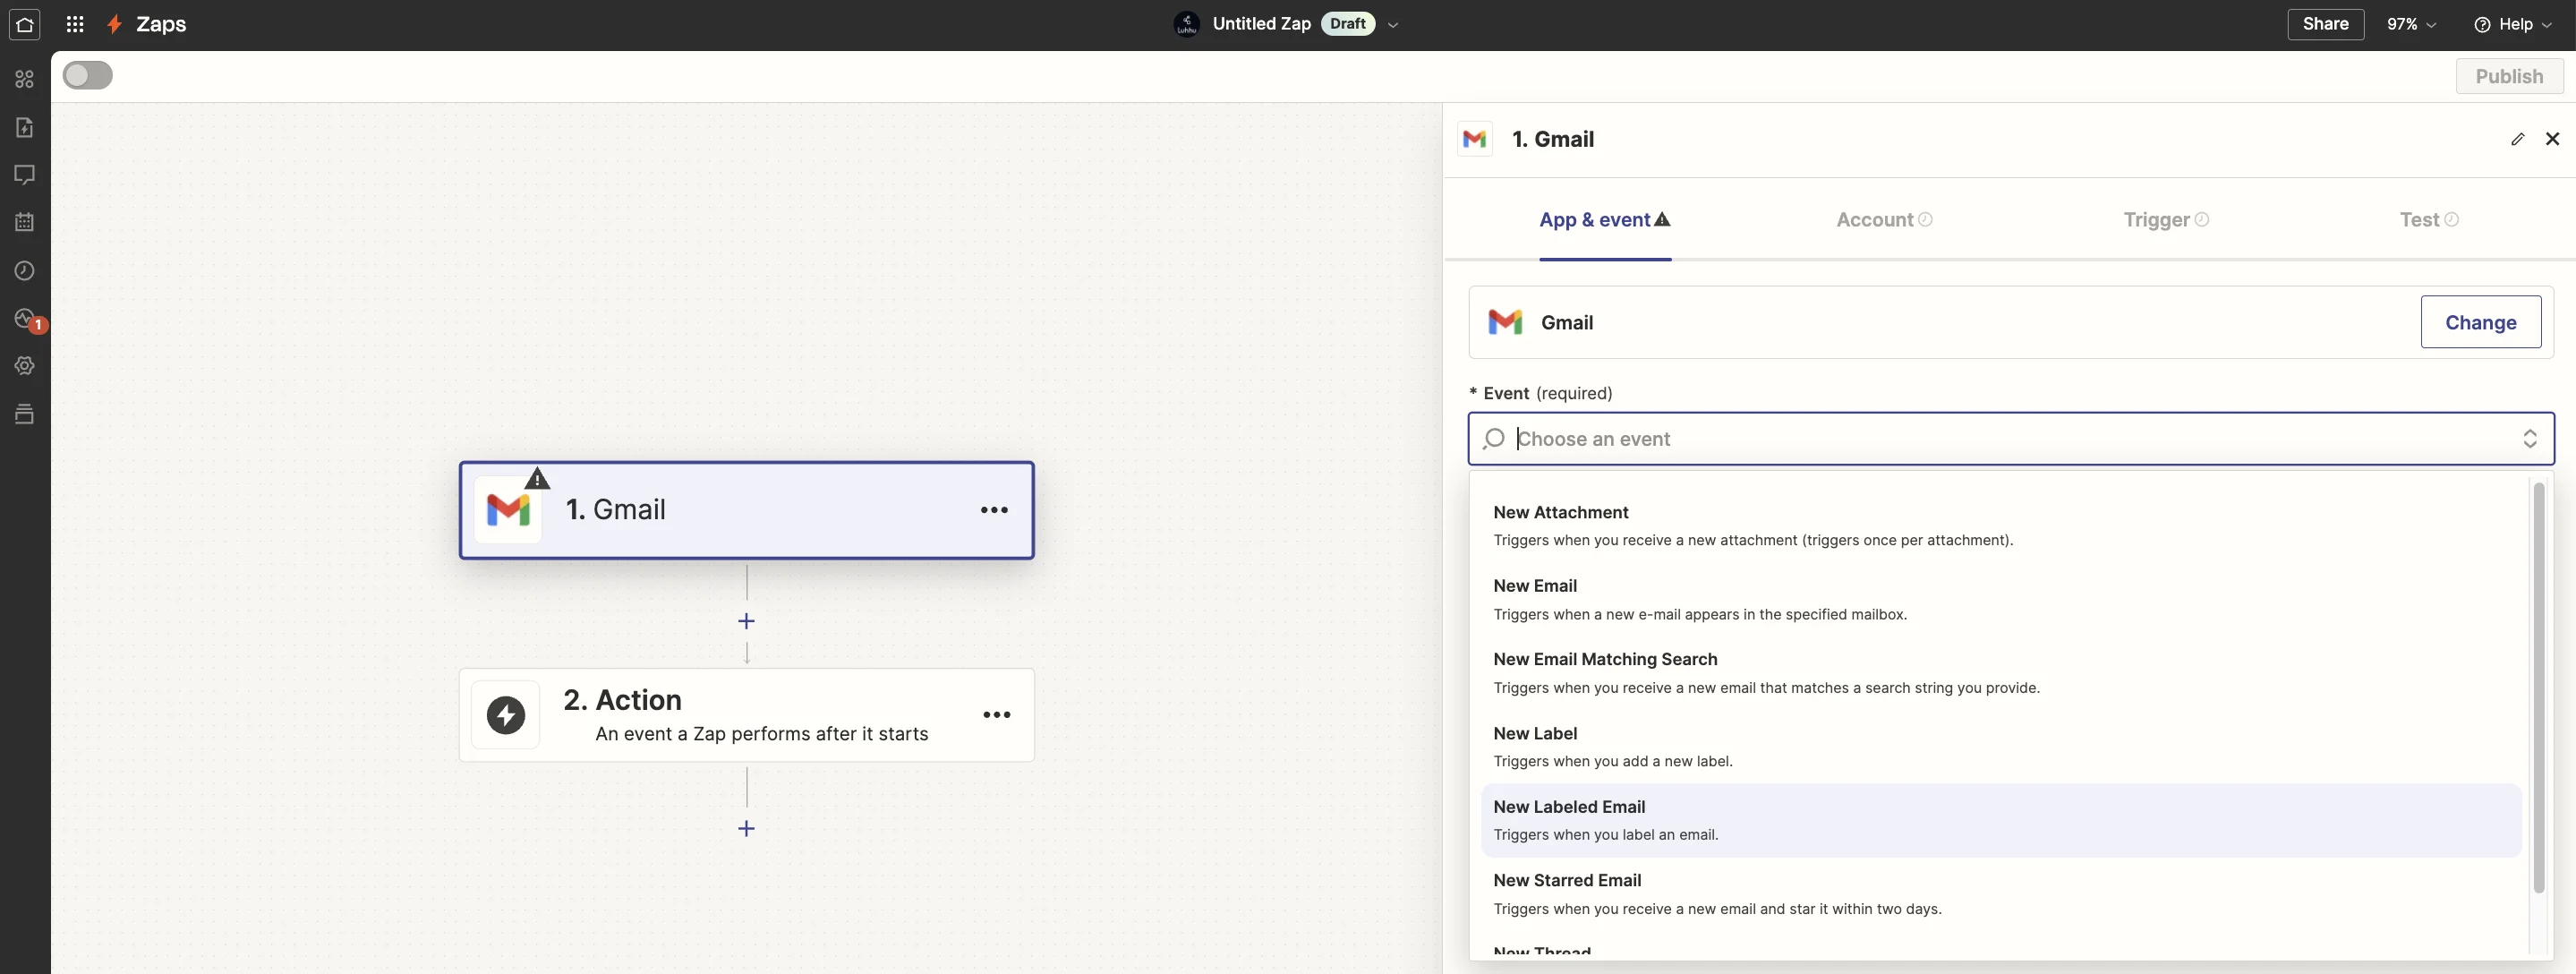
Inside the zap editor, you want to click on the box that says “Trigger” and select/search for ‘Gmail’ as the app.
Then select ‘New Labelled Email’ as the event (if you want this zap to run on all emails, then select ‘New Email’ as the event).
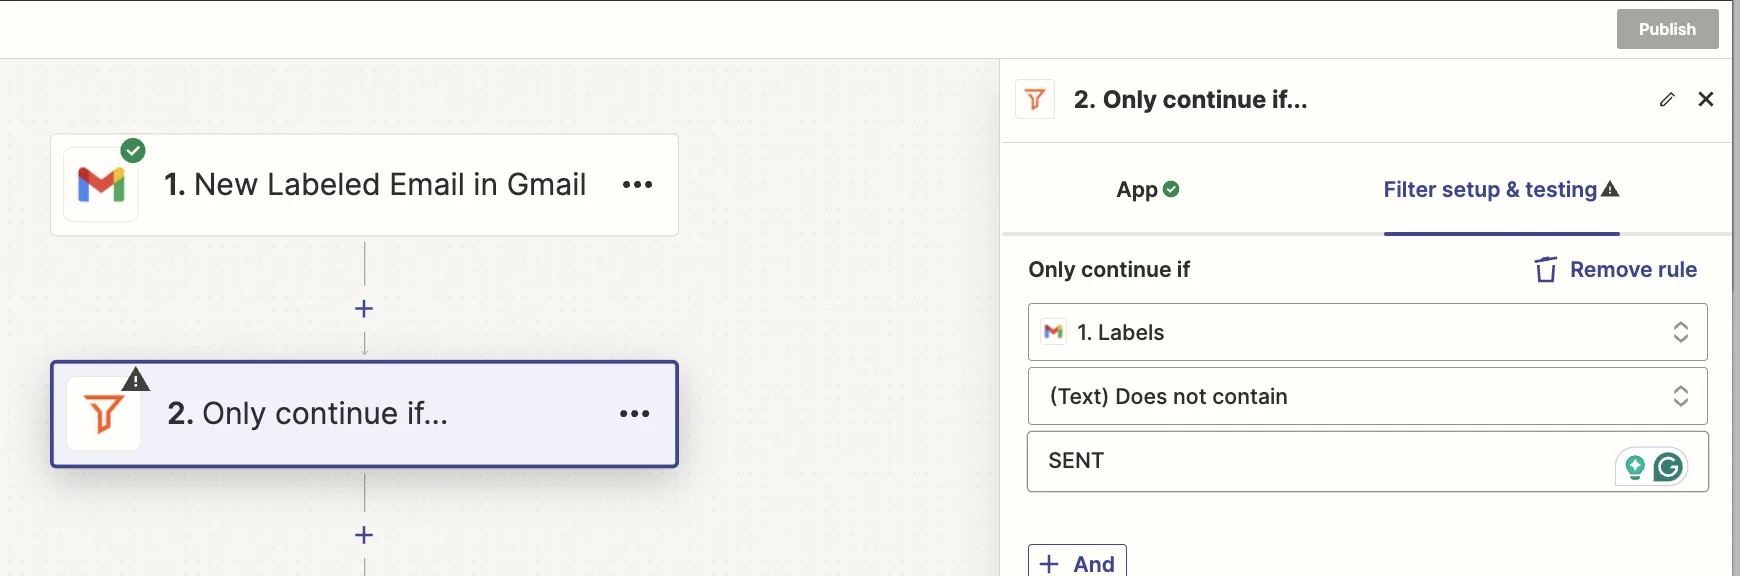
This particular trigger will sometimes include emails you send in a thread with the label - which won’t be useful for us - so we’ll need a filter to exclude these.
Click the “Action” box, then select ‘Filter by Zapier’ as the app. Then set the filter condition as shown in the screenshot below.
It’ll stop the zap running on any emails with a SENT label (a hidden label Gmail applies to all outgoing emails).
Next, we’re going to use a Zapier feature called “Digest”. Think of it as a temporary storage box you can use and add content to for later use.
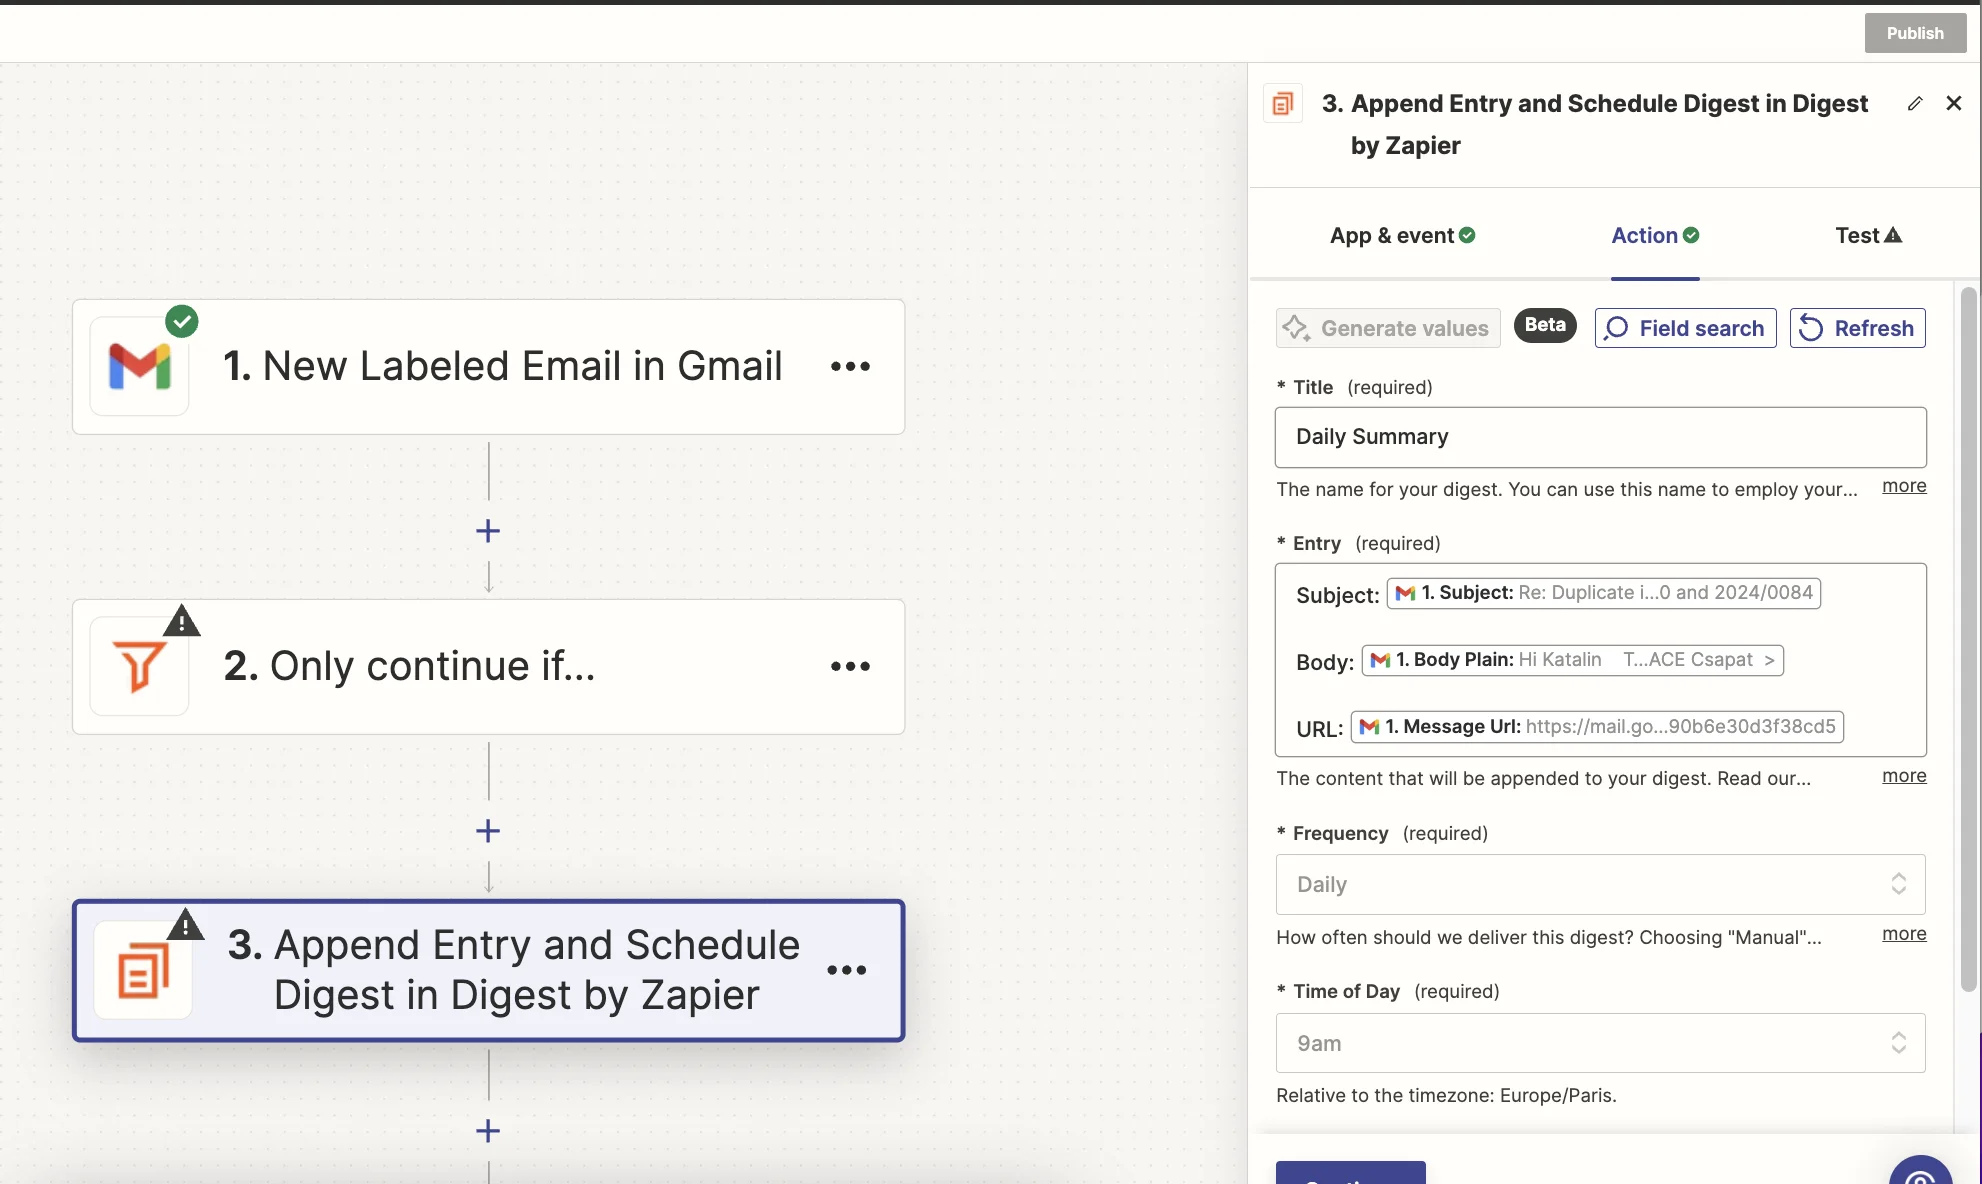
Add a new action step to your zap with ‘Digest by Zapier’ as the app and ‘Append Entry and Schedule Digest’ as the event.
When configuring the step, there are the important fields:
- Title
A digest has a title to identify it - think of it as a unqiue ID for the memory store
- Entry
Each digest can have one or more entries containing text.
Each time the zap runs, you’ll add another entry.
In this case, we’ll create an entry using the email’s subject, body and URL (so we can include that in the summary for easy access). You can experiment and include more fields to help give the AI more context.
- Frequency & Time of Day
This refers to how often you want the memory store to process all its entries. In our case we want it to happen daily at 9am.
In practical terms, every time the zap runs it will pause after this step. Then at 9am each day, the zap run that paused first (and only that zap run), will unpause and run all the subsequent steps. It will include all the entries from the digest combined.
A little confusing at first, but stay with me!
Step 3: Send that content to OpenAI and generate a summary
Knowing that at 9am all entries from our digest will be processed, we now want to send that combined content to OpenAI for processing.
Add a new action step to your zap, with “ChatGPT” as the app and ‘Conversation’ as the event
When configuring the step, there are the important fields:
- User message
Here we should map the “Current digest” field from the Digest step

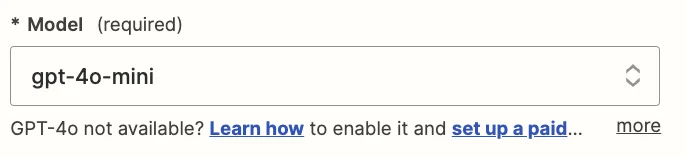
- Model
We’re going to use the “gpt-4o-mini” model, which is their cheapest and quickest model, perfect for summarizing jobs like this.
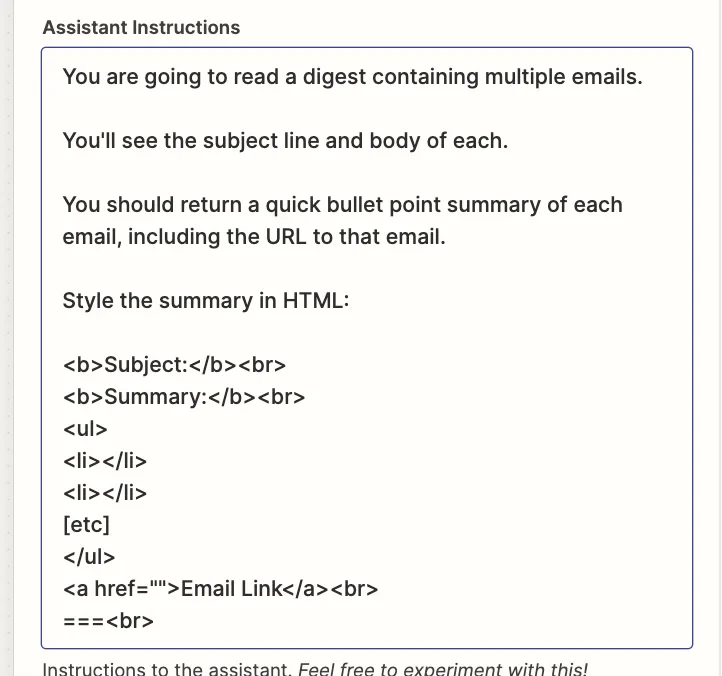
- You can experiment here to get exactly what you want, but this prompt worked well for this tutorial.
You are going to read a digest containing multiple emails.
You'll see the subject line and body of each.
You should return a quick bullet point summary of each email, including the URL to that email.
Style the summary in HTML:
<b>Subject:</b><br>
<b>Summary:</b><br>
<ul>
<li></li>
<li></li>
[etc]
</ul>
<a href="">Email Link</a><br>
===<br>
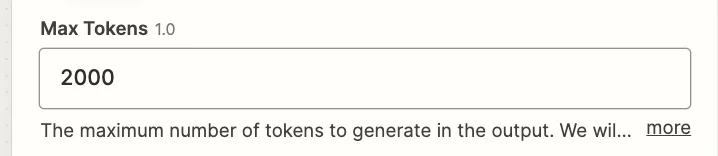
- Max tokens
This sets the length of your output. Unless you’re handling a lot of emails, 2,000 should be plenty.
Step 4: Send the summary as an email
To tie it all together, we’re going to have the summary sent as an email.
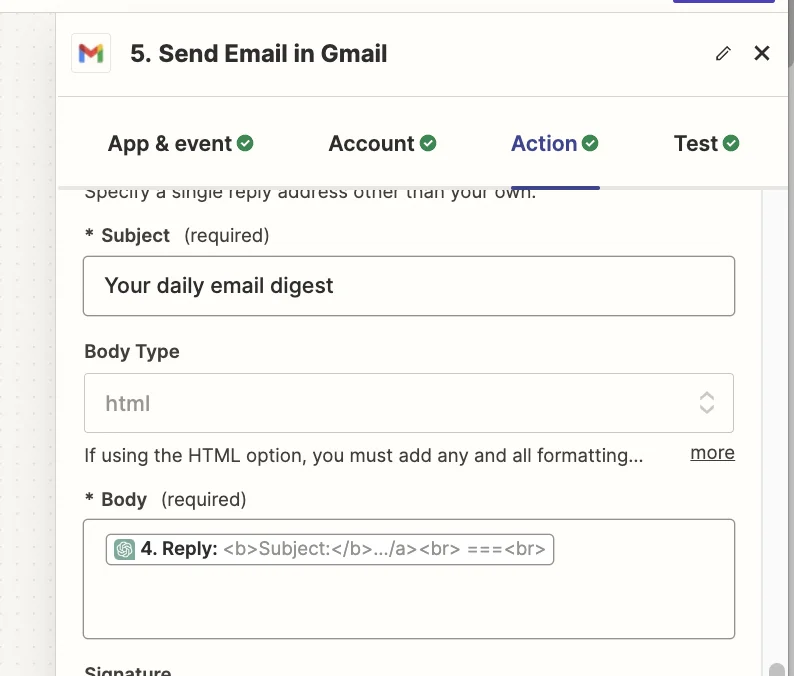
Add a new action step to your zap with ‘Gmail’ as the app and ‘Send email’ as the event.
You can style the email as you want, but at a minimum give it a subject line, and map the ‘Reply’ output field from the ChatGPT step into the “Body” field.
And remember to set the “Body Type” field to ‘html’ as the output from the ChatGPT step is HTML. This will make the email look nice and stylized.
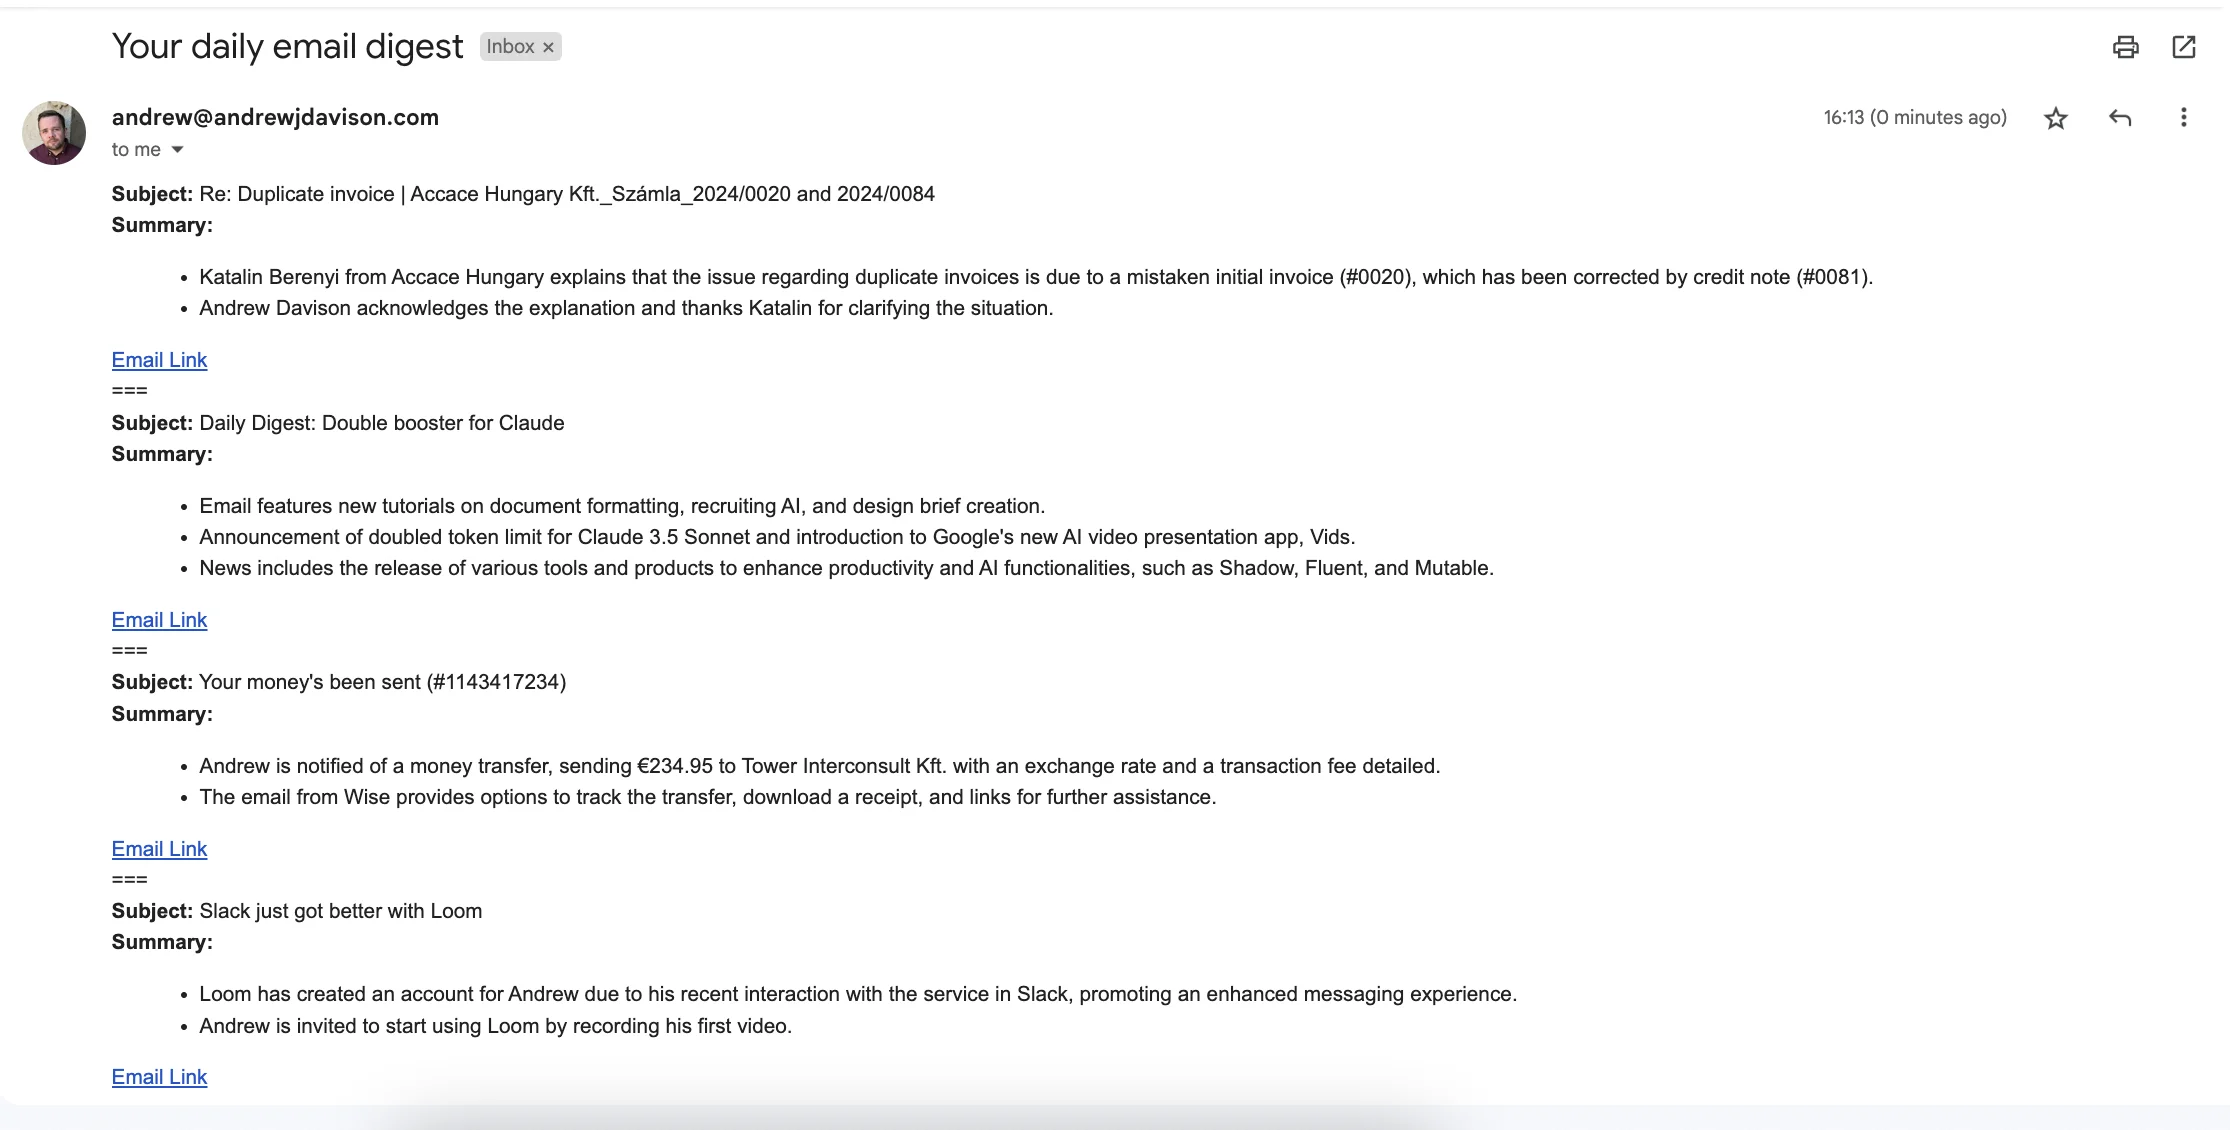
Test the zap step, and within a few seconds you’ll find something like this in your inbox.
This tutorial was created by Andrew.