Use AI to create personalised interview questions from a CV
Create a personalised interview script for each candidate based on their resume/CV.
2024-11-13
When recruiting, knowing what questions to ask in an interview can be a challenge. You want a balance between asking the same questions to everyone, where the answer helps you understand who’s best for the role, versus, some more personalised questions that will help you find out about the strengths of a specific candidate.
If you’re interviewing dozens of people, taking time to review the CV/resume and devise questions simply isn’t feasible - but now you can have AI do it for you.
In this tutorial, we’ll build a workflow that will work like this:
- You add a new record (a pdf file of a resume) to an Airtable sheet
- In Airtable, you check a box to mark that record as “Prepare for interview”
- This triggers a zap in Zapier which will run
- The zap will populate the Airtable record with suitable interview questions
These are the exact steps we’ll follow:
- Use ChatGPT to devise some standardised interview questions based on the job role.
- Use ChatGPT to devise some personalised questions using a sample CV.
- Build an Airtable for managing interview questions.
- Turn the PDF into a JPG with ConvertAPI so that OpenAI Vision can read it.
- Use Zapier and ChatGPT to create the interview questions on demand.
Let’s dive in.
Step 1: Use ChatGPT to devise some standardised interview questions based on the job role
Before we automate the process, let’s first test how this might work in ChatGPT.
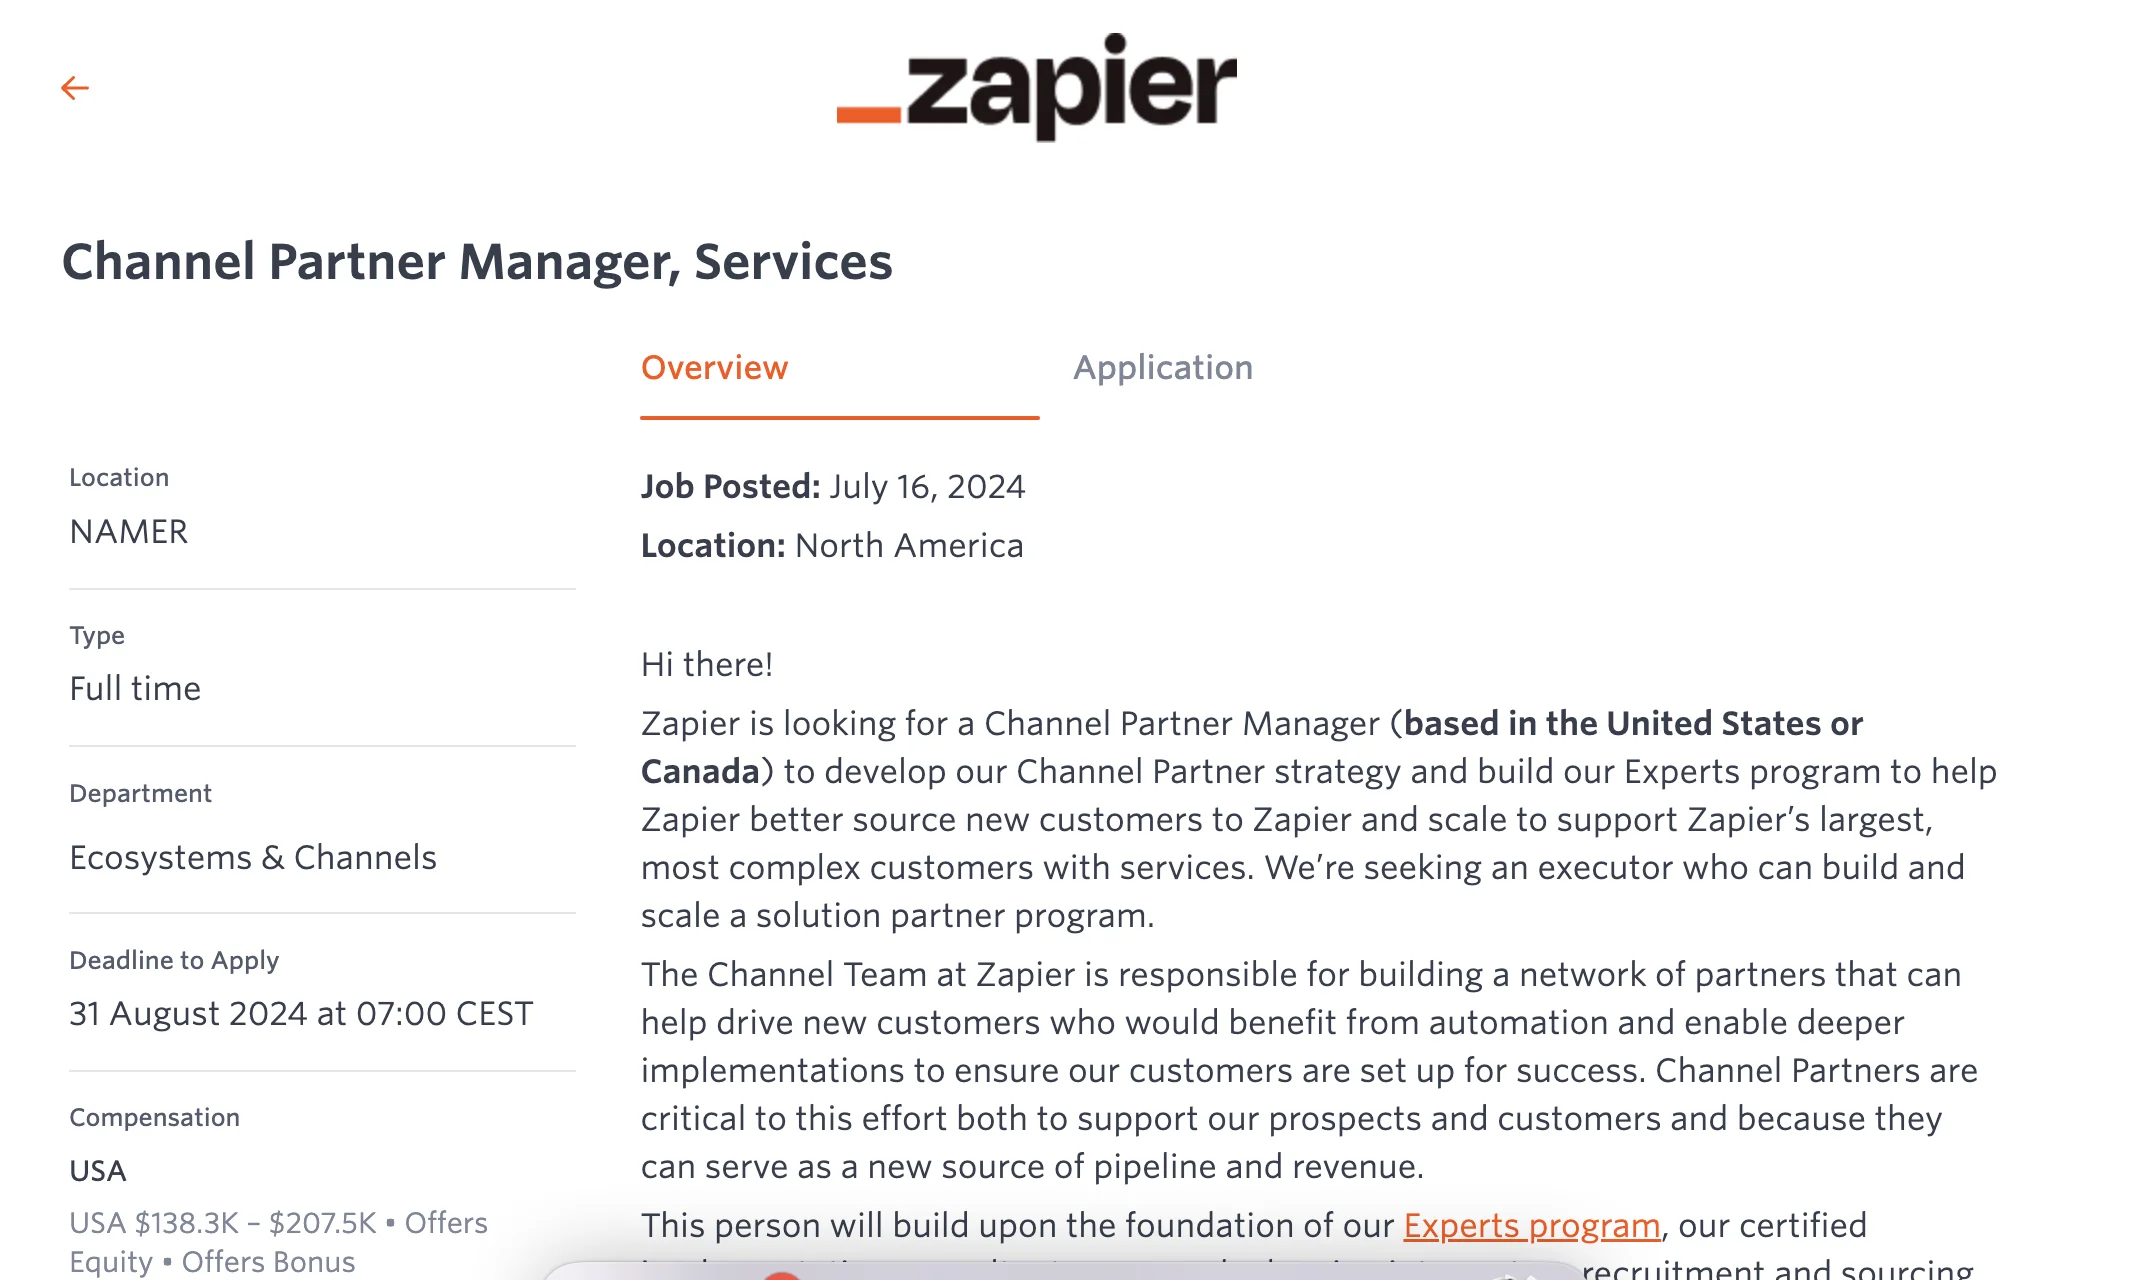
The first thing you need is a job description for the role you’re hiring. I found an example for ‘Channel Partner Manager’ on the Zapier jobs website and saved it as a PDF.
I then started with the following prompt.
I'm a recruiter about to interview some candidates for a new role.
I ultimately want to create a script for the recruiter. It will be a blend of two parts:
a. Some set questions that everyone gets asked, based on the role.
b. Some personalised questions for the specific candidate based on their CV.
Let's tackle the first bit. I'll upload a PDF with the role description, and I'd like you to devise 5 standardised questions to ask everyone in the interviews.
Ok?
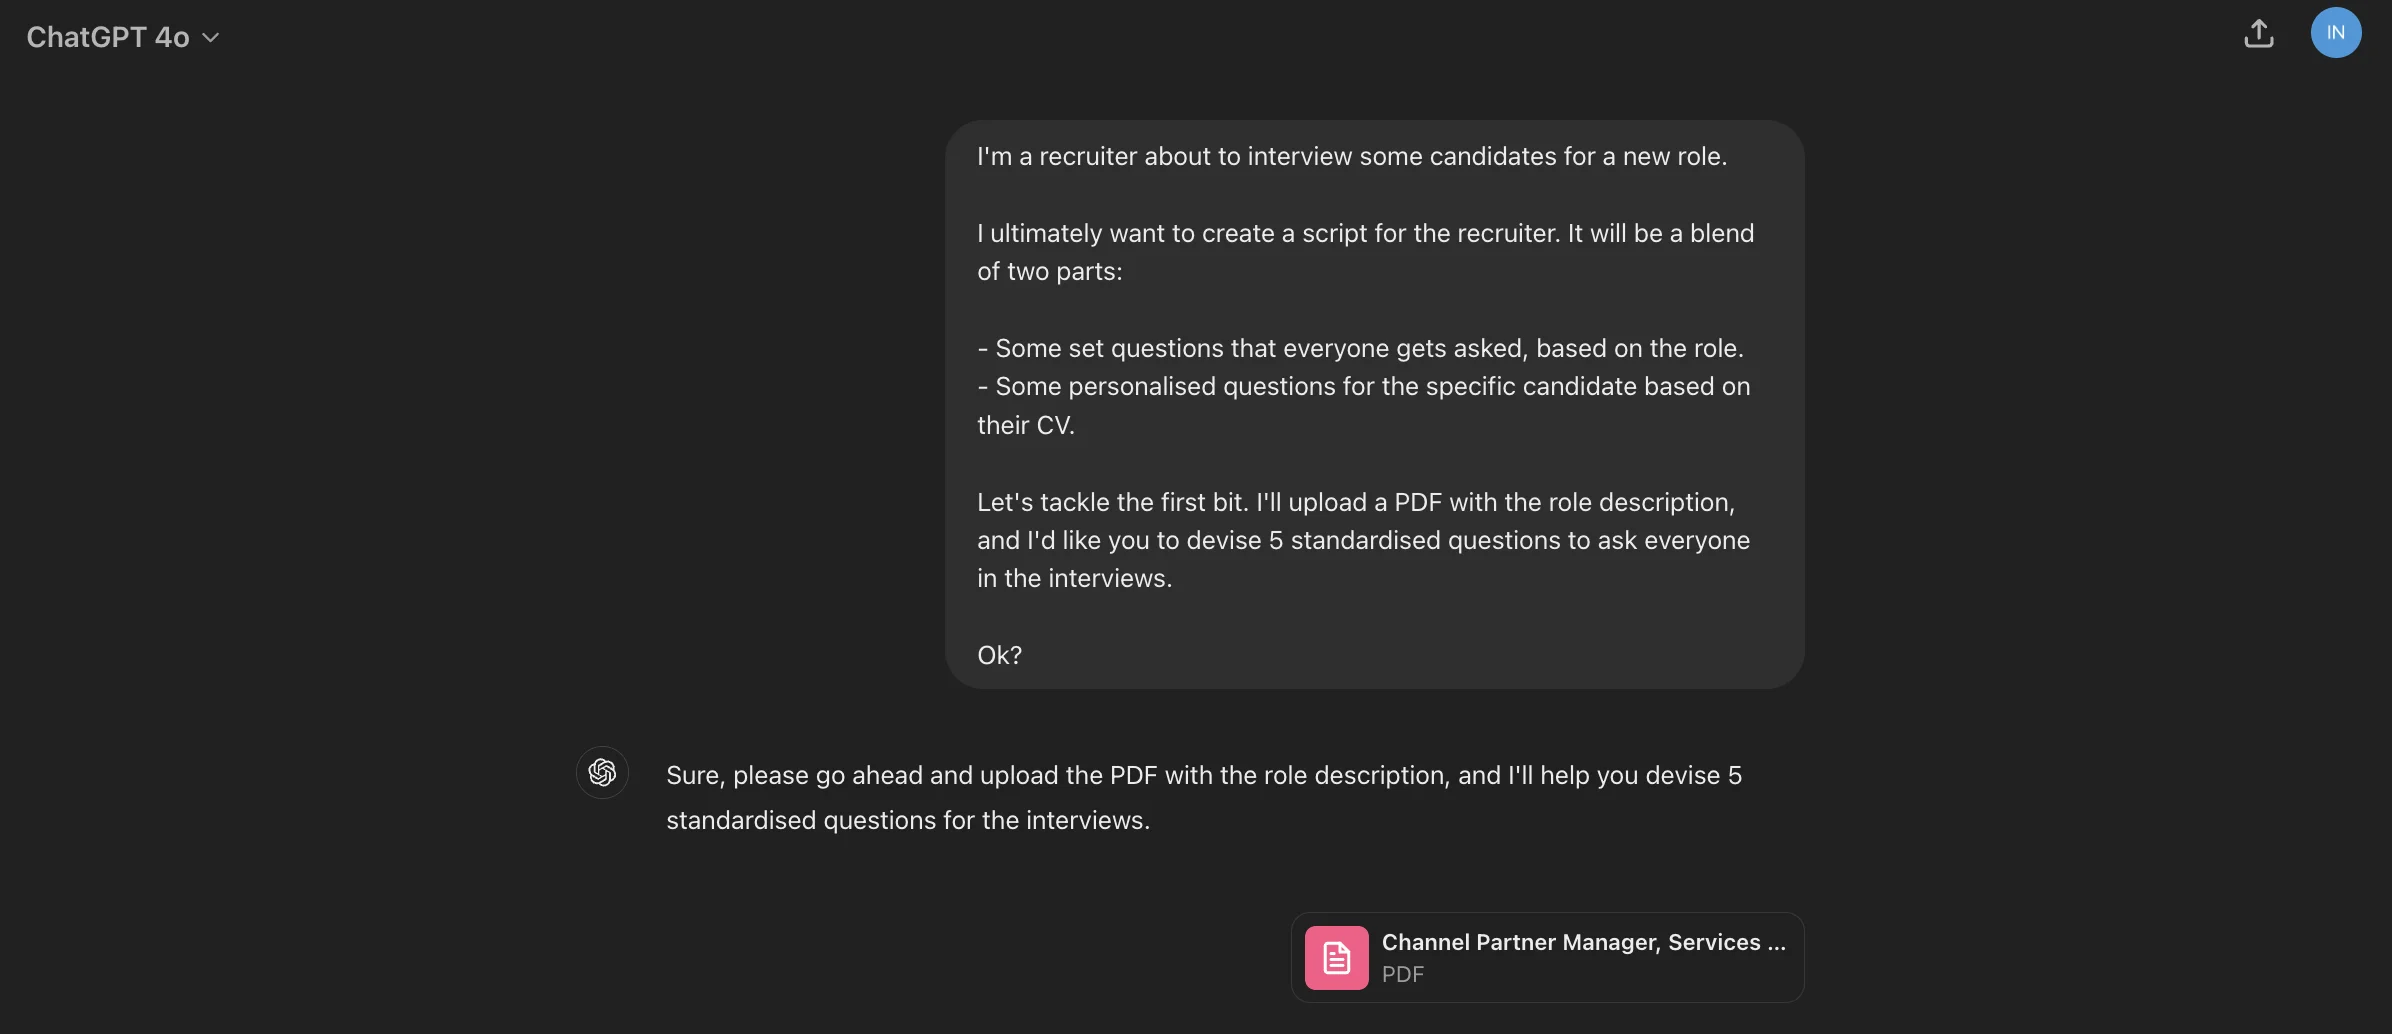
In my next reply, I uploaded the PDF and got the following response. Looks good!

Step 2: Use ChatGPT to devise some personalised questions using a sample CV
Now we need a sample CV. I searched “Channel Partner Manager sample CV” on Google and found this example.
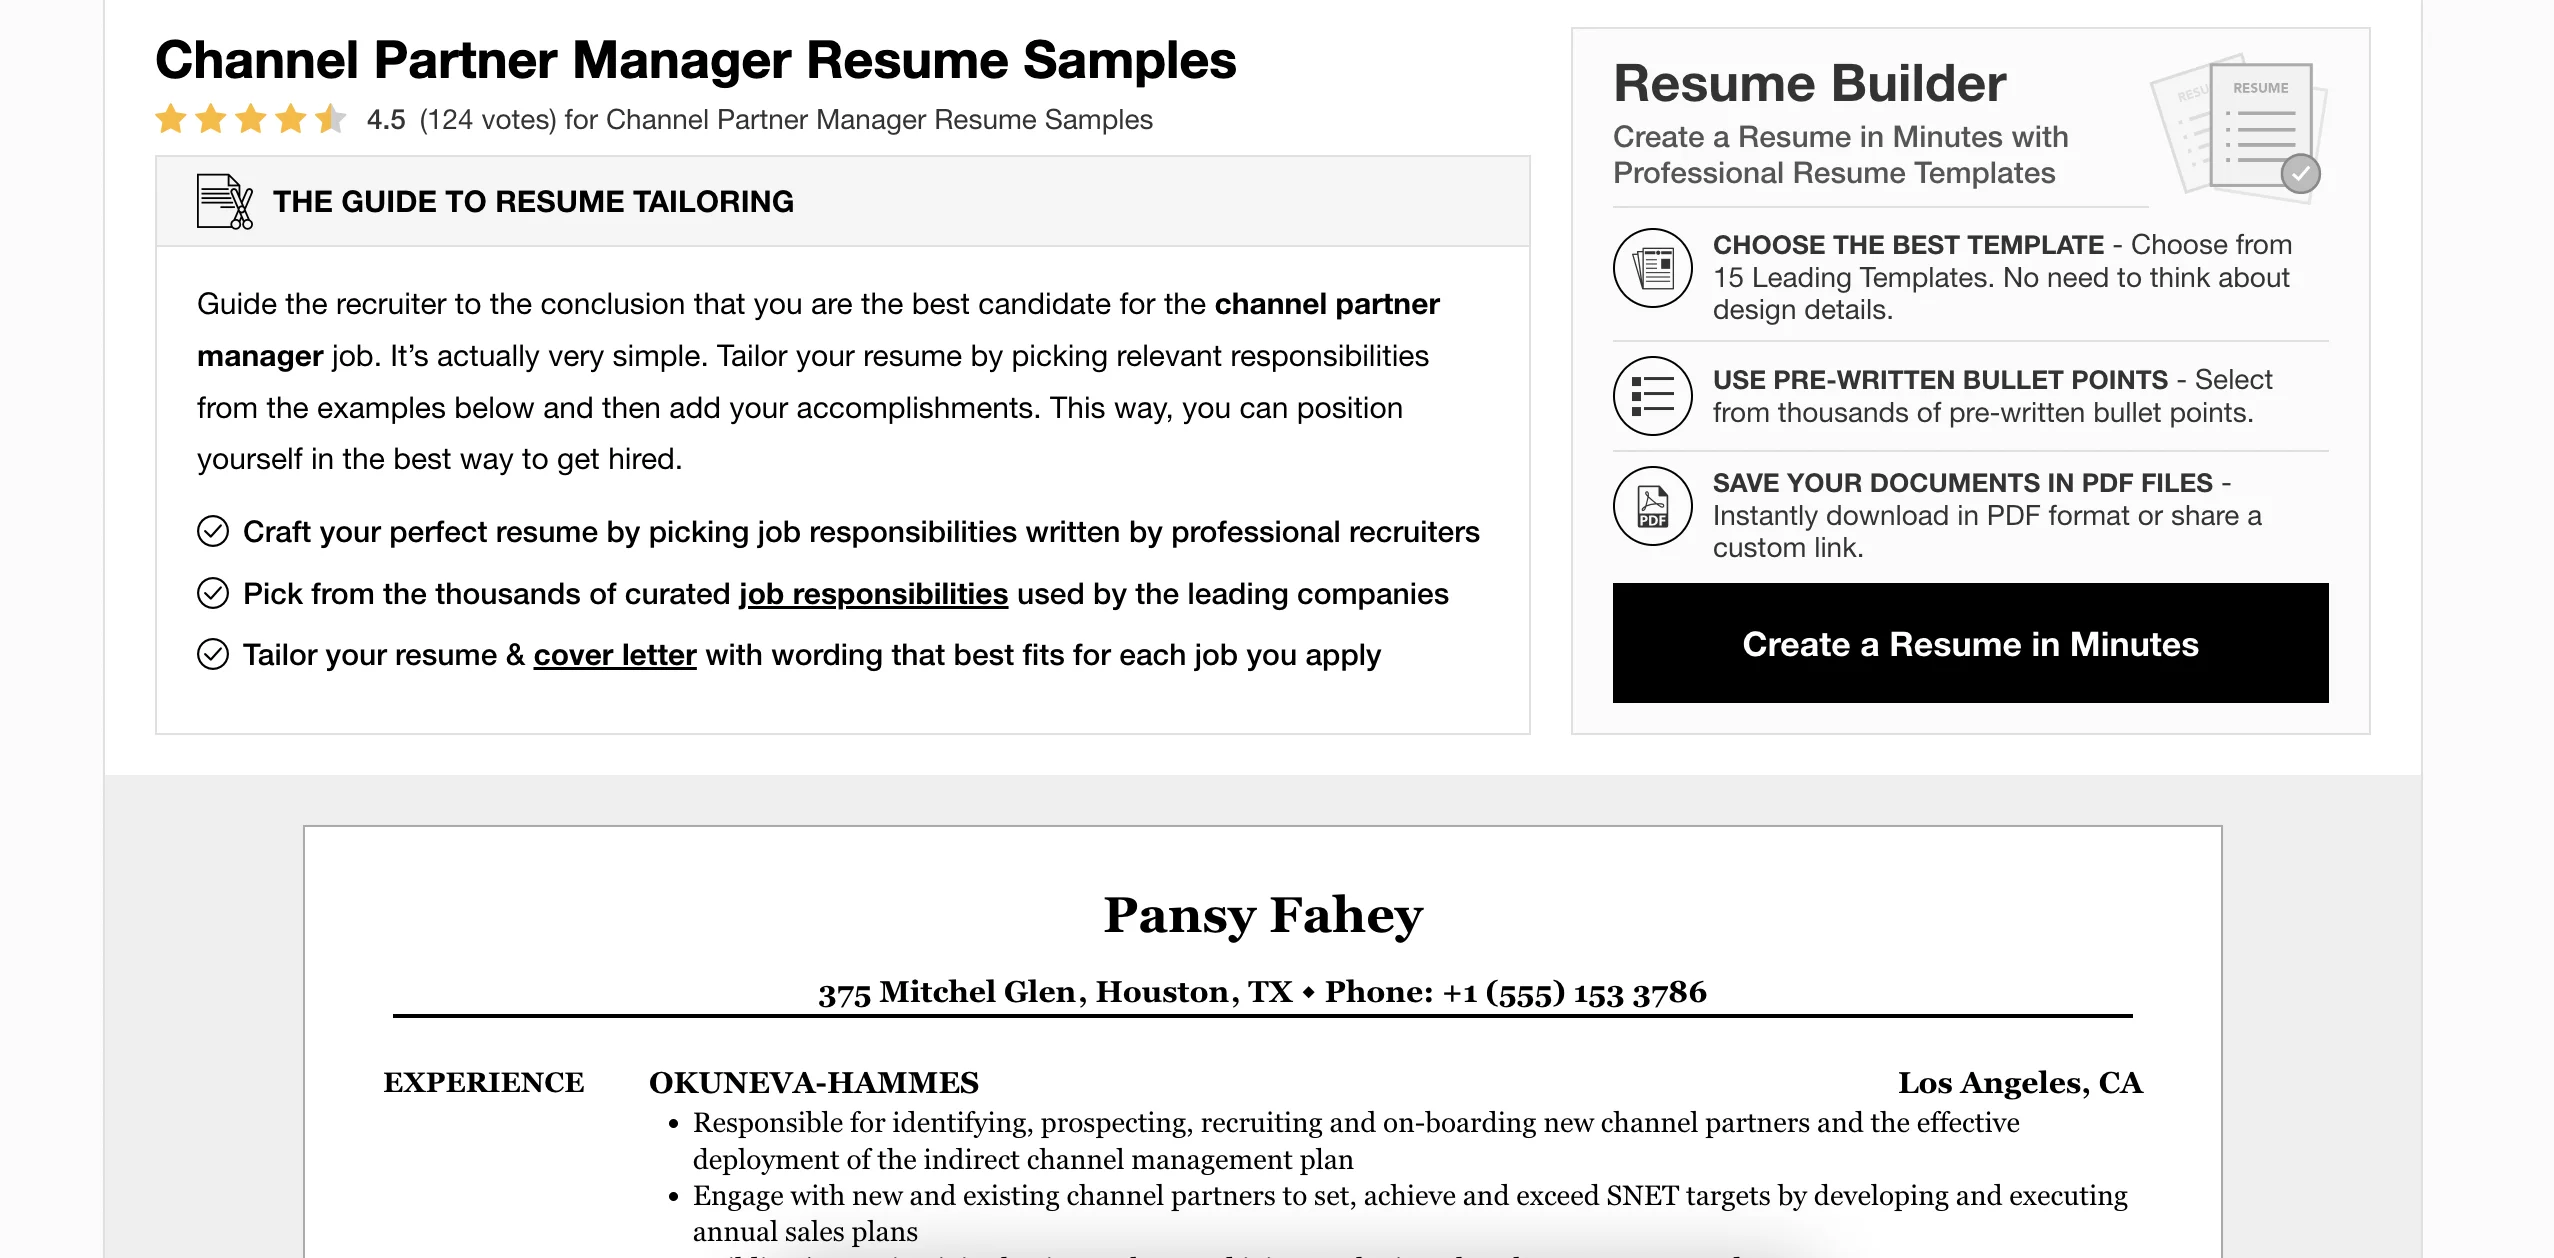
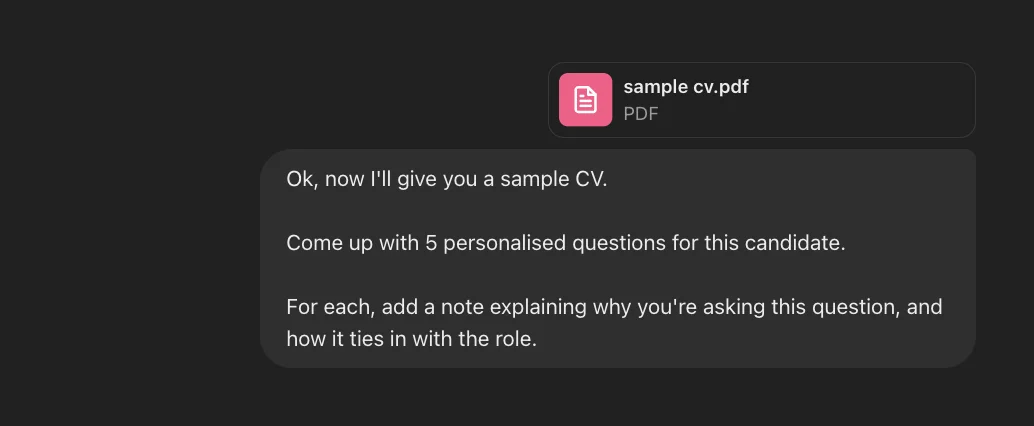
Copy the CV into Google Docs and then export it as a PDF then head back to ChatGPT and use the following prompt with the CV attached.
Ok, now I'll give you a sample CV.
Come up with 5 personalised questions for this candidate.
For each, add a note explaining why you're asking this question, and how it ties in with the role.
Within a few seconds, you should get something similar to this.

Again, this looks good - these are well thought out questions.
It seems AI can handle this, so let’s go ahead and automate the process.
Step 3: Build an Airtable for managing interview questions
For this tutorial, we’re going to trigger the automation from an Airtable. However, you could easily use Notion, a CRM app or even Google Sheets.
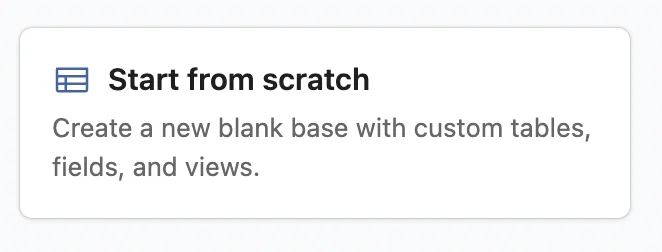
Go to Airtable and click to create a new Airtable from scratch.
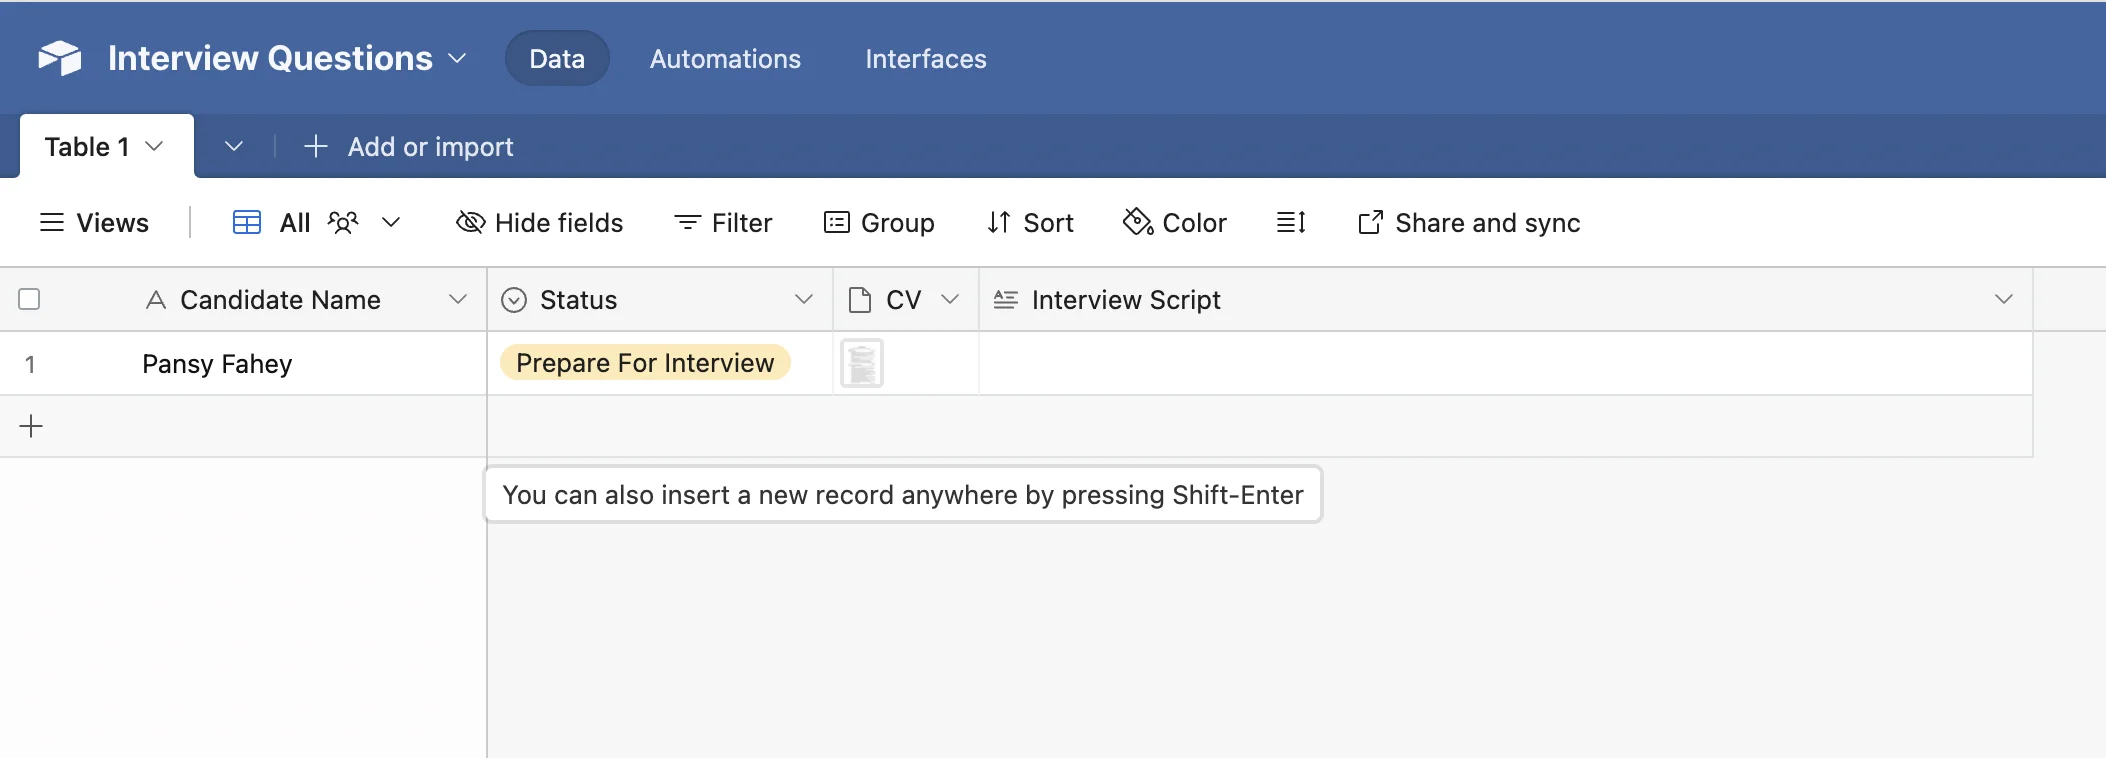
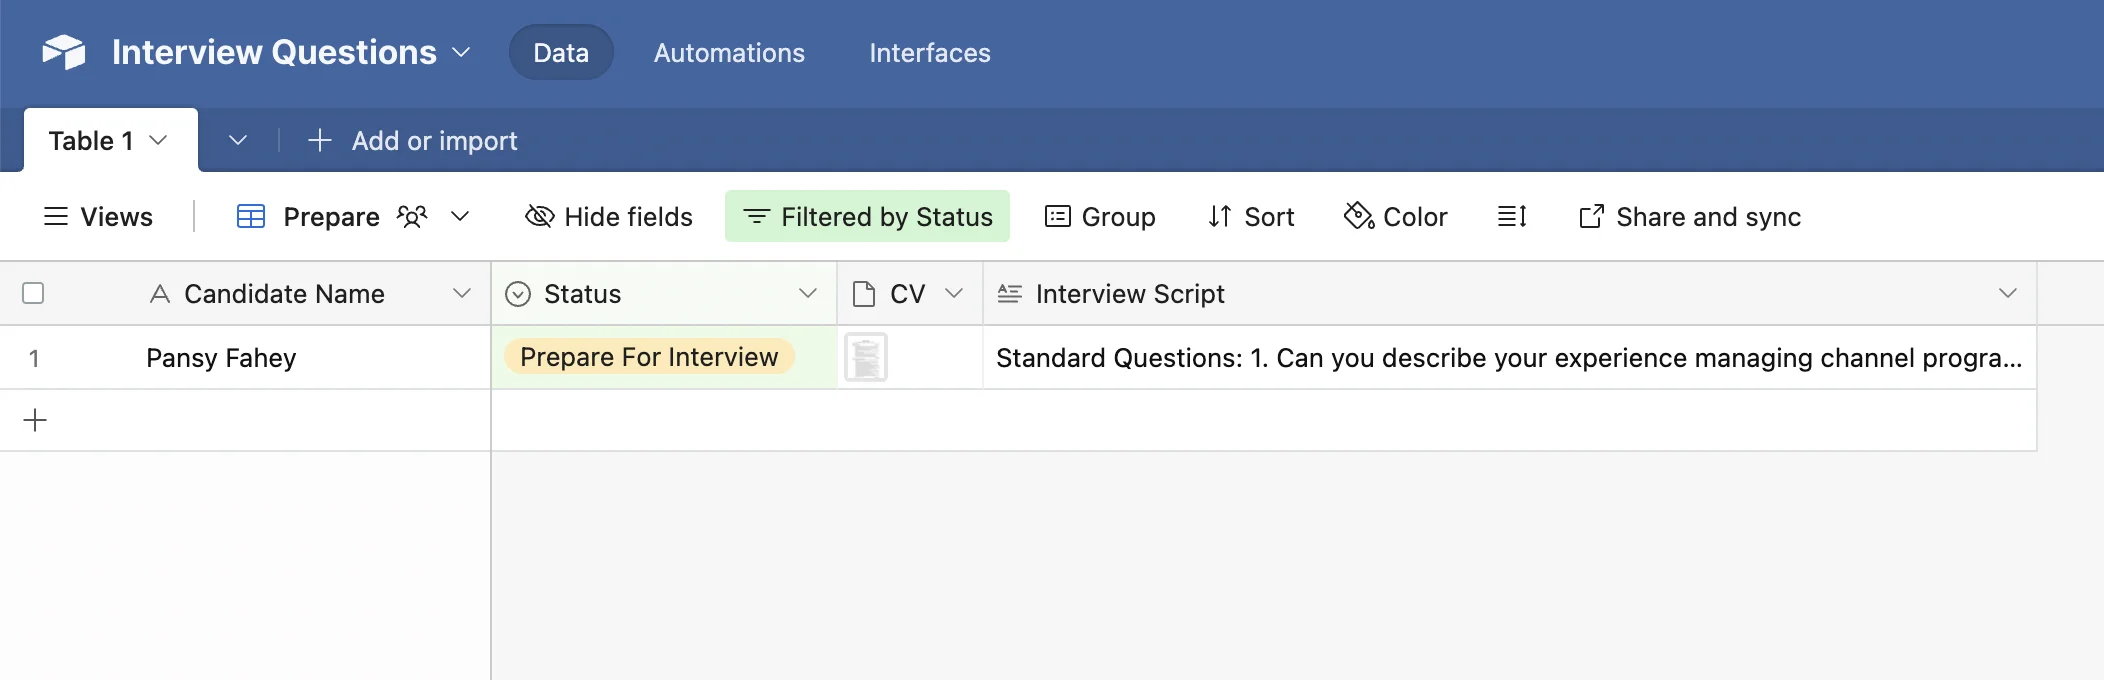
You can then customise it to your needs, but at a minimum, you need the following fields:
- Candidate Name
- Status - We’ll use a change of status to trigger our Zapier workflow.
- CV - The CV PDF document for AI.
- Interview Script - Generated by AI
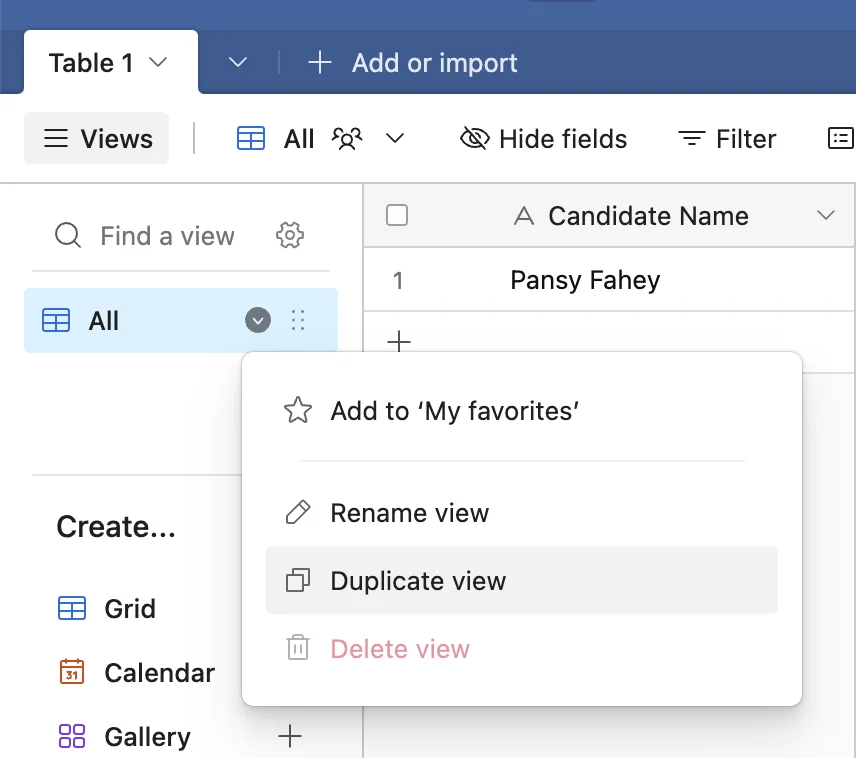
Next, under the “View” tab you should rename the current view to ‘All’ then right click and select “Duplicate view”, and call the new view ‘Prepare’.
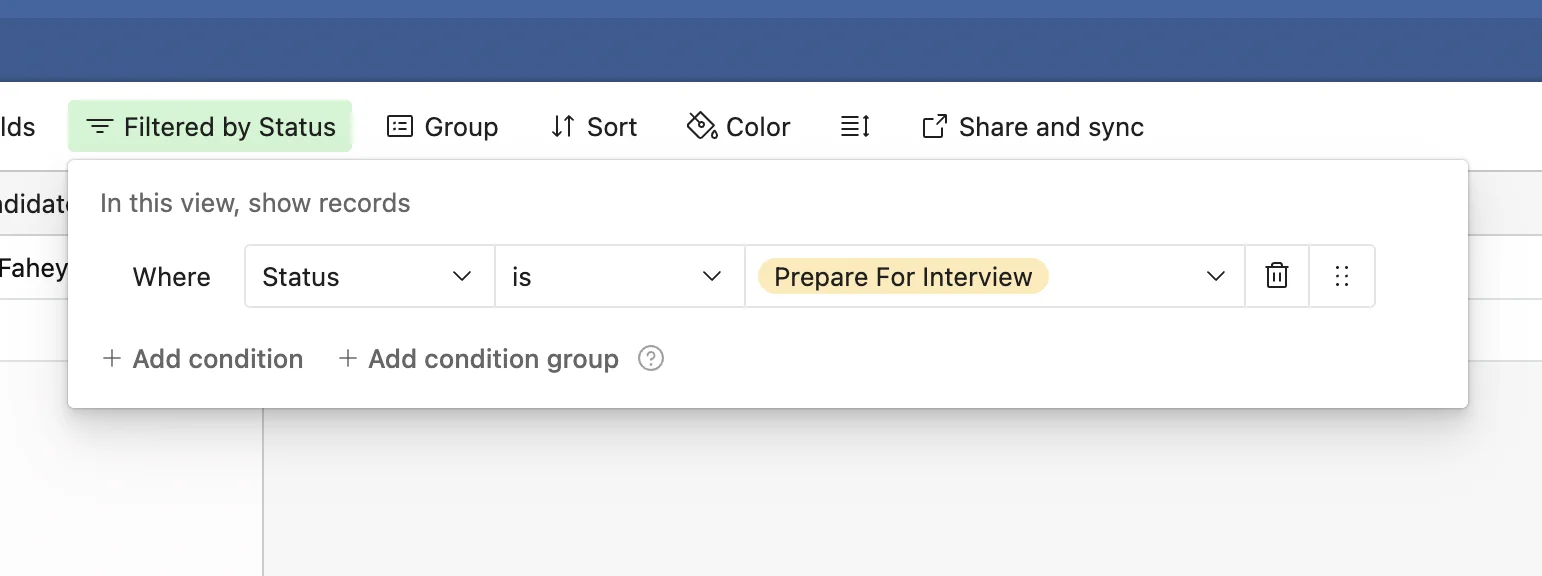
You should apply a filter to this new view to only show records where ‘Status’ is ‘Prepare For Interview’.
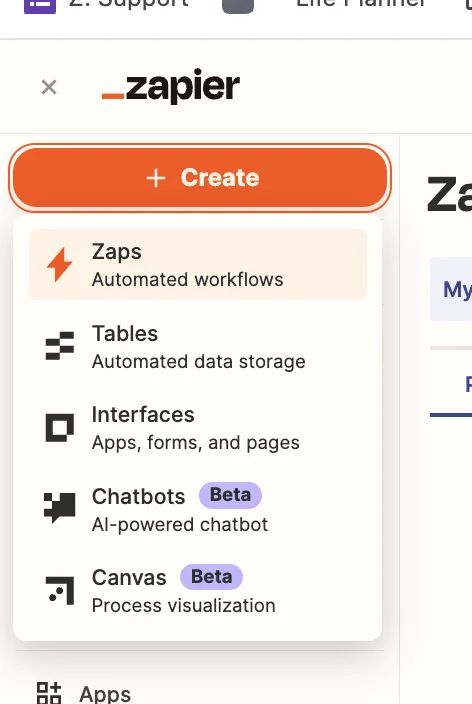
With our Airtable ready, we now need to build our Zapier automation. When logged in, and on the dashboard, click the big orange “Create” button and select ‘Zaps’.
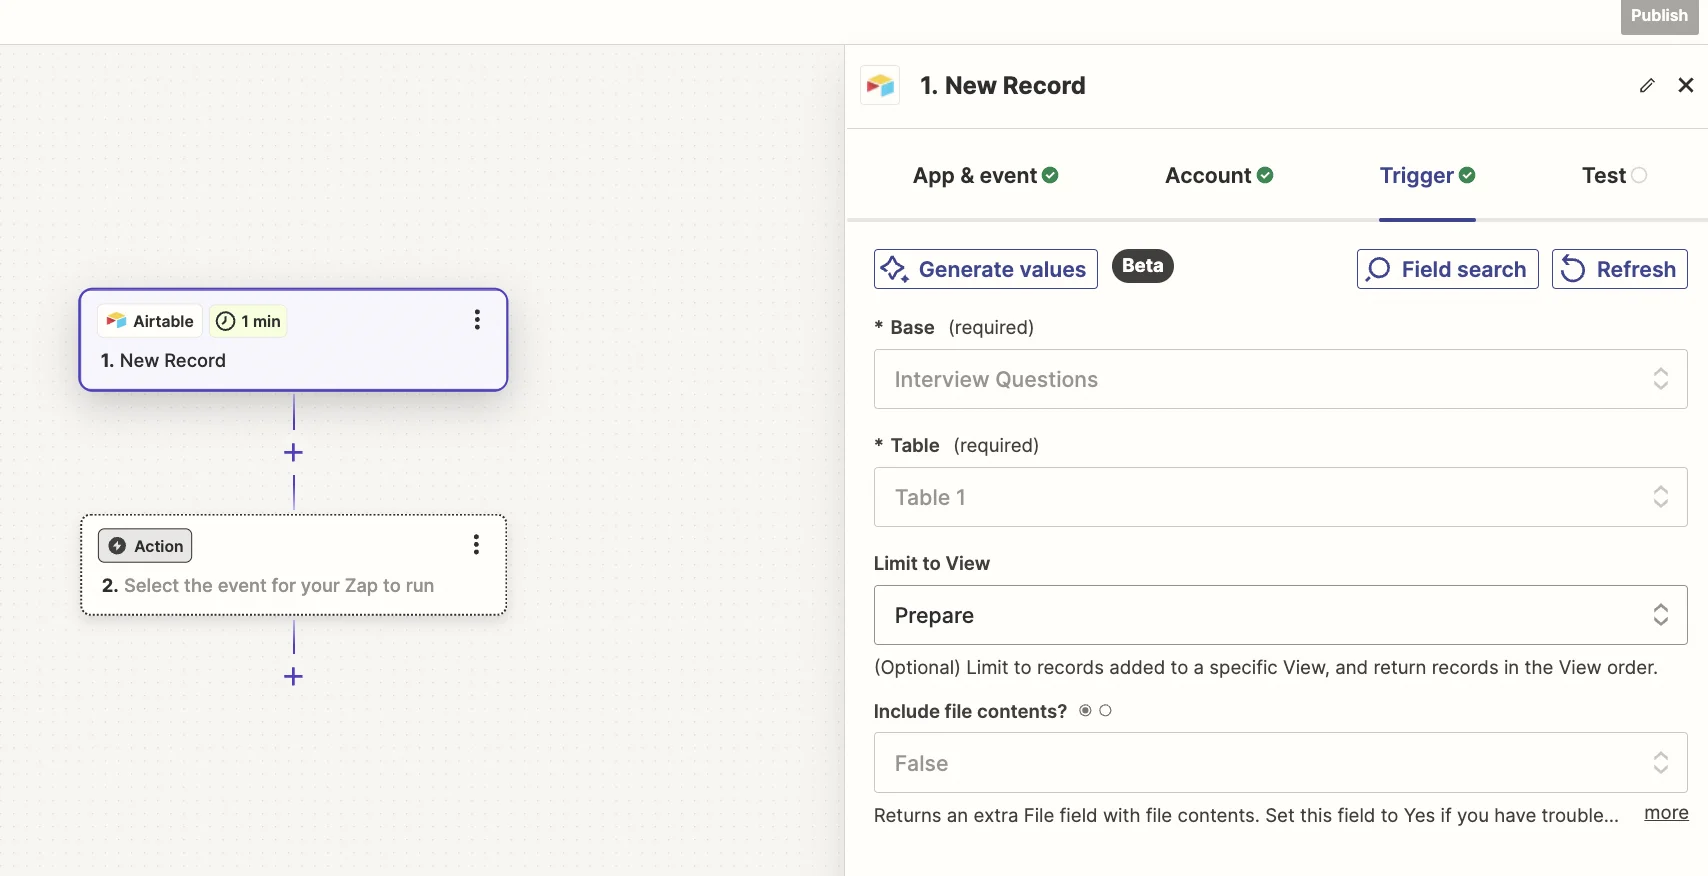
Inside the zap editor, you want to click on the box that says “Trigger” and select/search for ‘Airtable’ as the app. Then select ‘New Record’ as the event.
When configuring the step, you’ll select the base and table you just created, then in the “Limit to View” field, you want to select the ‘Prepare’ view you just created.
Records will only appear in this view when you change the status field, and you’ll only do that after adding the name and CV which Zapier will need.
Step 4: Turn the PDF into a JPG with ConvertAPI so that OpenAI Vision can read it
Zapier’s ChatGPT integration supports text and image inputs but doesn’t support files, so we need to convert the CV PDF into an image file.
We can do this using a tool called ConvertAPI which has a free trial and PAYG paid options.
Sign up and then go to the “Integration” tab and copy the value in ‘API Secret’ field.

Back in the Zapier editor, click on the “Action” box, select/search for “ConvertAPI” as the app and then select ‘Convert File’ as the event.
You’ll need your ConvertAPI API secret from earlier to connect.
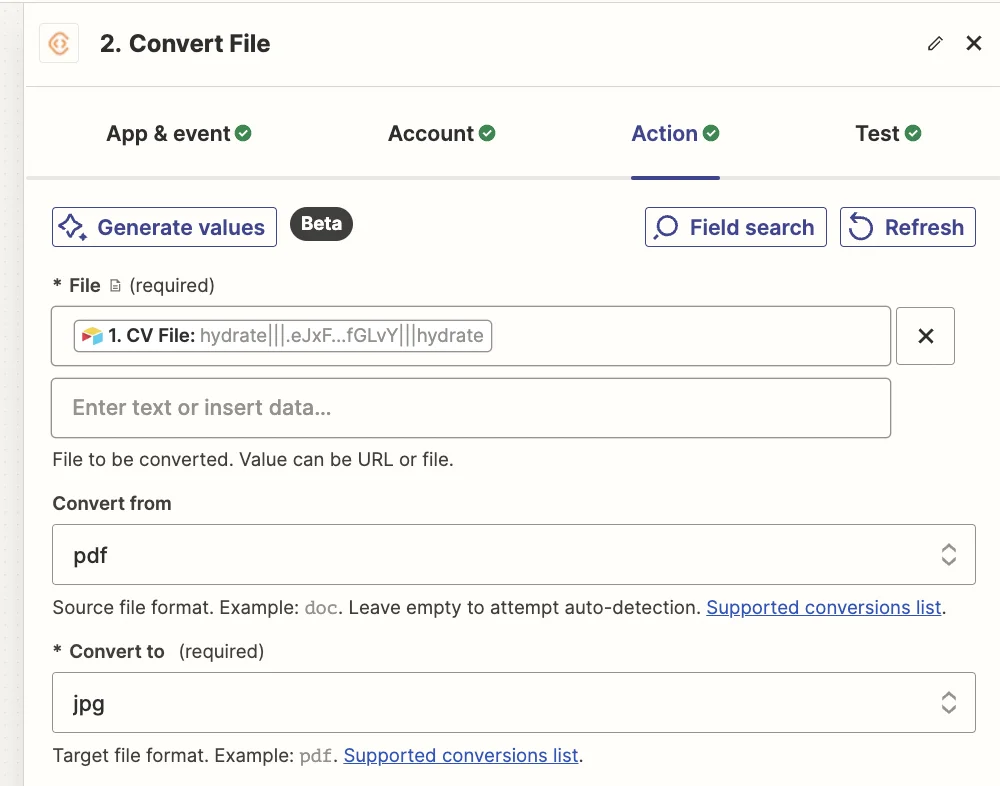
You should then configure the step as follows.
- File
Map the ‘CV File’ value from the Airtable trigger step.
- Convert from
This should be set to ‘pdf’.
- Convert to
This should be set to ‘jpg’.
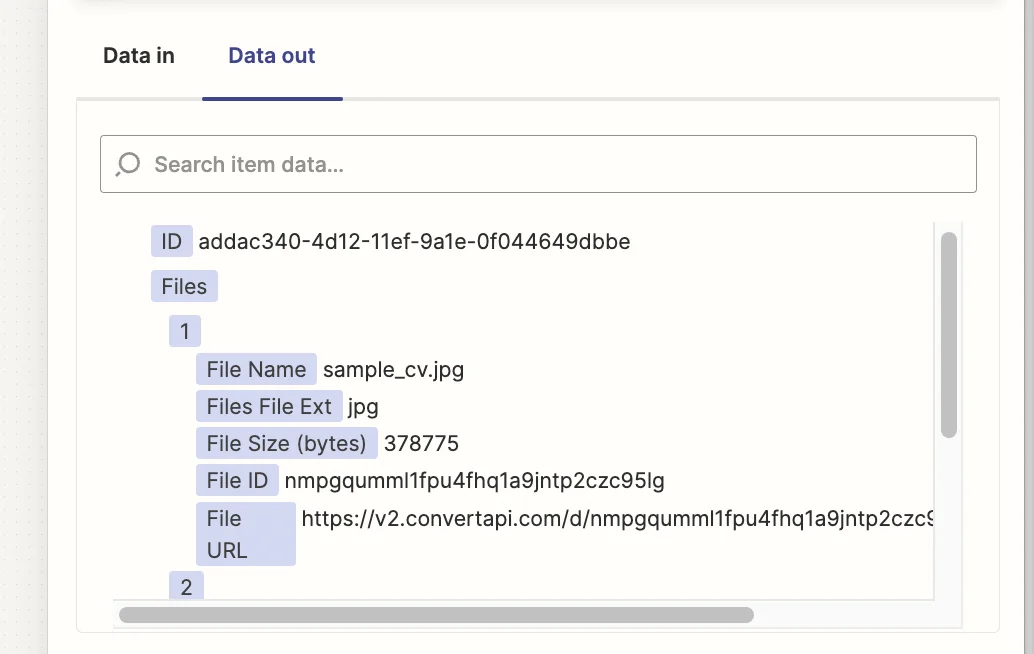
Test the zap step. Each page of the PDF will become its own JPG image and each will have its own download URL.
Step 5: Use Zapier and ChatGPT to create the interview questions on demand
Now we’re ready to bring this all together.
Add another step to your zap, select/search for “ChatGPT” as the app and then select ‘Analyze Image Content With Vision’ as the event.
Here are the important fields when configuring this step.
- Message
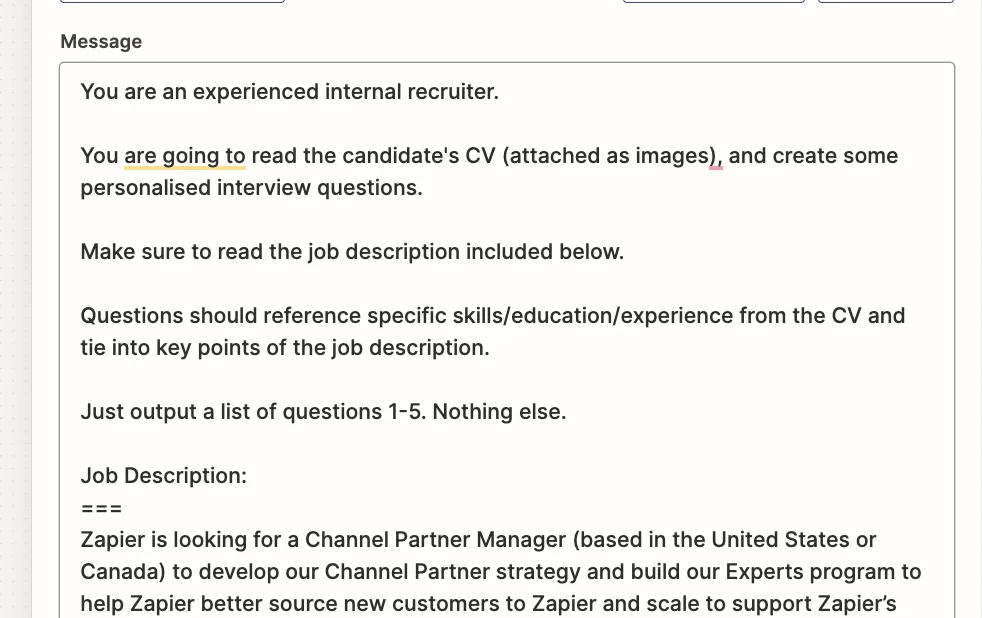
This is the AI prompt. You can experiment, but something like this works well. At the end you should copy in the text from the job description.
You are an experienced internal recruiter.
You are going to read the candidate's CV (attached as images), and create some personalised interview questions.
Make sure to read the job description included below.
Questions should reference specific skills/education/experience from the CV and tie into key points of the job description.
Just output a list of questions 1-5. Nothing else.
Job Description:
===
[Job description text]
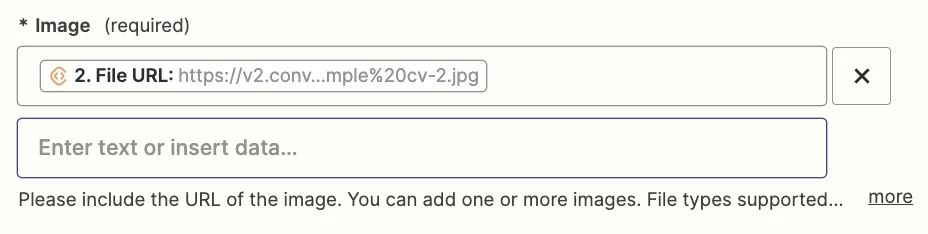
- Image
Map the ‘File URL’ value from the ConvertAPI step. This will include all the image download URLs which Zapier will upload to OpenAI along with the prompt.
- Max Tokens
Any number above 1,000 should be sufficient.

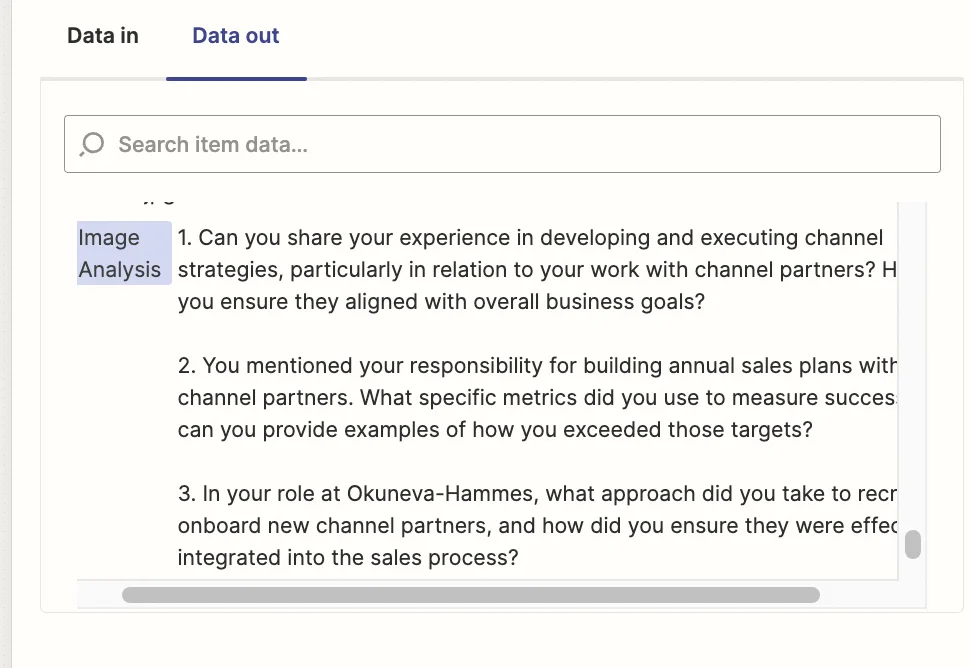
Test the zap step, and you’ll see the newly generated questions.
Now, the last thing to do is add these new questions back to the candidate’s record in Airtable.
Add a new step to your zap with “Airtable” as the app and ‘Update Record’ as the event.
Select the same base and table as you did in the trigger and for the “Record” field, map the ‘ID’ value from the trigger step.

Finally, in the “Interview Script” field, we’re going paste in the standard questions we developed earlier in ChatGPT with the ‘Image Analysis’ value mapped from the previous ChatGPT Zapier step.
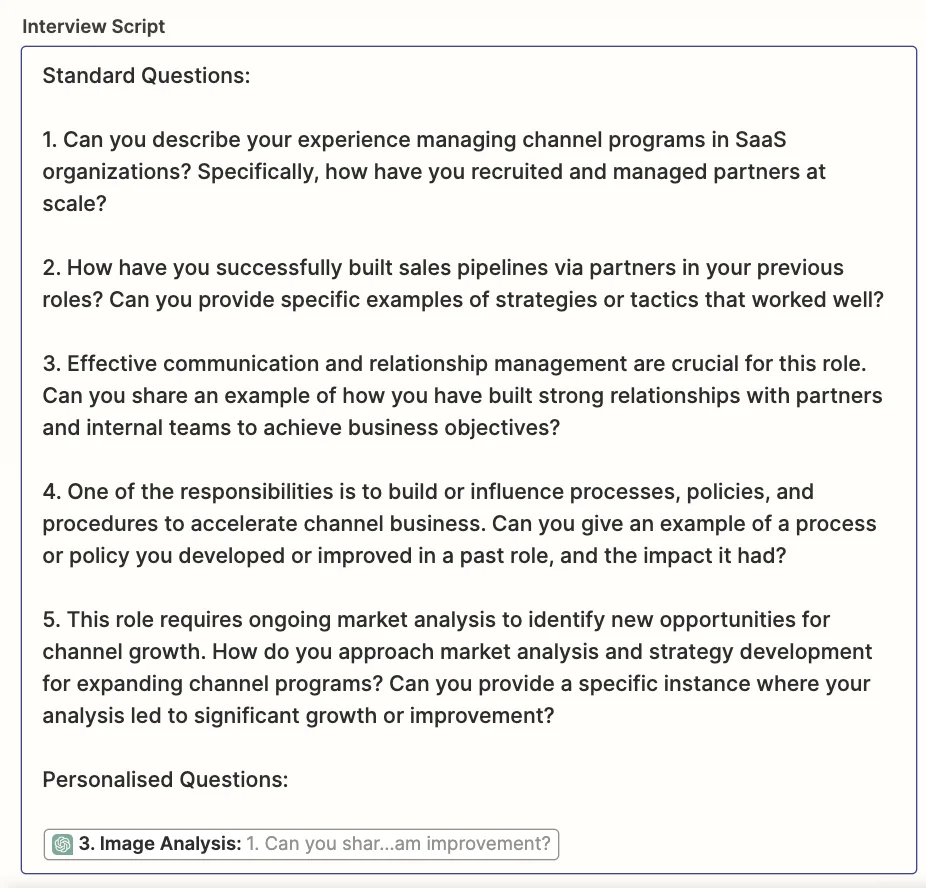
Test the zap, head back to Airtable, and you’ll see the script added.
This tutorial was created by Andrew.