Use AI to generate press mention reports for your business
Use AI to monitor and analyse press mentions for your brand.
2024-11-13
Keeping track of press mentions for your brand is a key part of a good PR strategy.
You can DIY the process by setting up some Google Alerts and monitoring them as they come in. Or, if you’ve got a big budget, you can hire a PR firm to monitor the press and compile regular reports telling you what’s being said and make recommendations.
If you don’t want to do either of those, however, you can replace the PR firm with AI to produce the same reports automatically - and at practically zero cost.
In this tutorial you will learn how to:
- Build an automation that does a weekly check for mentions of your brand in news articles.
- Compile the text from these articles into a digest.
- Send the digest to ChatGPT to get a summary report.
You’ll need:
- Zapier paid account
- NewsAPI free account
- PhantomJSCloud free account
- An OpenAI Platform account and at least $10 of credit. Note: this is separate from their ChatGPT app
Let’s see how it’s done.
Step 1: Build a zap that does a weekly check for mentions of your brand in news articles
We’re going to build a zap that triggers every week to check for new press mentions. Let’s pretend you're the PR manager for the popular restaurant chain Nandos.
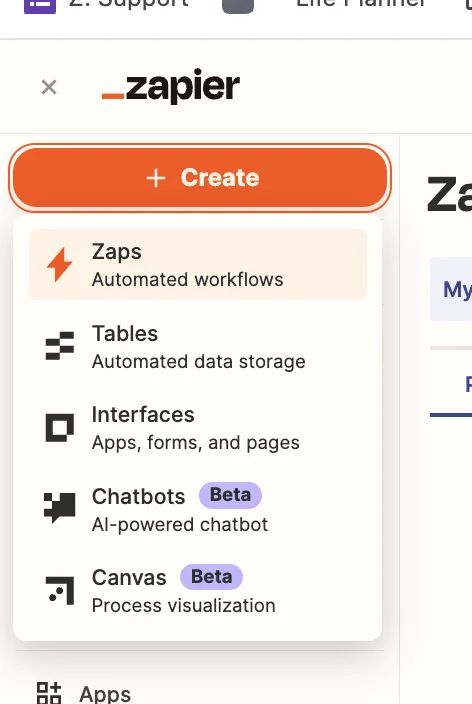
Head over to Zapier, then in the dashboard, in the top left, click the big orange “Create” button and select ‘Zaps’.
Inside the zap editor, click on the box that says “Trigger” and select/search for ‘Schedule by Zapier’ as the app. Then select ‘Every Week’ as the event.
When configuring the trigger, choose your preferred day and time (you could also run this daily or monthly). We’ll go with 9am every Monday.
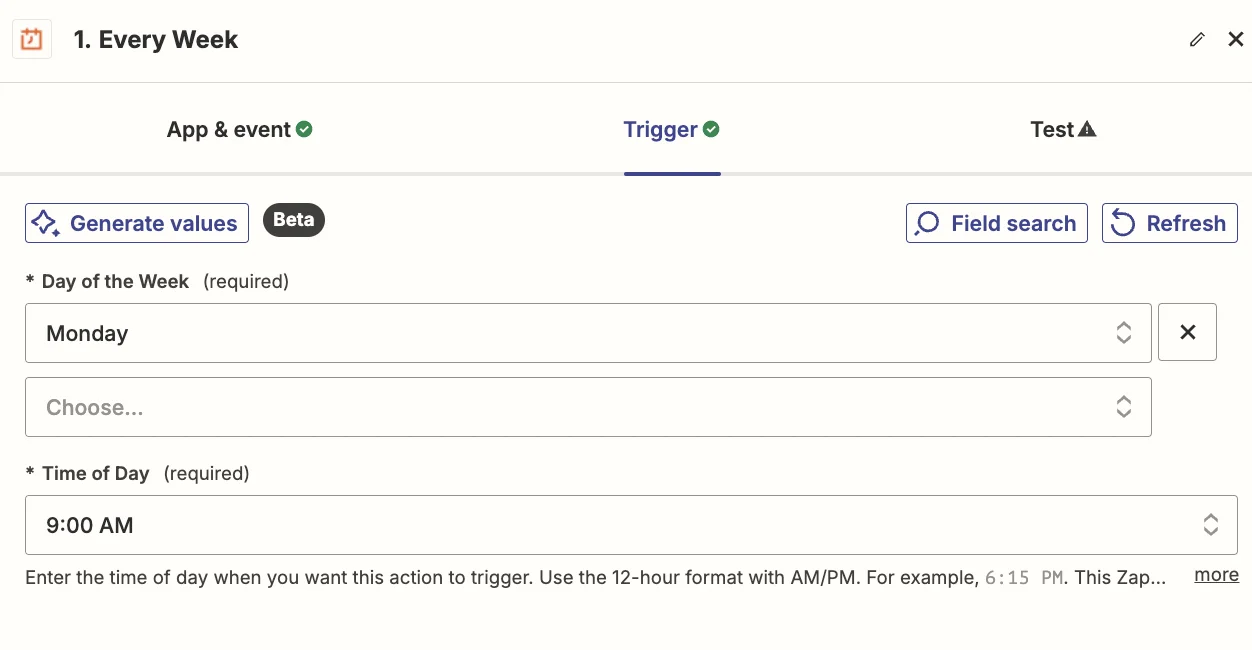
Test the zap and you’ll see a timestamp for the current time. You can ignore this. When the zap is live it will run at the correct time.
When searching for press mentions, we’ll time bracket the search for 1 week prior, so we need to calculate that. In the zap editor, click the “Action” box. Select "Formatter by Zapier" as the app, and ‘Time / Date’ as the event.
Here are the fields you need to configure:
- Transform
Select ‘Add/Subtract Time’.
- Input
Map the ‘Pretty Date’ value from the trigger.
- Expression
Type ‘-1 week’.
- To Format
Select ‘YYYY-MM-DD’.

Test the zap step and you’ll see a timestamp for 1 week earlier.
To search for press mentions, we’ll use NewsAPI which has a free plan limited to 100 requests per day, and with news articles delayed by 24 hours.
Go sign up and then copy your API key from the account page.
Then, add a new action step to your zap with ‘Webhooks by Zapier’ as the app and ‘GET’ as the event.
Configure the step as follows:
- URL
Type ‘https://newsapi.org/v2/everything’
- Query String Params
- q = “Nandos” (the quotes ensure an exact match search; change to match your brand name or whatever you want to search for)
- from = map the Output value from the Formatter step
- sortBy = popularity
- apiKey = paste your API key here
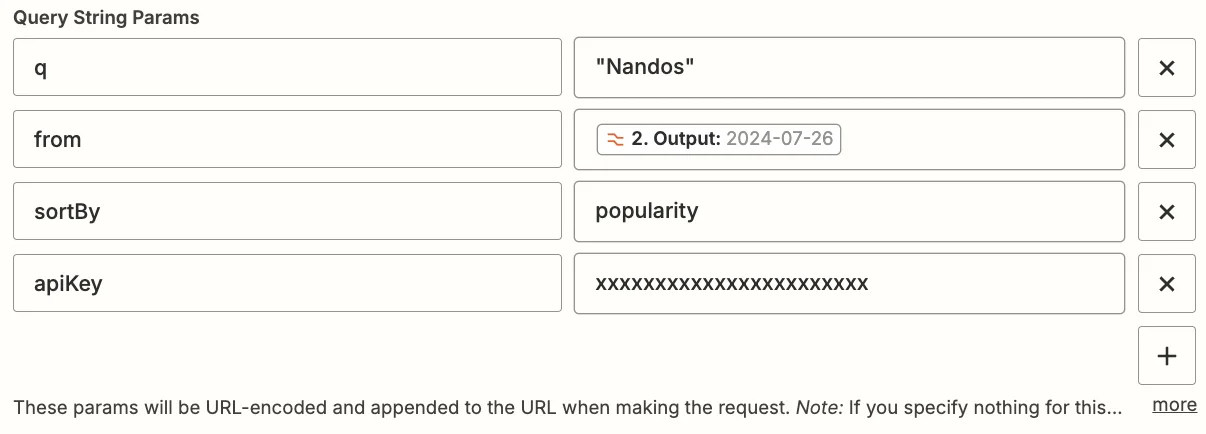
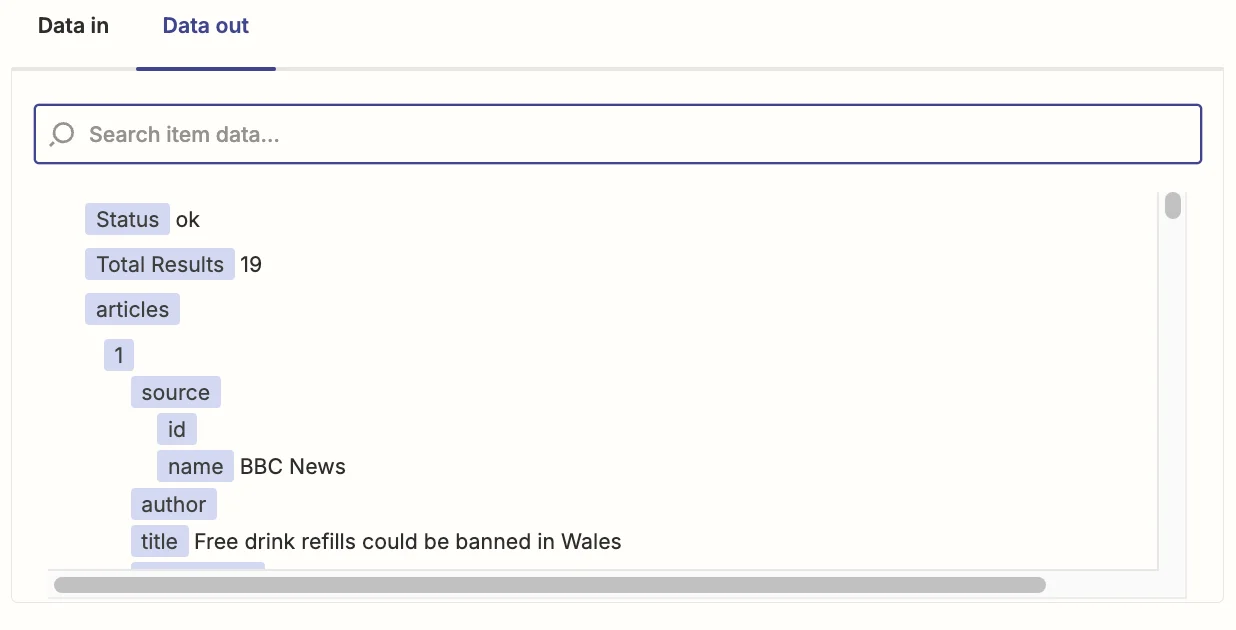
Test the step, and you’ll see multiple articles returned.
Next, we need the zap to iterate through each article so we can process them separately.
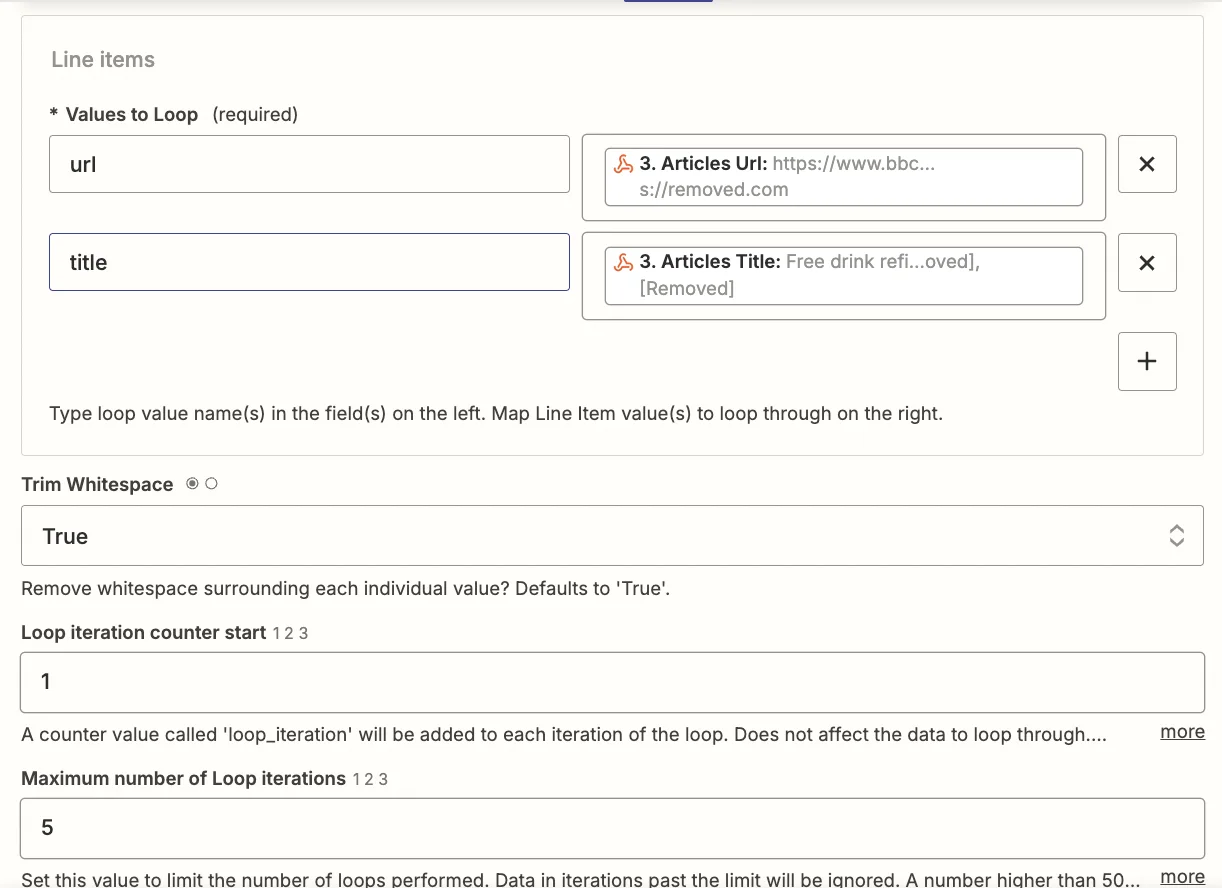
Add a new action step to your zap with ‘Looping by Zapier’ as the app and ‘Create Loop From Line Items’ as the event.
When configuring the step you need to create the two line items:
- url = Map the ‘Articles URL’ value from the webhook step.
- title = Map the ‘Articles URL’ value from the webhook step.
In the “Maximum number of Loop iterations” field, you should set it to ‘5’, so that the eventual digest doesn’t become too long for ChatGPT’s context window.
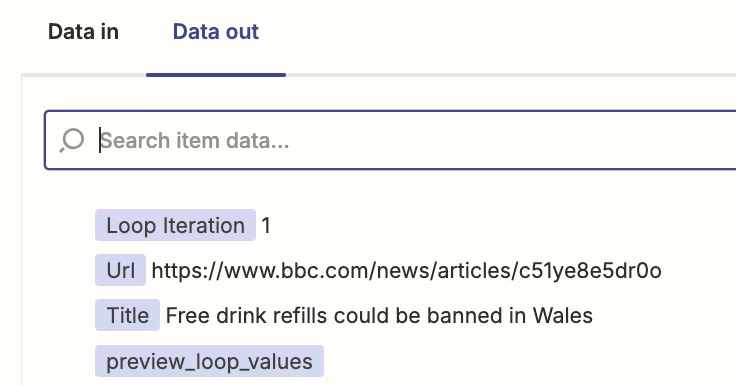
Test the step and you’ll see the URL and title of the first returned article from NewsAPI.
Step 2: Compile the text from these articles into a digest
Unfortunately, NewsAPI only returns the first few sentences of an article, but for a proper summary, we’ll need the article’s full text.
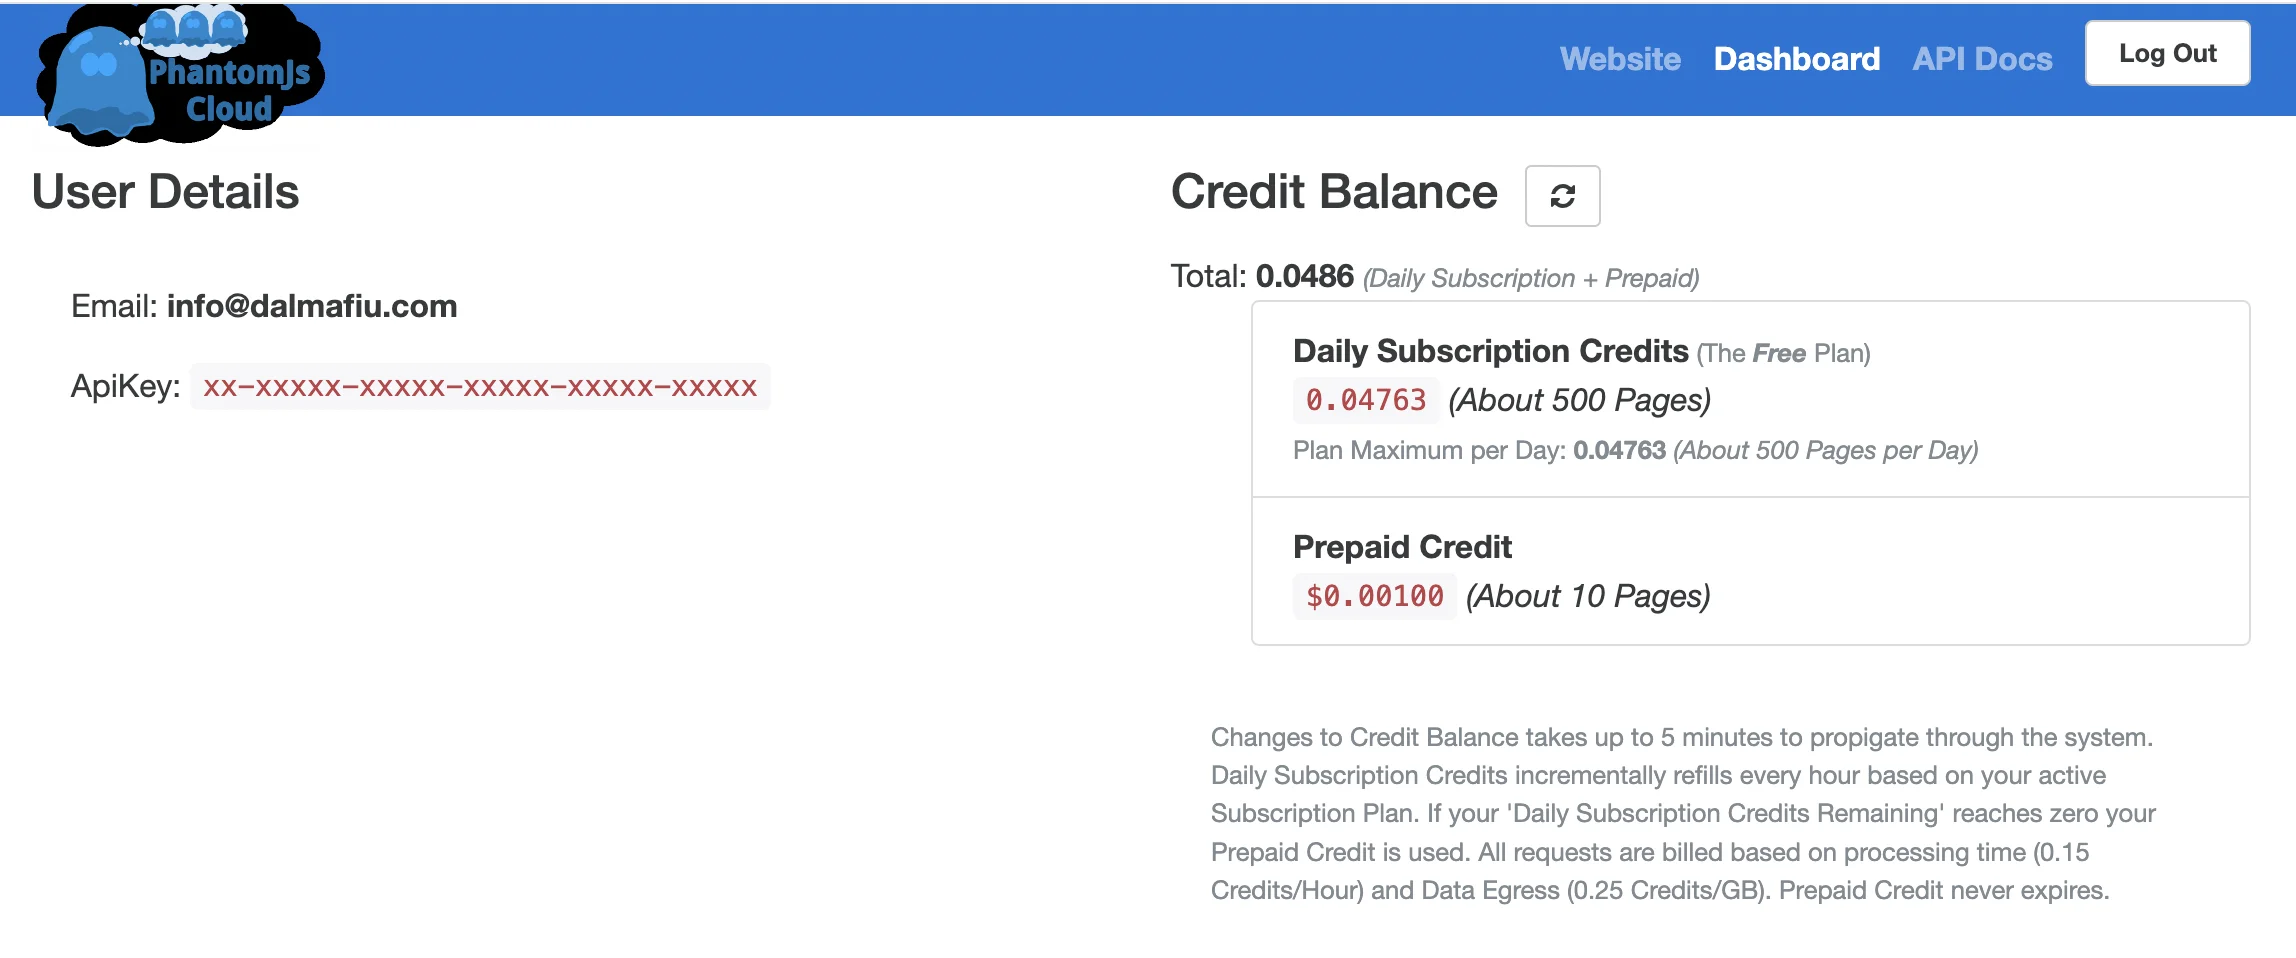
There are several tools available for this (including Zapier’s own built-in Web Parser integration), however, from experience, one of the most robust options is PhantomJSCloud. They offer 500 free parse credits per day.
Go sign up, and on the dashboard you’ll see your API key which we’ll need in the next step.
PhantomJsCloud doesn’t have a Zapier integration, so we’re going to use a webhook step inside Zapier to send and receive data from the API.
In the zap editor, click the “Action” box. Select "Webhook by Zapier" as the app, and ‘Custom Request’ as the event.
Here are the fields you need to configure:
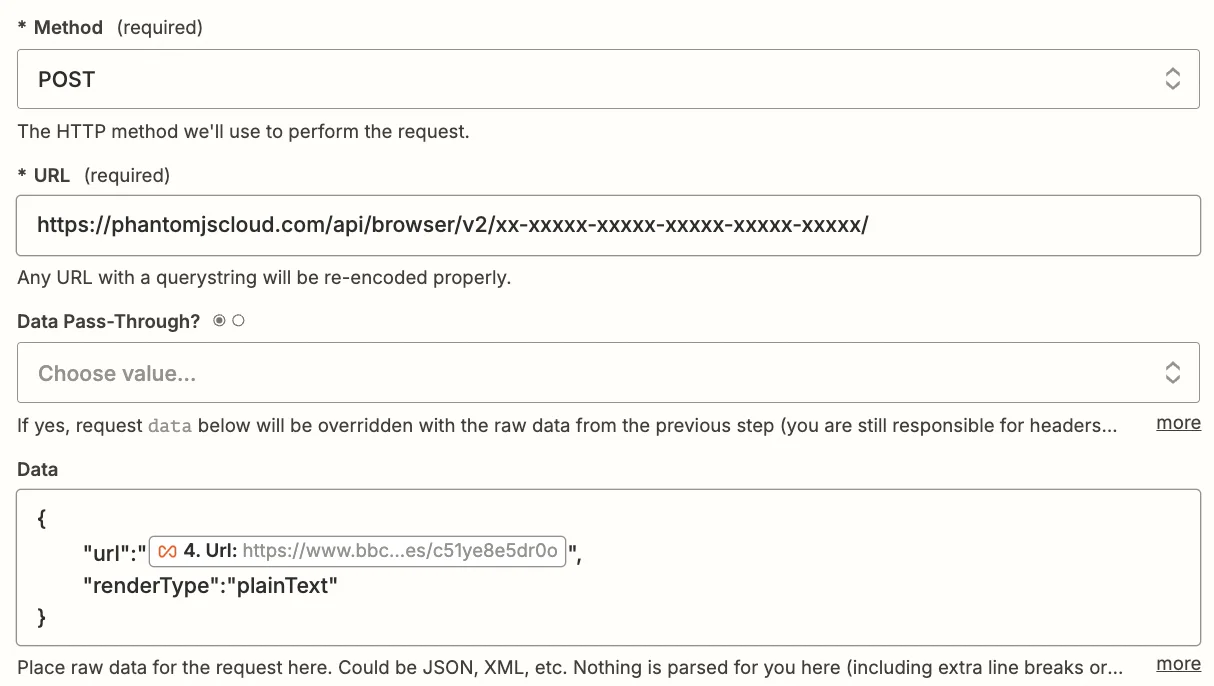
- Method
Select ‘POST’.
- URL
Input ‘https://phantomjscloud.com/api/browser/v2/xx-xxxxx-xxxxx-xxxxx-xxxxx-xxxxx/’ (replacing the string between the last two slashes with your API key).
- Data
Input the following code, replacing {{Url}} with a mapping of the ‘Url’ value from the loop step.
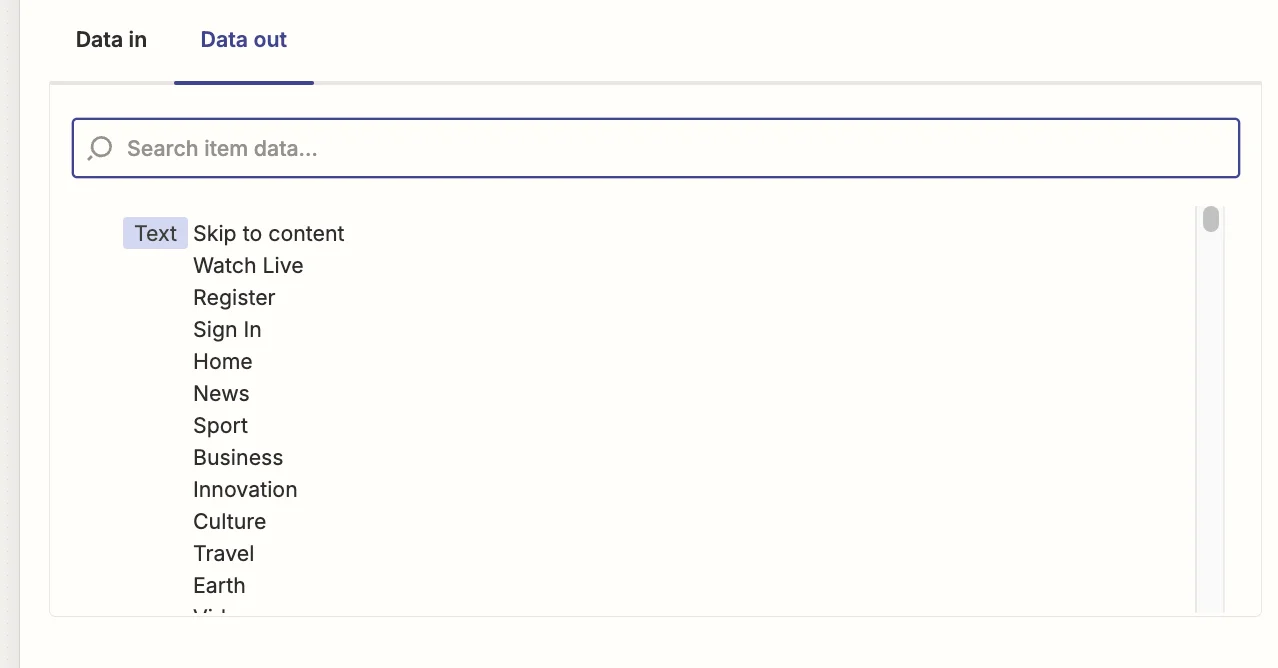
Test the same step and you’ll see the content that’s been parsed from the URL.
Now we need to use a Zapier feature called “Digest”. This allows you to combine the parsed articles from each loop run, into a single block of text for ChatGPT.
Add a new action step to your zap with ‘Digest by Zapier’ as the app and ‘Append Entry and Schedule Digest’ as the event.
When configuring the step, there are the important fields:
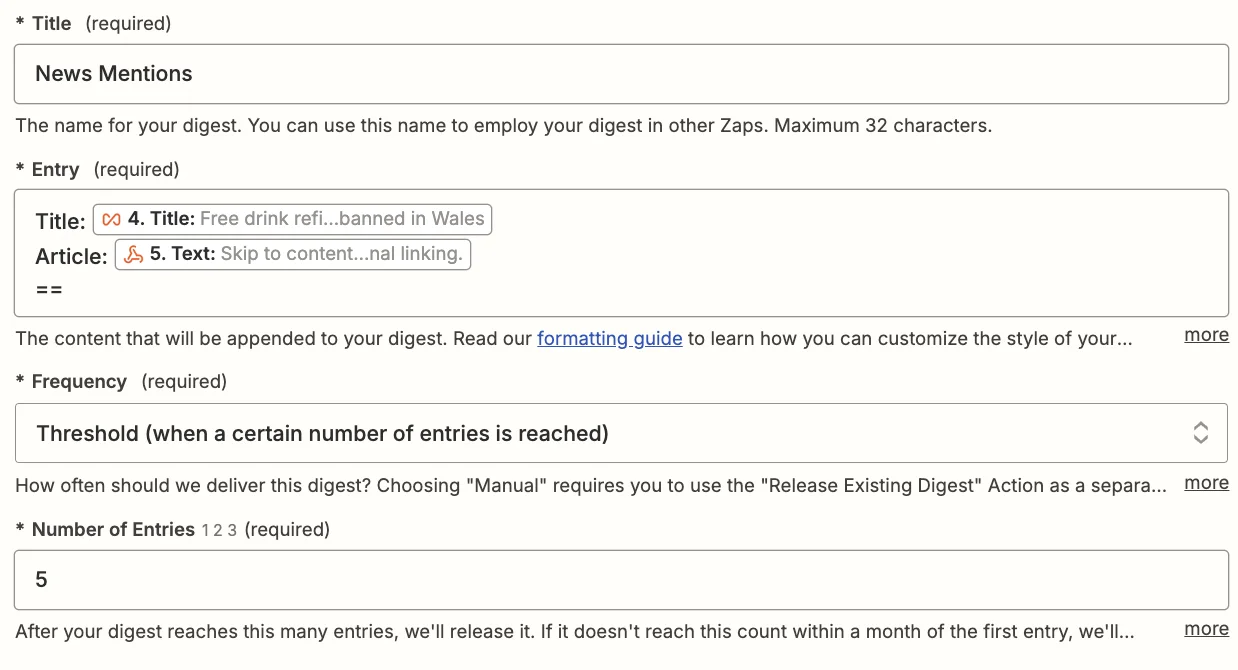
- Title
A unique title for the digest. We’ll go with “News Mentions”.
- Entry
You build up a digest by adding new entries over time.
Here we’ll map the ‘Title’ value from the loop step and the ‘Text’ value from the PhantomJS webhook step.
- Frequency & Number of Entries
Select ‘Threshold’ and then input 5 (matching the limit set on the looping step). This means Zapier will only proceed with the workflow steps following, once the digest has 5 entities in it.
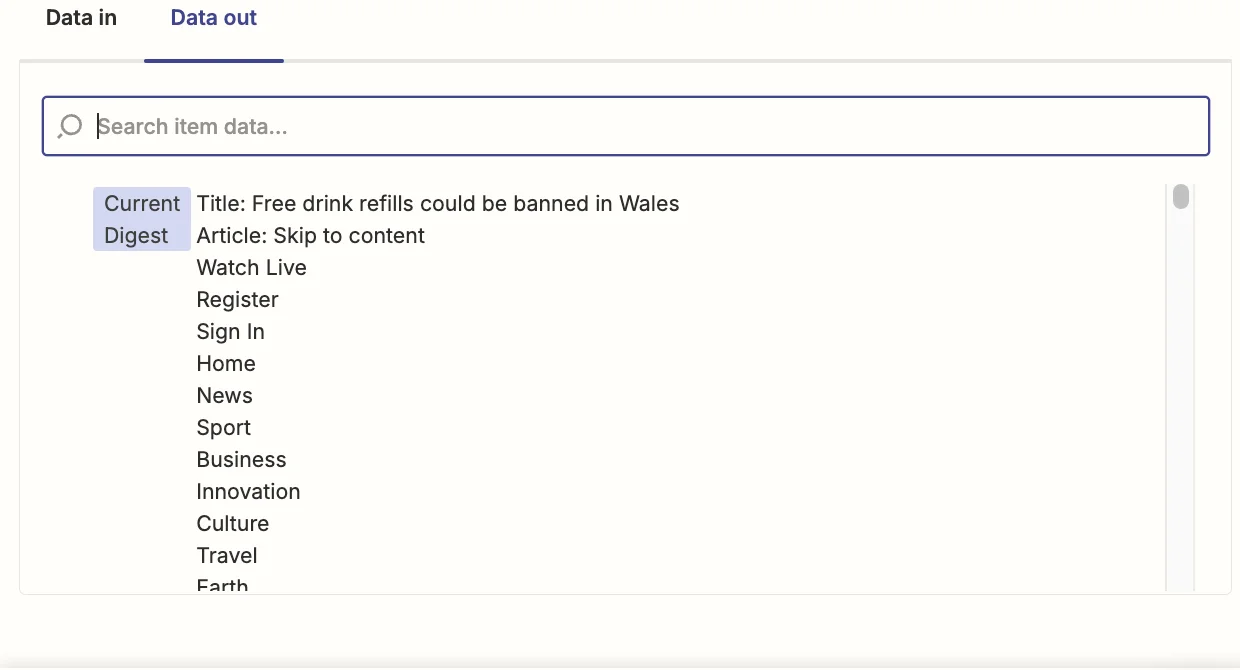
Test the zap step and you’ll see our example article saved in the digest.
Step 3: Send the digest to ChatGPT to get a summary report
As things stand, once the loop section steps have run 5 times and there are 5 news articles stored in the digest, it’ll continue on.
Now we’re going to send the combined text from these 5 articles to ChatGPT to create our report.
Add a new action step to your zap, with “ChatGPT” as the app and ‘Conversation’ as the event.
When configuring the step, there are the important fields:
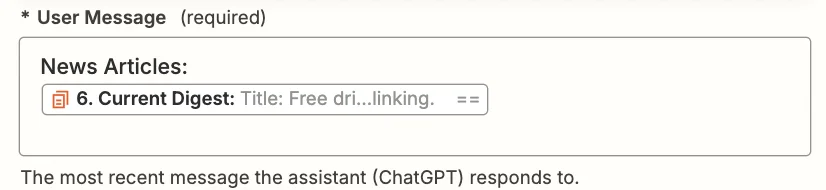
- User message
Here we should map the “Current Digest” field from the Digest step.
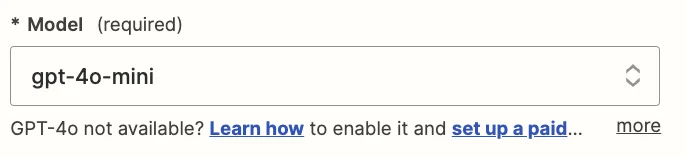
- Model
- Select the “gpt-4o-mini” model, OpenAI’s cheapest and quickest model.
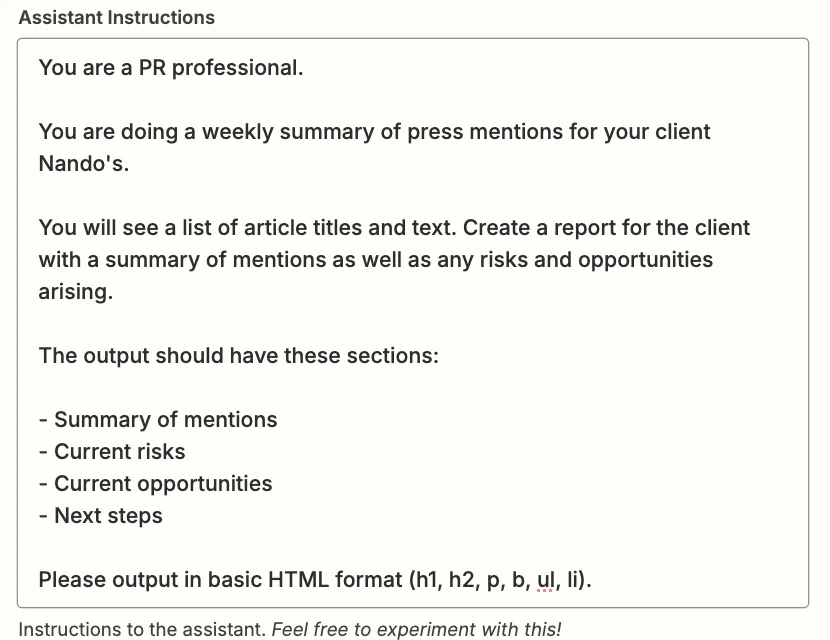
- Assistant instructions
You can experiment here to get exactly what you want, but this prompt should work well:
You are a PR professional.
You are doing a weekly summary of press mentions for your client Nando's.
You will see a list of article titles and text. Create a report for the client with a summary of mentions as well as any risks and opportunities arising.
The output should have these sections:
1. Summary of mentions
2. Current risks
3. Current opportunities
4. Next steps
Please output in basic HTML format (h1, h2, p, b, ul, li).
- Max Tokens
This sets the max output length. Anything around 2,000 should be suitable.
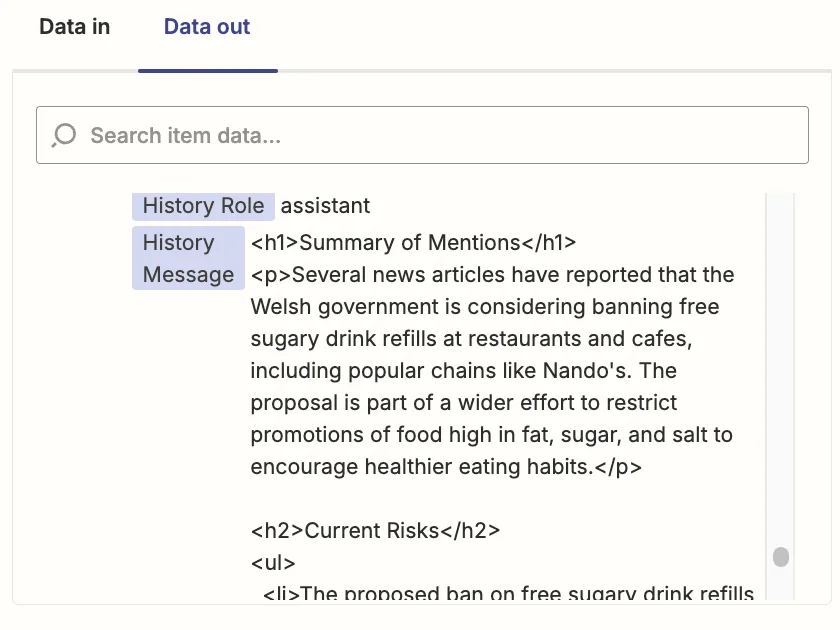
Go ahead and test the step, then scroll down towards the end in the “Data out” tab, you’ll see the report generated by ChatGPT.
To wrap things up, we’re going to email ourselves the report.
Add a new action step to your zap with ‘Gmail’ as the app and ‘Send email’ as the event.
Then configure the following fields:
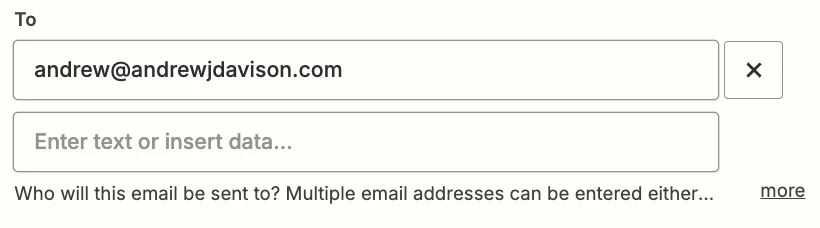
- To
Input the email(s) of whomever you want to receive the report.
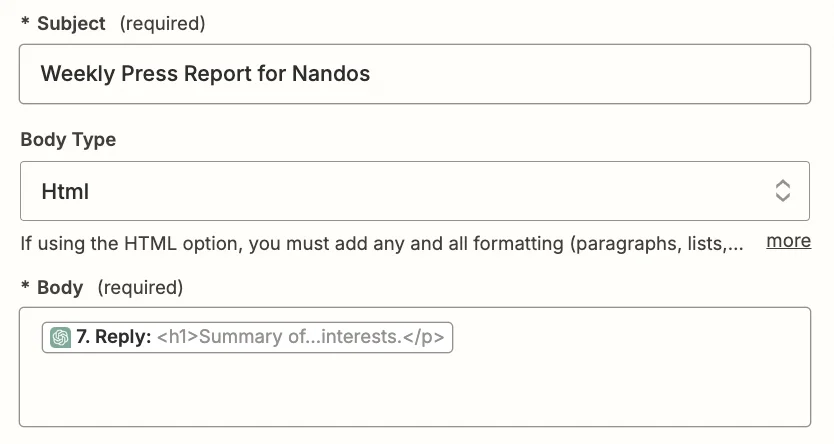
- Subject
Give your email a memorable subject line. We’ll use “Weekly Press Report for Nandos”.
- Body Type
We asked the ChatGPT step to output in HTML, so set this field to ‘Html’. It’ll make the email easier to read.
- Body
You can style the email as you want, but at a minimum map the ‘Reply’ output field from the ChatGPT step.
Test the zap step, and you should see the report land in your inbox after a few seconds.

This tutorial was created by Andrew.