Use AI to label incoming urgent emails
How to use Zapier and ChatGPT to automatically categorise and label urgent incoming emails.
2024-11-13
No one likes waking up to an inbox full of emails and having to triage your inbox to decide what’s urgent and what might waste valuable time.
Thankfully AI is great at categorisation. So let’s put that skill to use by having it monitor your incoming emails, labelling those that are urgent.
In this tutorial you will learn how to:
- Build a Zapier workflow that triggers when a new email is received
- Send the email content to the OpenAI API for categorisation
- Add a label to urgent emails
You’ll need:
- Zapier paid account
- An OpenAI Platform account and at least $10 of credit. Note: this is separate from their ChatGPT app
Let’s see how it’s done.
Step 1: Build a Zapier workflow that triggers when a new email is received
For this tutorial, we’ll use Gmail, but this process could easily be adapted for Outlook or other email providers so long as they have a Zapier integration.
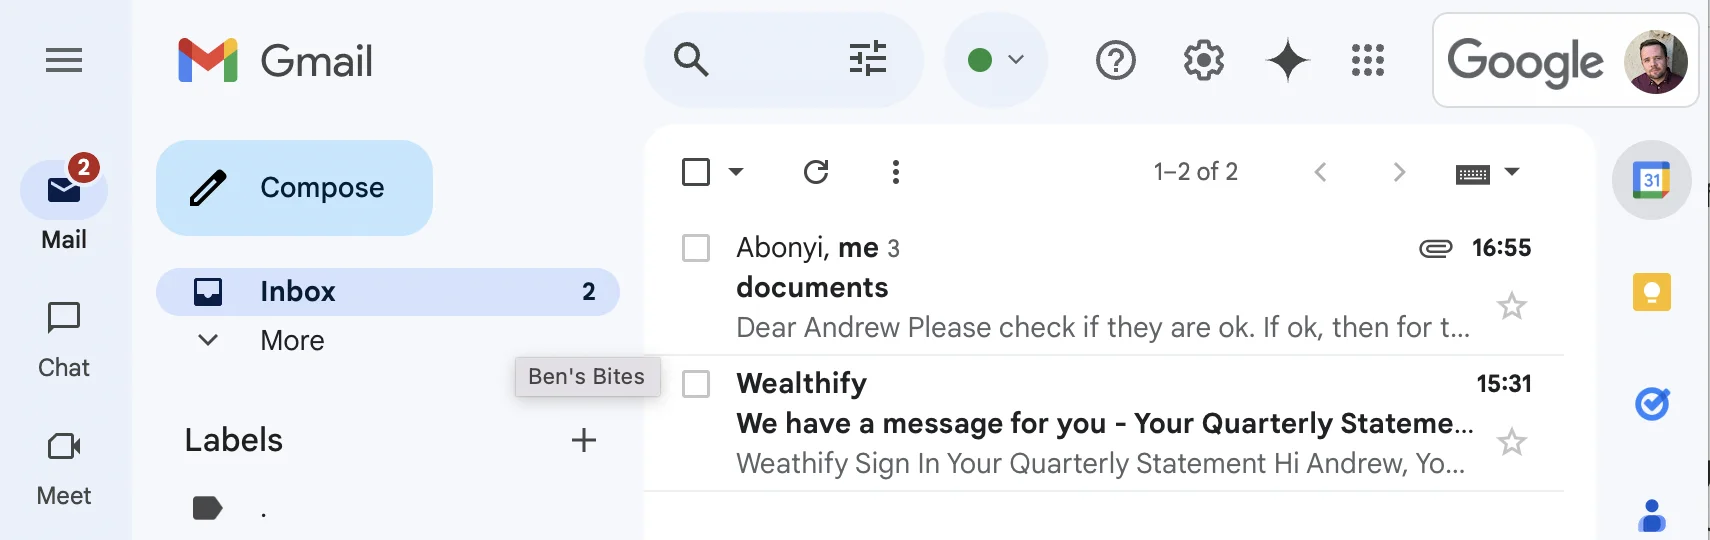
Now, before we start building I’ve checked my inbox. There are two new emails in there: one from my lawyer with some documents to sign (which I’d consider urgent) and another automated notification from a financial broker (non-urgent).
These two will be great to test the eventual zap with.
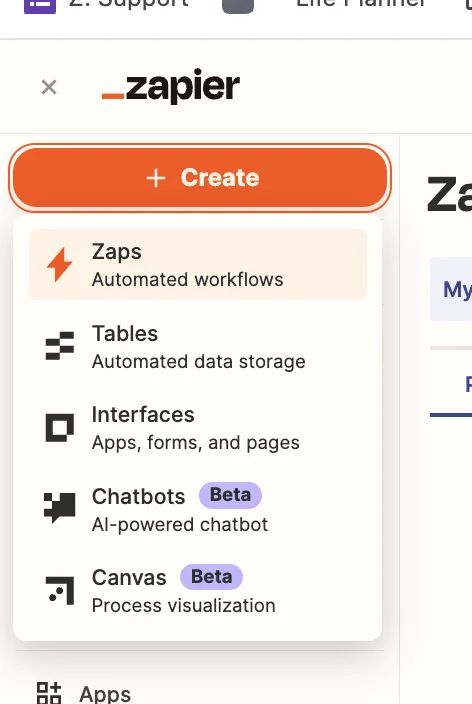
Next, head over to Zapier, then in the dashboard, in the top left, click the big orange “Create” button and select ‘Zaps’.
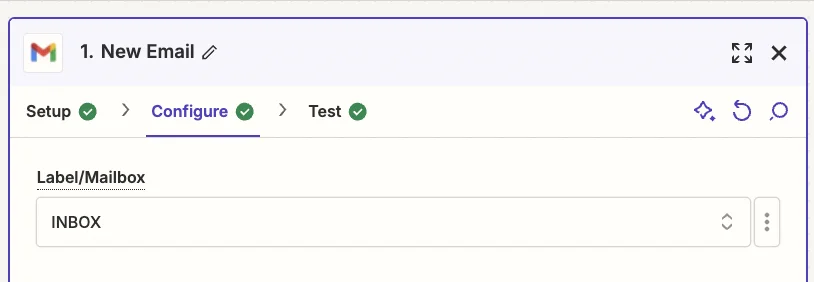
Inside the Zap editor, click on the box that says “Trigger” and select/search for ‘Gmail’ as the app. Then select ‘New Email’ as the trigger event.
Importantly, on the next tab, you should set the “Label/Mailbox” field to ‘INBOX’. This ensures the zap will only trigger emails you receive, not ones you send.
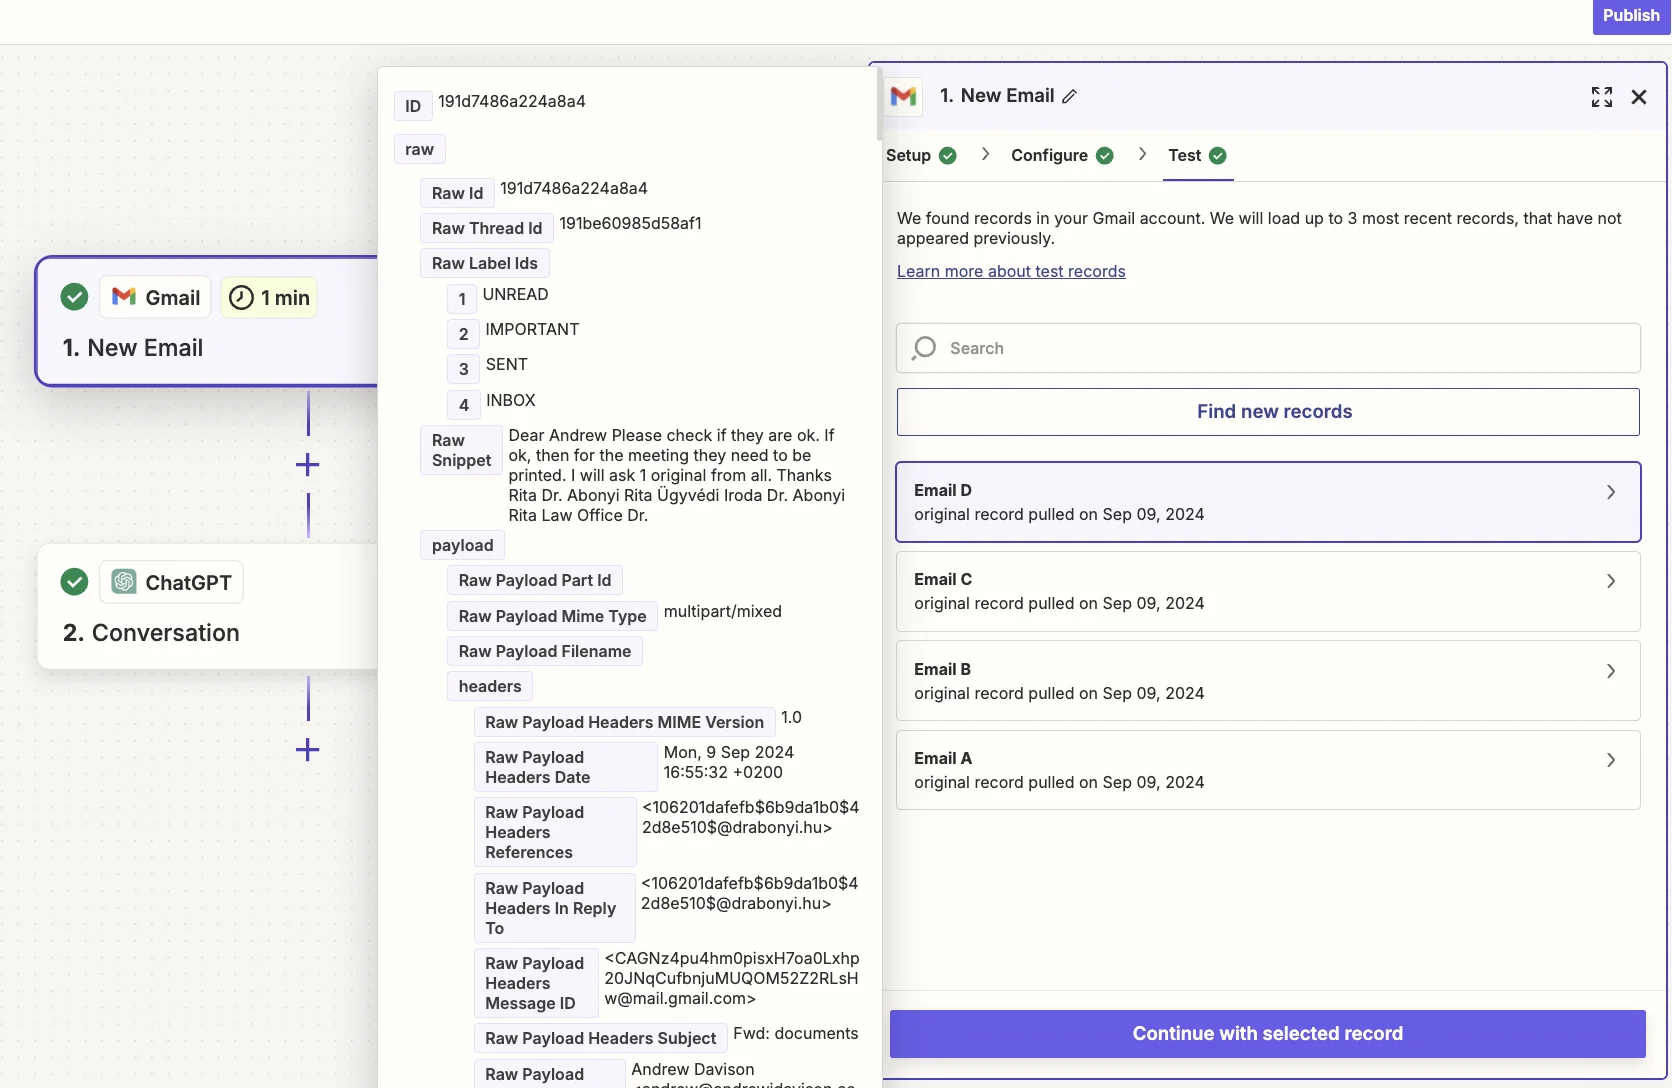
Test the zap step, and Zapier will pull in the data from your most recent emails. I can see the email from my lawyer here.
Step 2: Send the email content to the OpenAI API for categorisation
Now that we have Zapier triggering on incoming emails, we’re going to send the subject line and body of the email to OpenAI for categorising.
Add a new action step to your zap, with “ChatGPT” as the app and ‘Conversation’ as the action event.
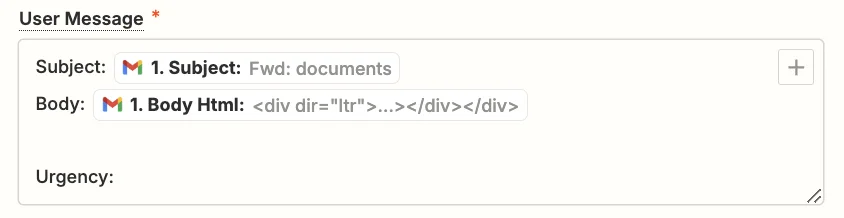
When configuring the step, these are the important fields:
- User message
Here we should map the “Subject” and “Body Html” fields from the Digest step of the zap (click the ‘+’ button to map dynamic values in Zapier).
- Model
Select the “gpt-4o-mini” model, OpenAI’s cheapest and quickest model.

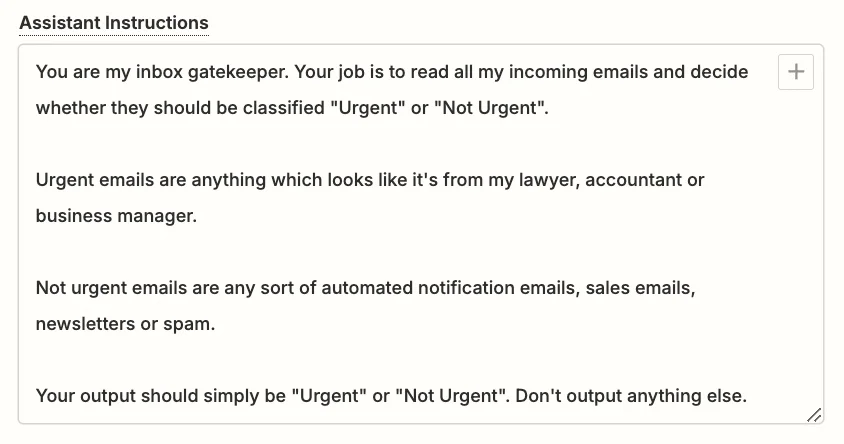
- Assistant instructions
You can experiment here to get exactly what you want, but this prompt should work well:
You are my inbox gatekeeper. Your job is to read all my incoming emails and decide whether they should be classified "Urgent" or "Not Urgent".
Urgent emails are anything which looks like it's from my lawyer, accountant or business manager.
Not urgent emails are any sort of automated notification emails, sales emails, newsletters or spam.
Your output should simply be "Urgent" or "Not Urgent". Don't output anything else.
- Temperature
The lower this number is, the less ambiguous the AI will be with its output. For categorisation tasks ‘0.1’ is best.

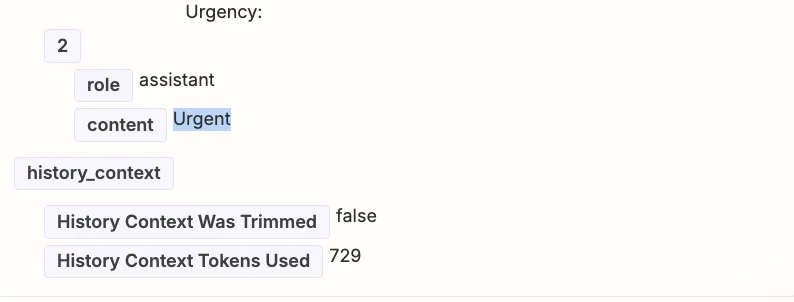
Go ahead and test the step then scroll down towards the end in the “Data out” tab.
As the test data currently loaded in the editor is from the email from my lawyer, the expected output is “Urgent”.
For consistency, I’ll go back to the Gmail trigger step ‘Test’ tab, and find and select the other email from my inbox - the notification email.
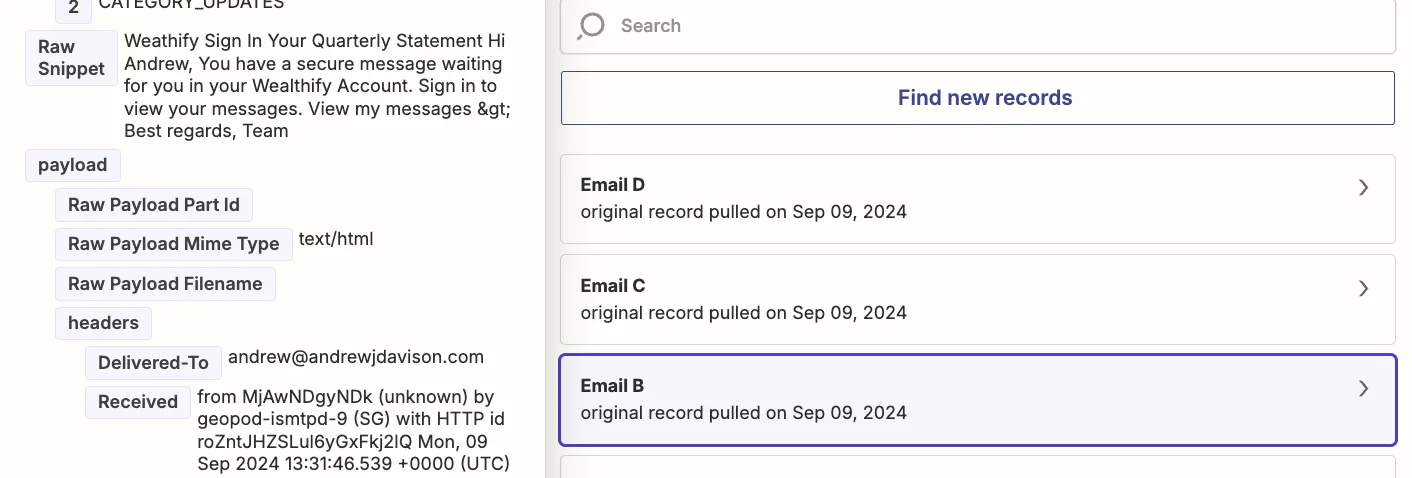
Then I’ll test the ChatGPT step again to check this email is categorised as “Not Urgent”.
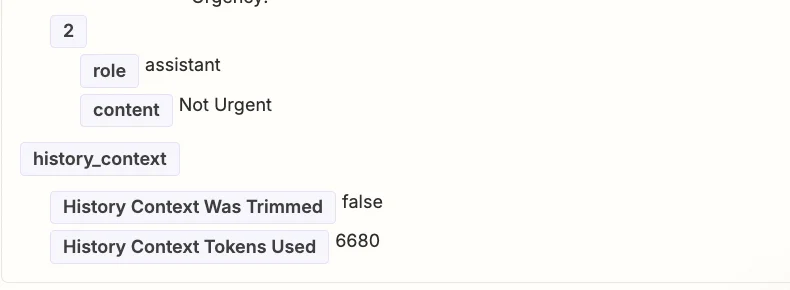
Great, it’s working as expected.
Step 3: Add an urgent or non-urgent label to the email
The final step in this process is for Zapier to add an “URGENT” label in Gmail.
First, create one in Gmail.

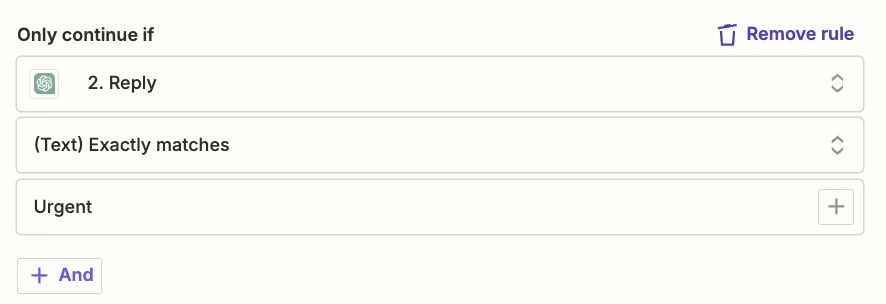
Now, we only want Zapier to add the Gmail label if ChatGPT categorised the email as urgent. We’ll do this with a filter step in the zap.
In Zapier, add a new action step to your zap with ‘Filter’ as the app. Then set the following condition, checking the “Reply” value from the ChatGPT step to see if it exactly matches ‘Urgent’.
In this case, the zap will only run the subsequent steps of the zap where this is true.
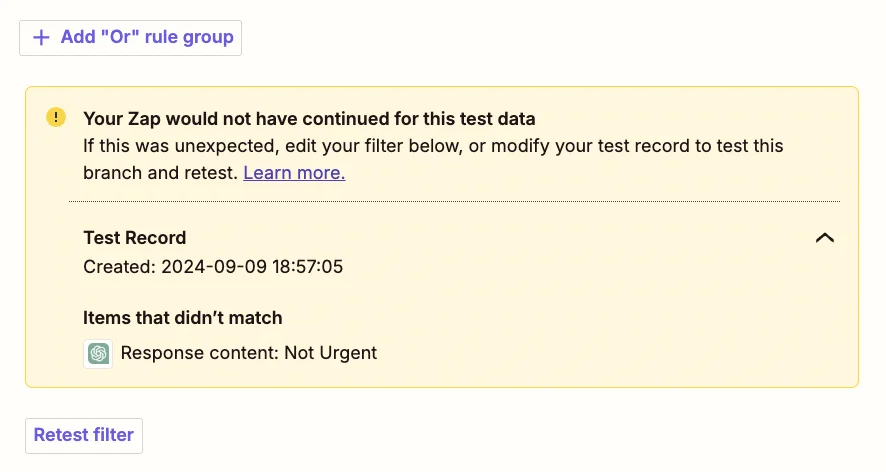
Test the filter and you’ll see that this zap run would not have continued because we still have the data from the notification email loaded in the editor.
The test would have passed for the email from the lawyer.
Next, add a new action step to your zap with ‘Gmail’ as the app and ‘Add Label to Email’ as the action event.
Configure the step as follows.
- Label(s) to Add
Select the “URGENT” label you created.
- Message to be Labeled
Map the “ID” value from the trigger step.
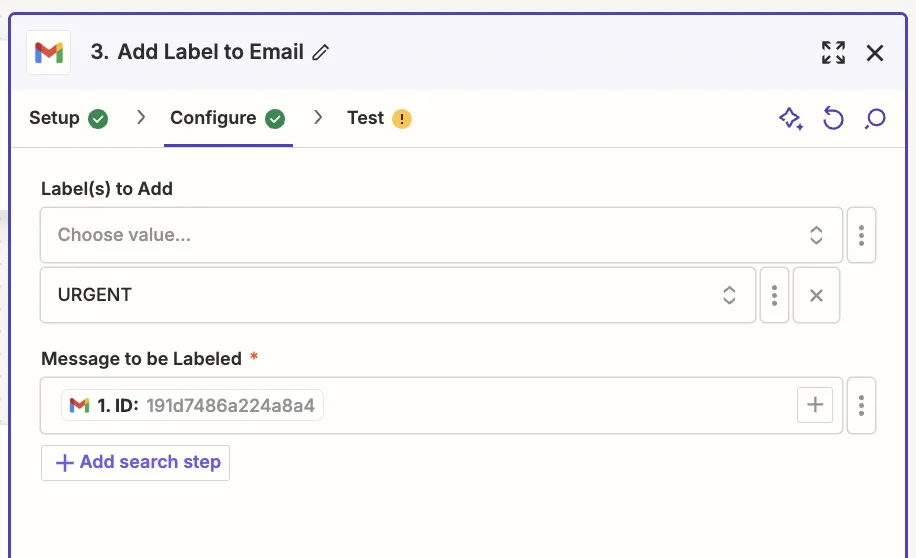
Go ahead and test this zap step, and in Gmail, you’ll see the email has been labelled.

And that’s it. You could build on this zap further by adding a step that notifies you (say, in Slack) whenever an urgent email is labelled. And another step that adds a to-do in your usual task app (Monday.com or Trello for example) so you don’t forget to action the email. Have fun and play around with it, and enjoy your new found productivity!
This tutorial was created by Andrew.