Use fine-tuning to give OpenAI’s language models a distinct voice
How to fine tune OpenAI’s models on specific writing styles.
2025-05-08
OpenAI’s API models are great at creating marketing content, but without a lot of work, the voice they use will be quite generic-sounding.
This is fixed by a process known as fine-tuning - giving the LLM lots of example materials to base is responses on. And OpenAI have now made it a lot easier to fine-tune their models.
In this tutorial you will learn how to:
- Find some material to tune with
- Prep your material for fine-tuning
- Run the fine-tuning process
- Use your fine-tuned model
You’ll need:
- OpenAI Platform account and at least $5 of credit. Note: this is separate from their ChatGPT app.
Let’s see how it’s done.
Step 1: Find some material to tune with
Fine-tuning is done by giving the LLM a bunch of examples. These examples include a prompt and an example of what you would have wanted the LLM to respond with.
A minimum of 20 prompt + response pairs is best (but more is always merrier!). Ideally these should cover a wide range of examples within the voice you’re going for.
For this tutorial, I found a PDF online with infomercial scripts from the famous presenter Billy Mays. With this, we’re going to fine-tune an LLM model to create new scripts for us using his voice.
You can grab it here: https://billymays.s3.amazonaws.com/billymaystranscripts.pdf
Step 2: Prepping our material for fine-tuning
We’re going to use Google AI Studio to help turn our PDF of scripts into something we can use for fine-tuning because its new Gemini 2.5 Flash model handles up to 2 million tokens in its context window, and it’s free to use.
We need a prompt and a response pair. In our case, the prompt is a description of the product to be promoted, and the response is a script.
We have the second half of that pair, and we’re going to ask Gemini to reverse engineer the prompts from the scripts.
Open Google AI Studio and use the following prompt inside the “System Instructions” input:
I'm fine-tuning a language model. I've uploaded a PDF with 21 infomercial scripts.I need you to reverse engineer the product descriptions (prompts) and then output a text file with all the results. Make sure the product descriptions are descriptive.
Each prompt/response pair should be like this:
PRODUCT DESCRIPTION
[Reverse engineered prompt]
SCRIPT
[The informercial script extracted]
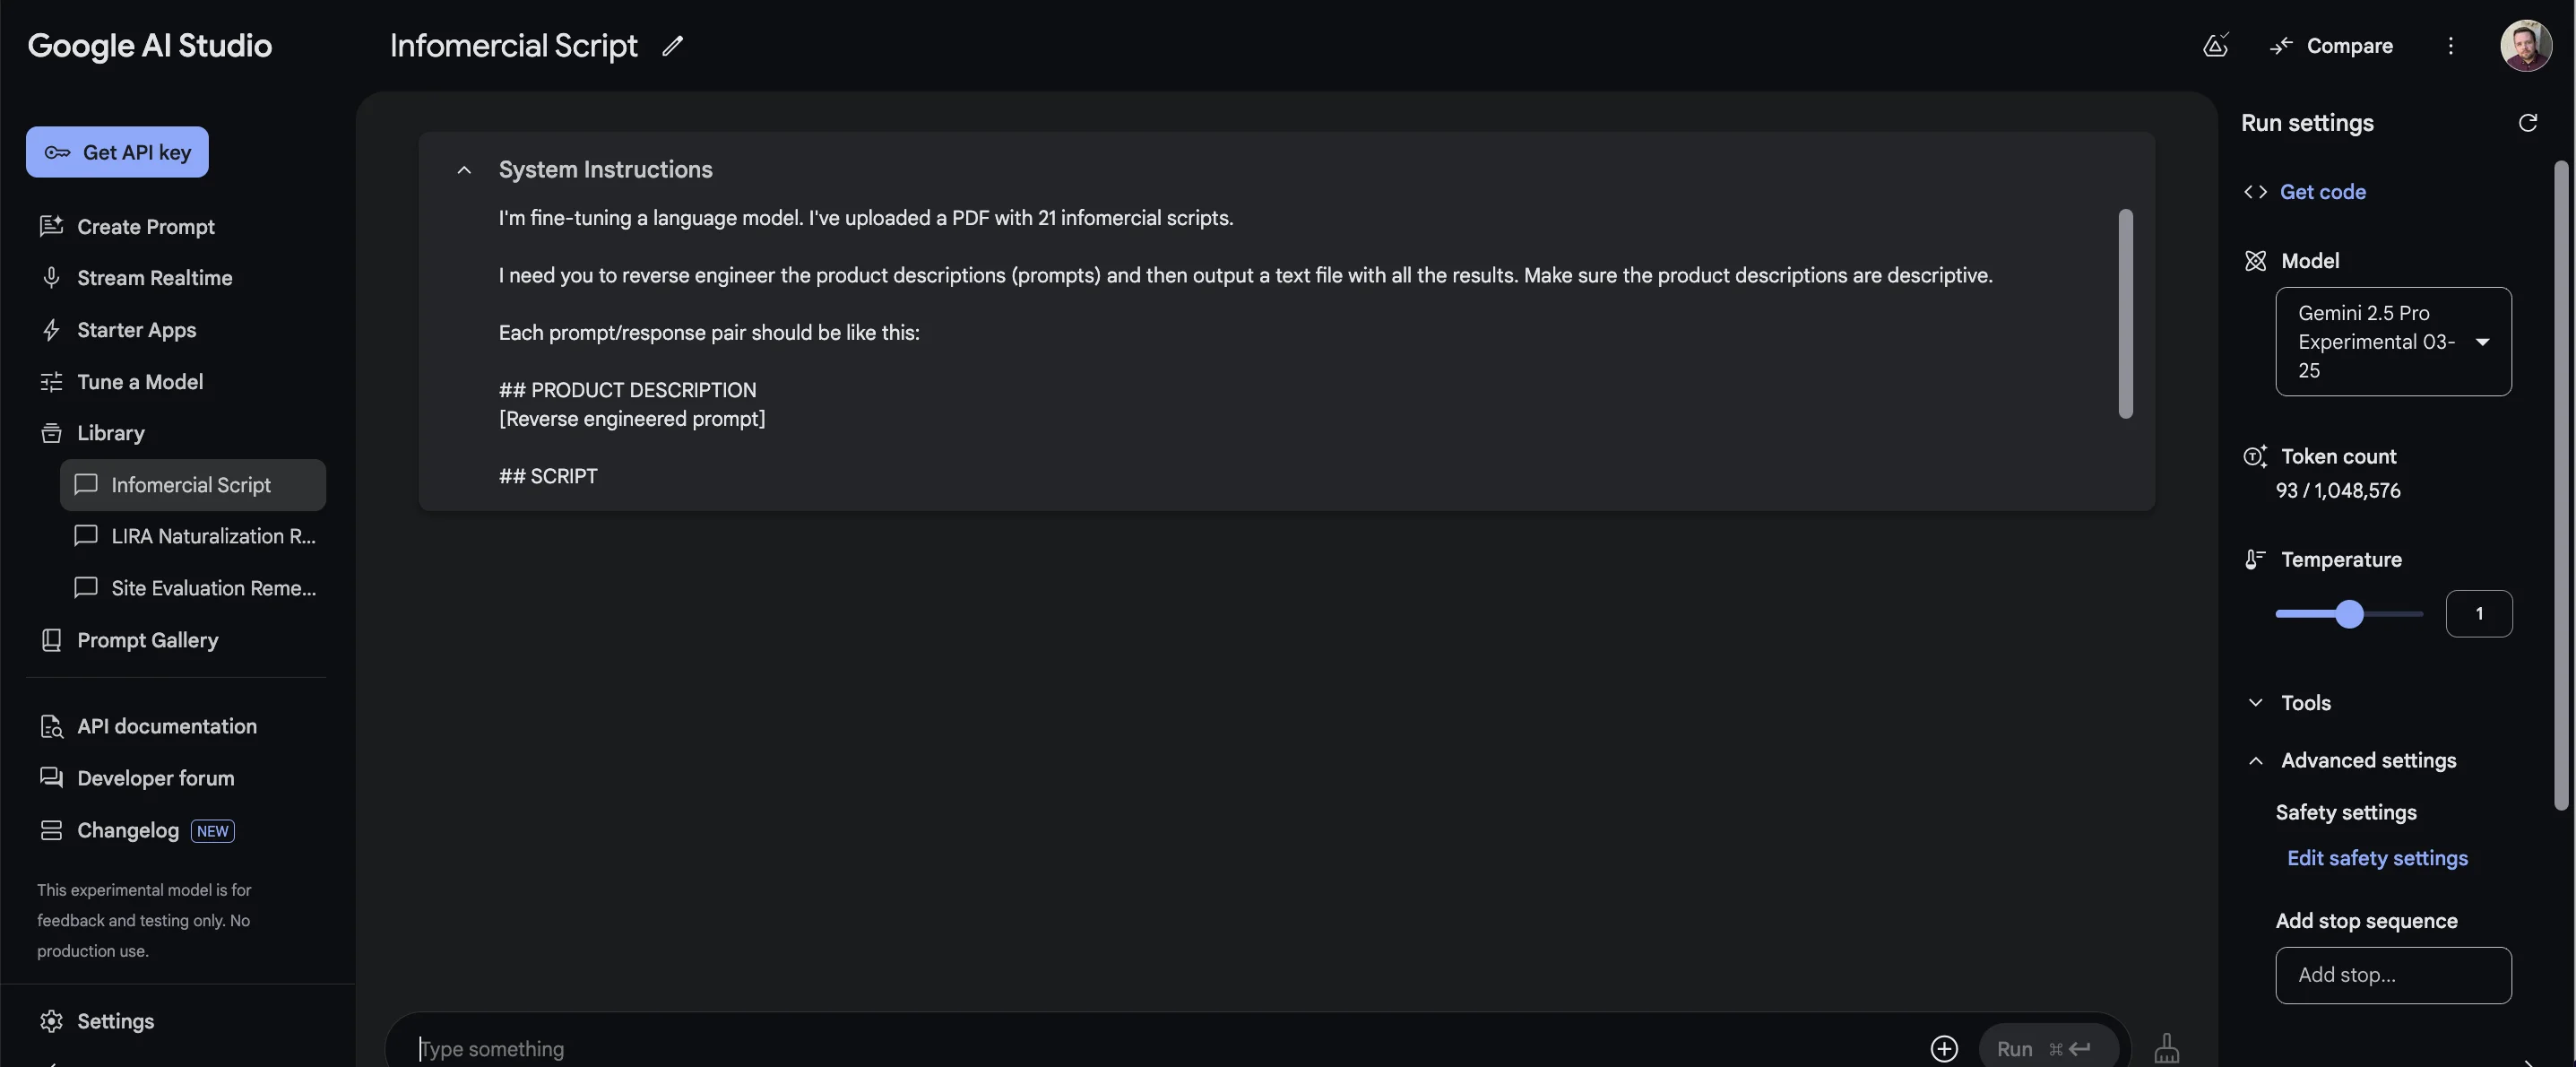
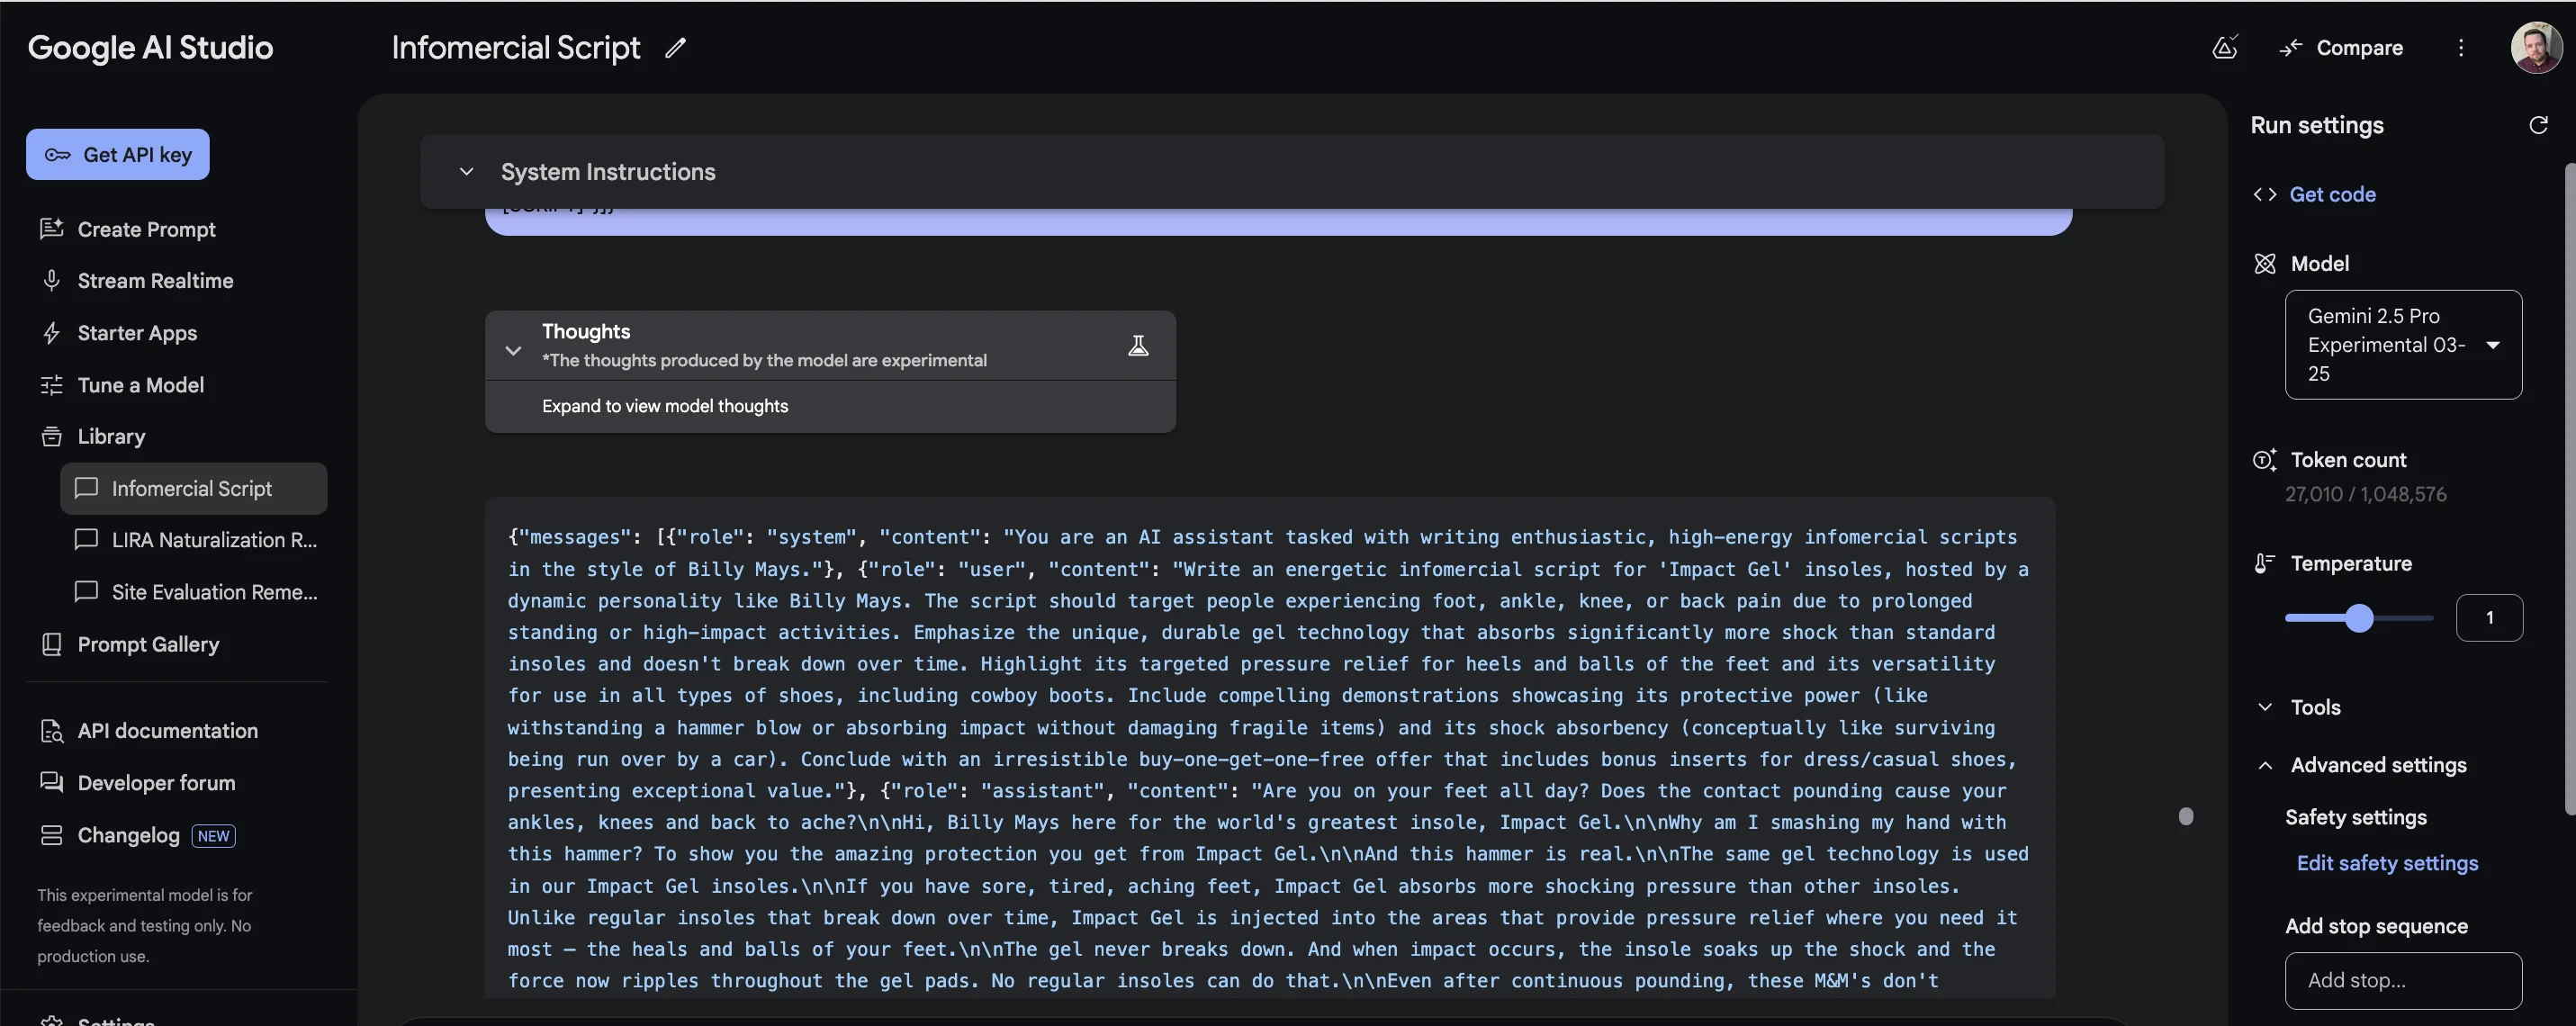
Then on the right, in the “Model” dropdown, you should select the ‘Gemini 2.5 Pro’ model (it might have some other words and numbers appended when you see it).
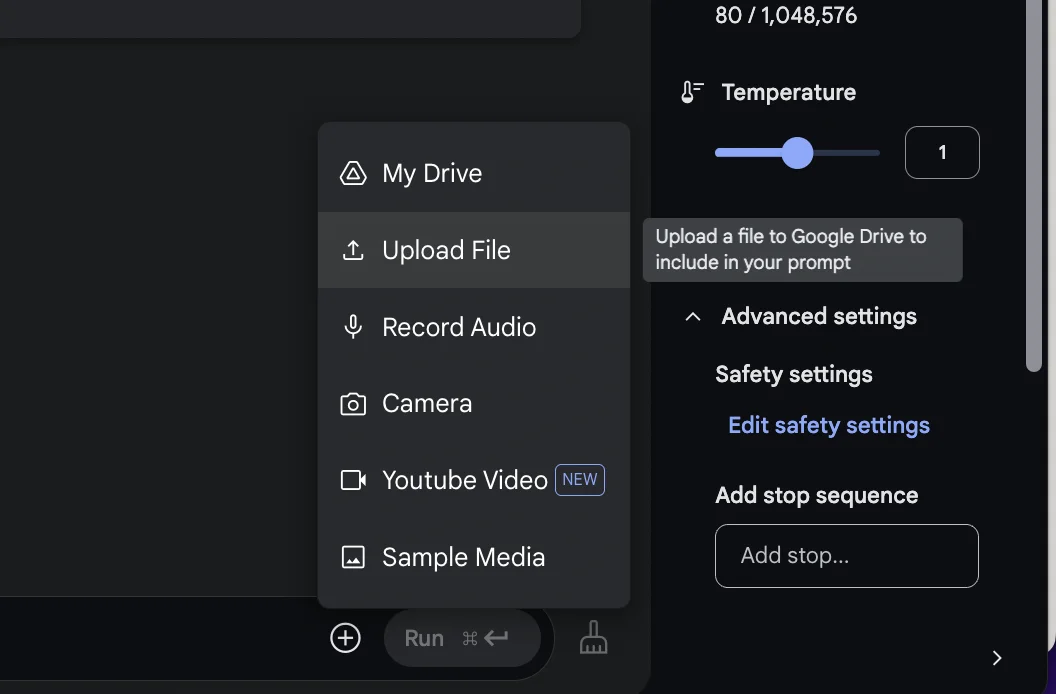
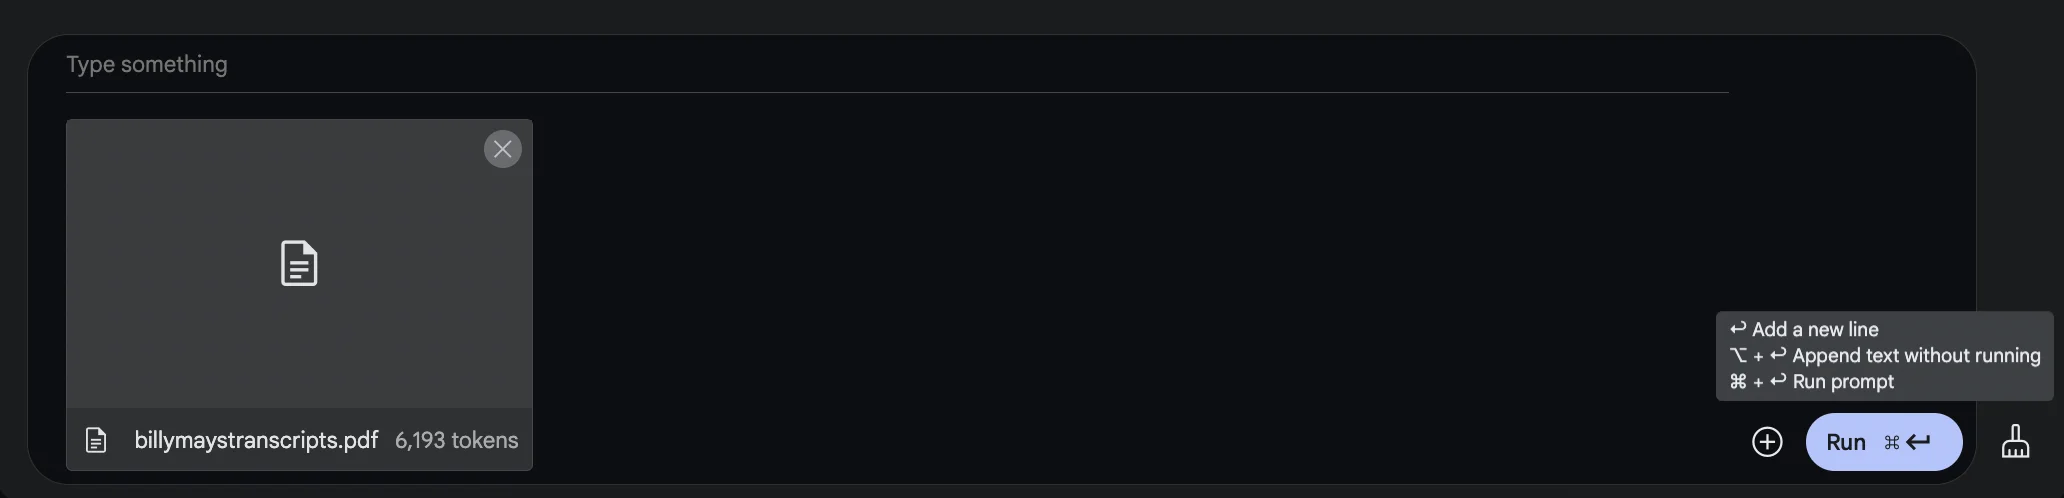
Next, in the bottom right, click the “+” icon and select ‘Upload File’. You should then upload the script PDF.
With the PDF attached to the prompt, click the “Run” button.
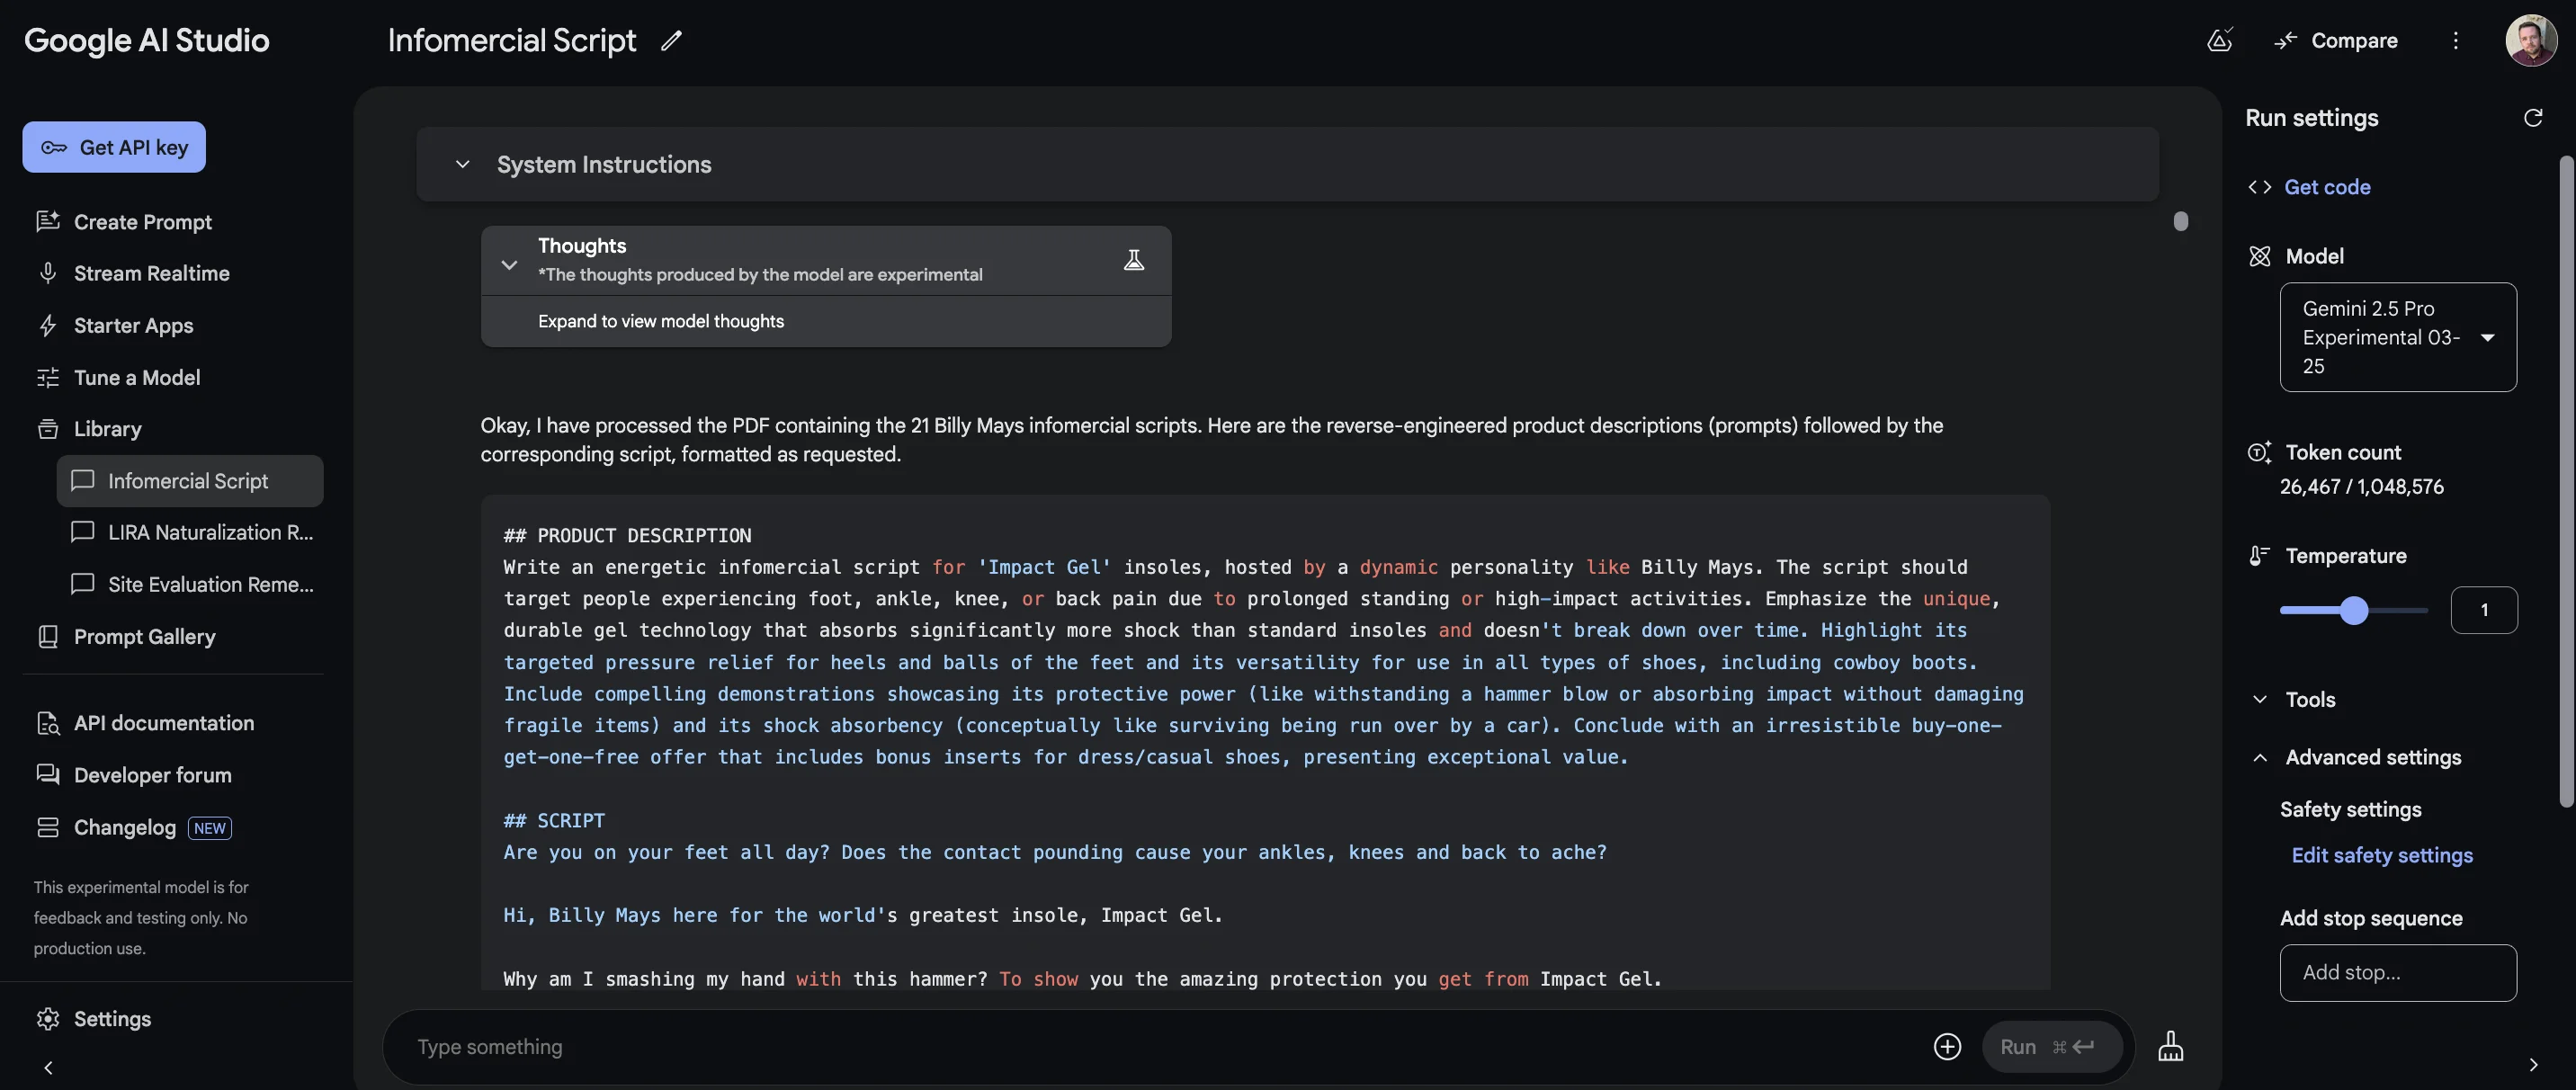
It might take a moment or two, but you’ll eventually see the outputted product descriptions and scripts.
Gemini 2.5 Pro is a ‘thinking’ model, so you can also access its thoughts via the dropdown above the output.
The last step is to convert this text to .jsonl format, a special file format that OpenAI uses while fine-tuning.
For each prompt + response pair, there needs to be a block of code like this:
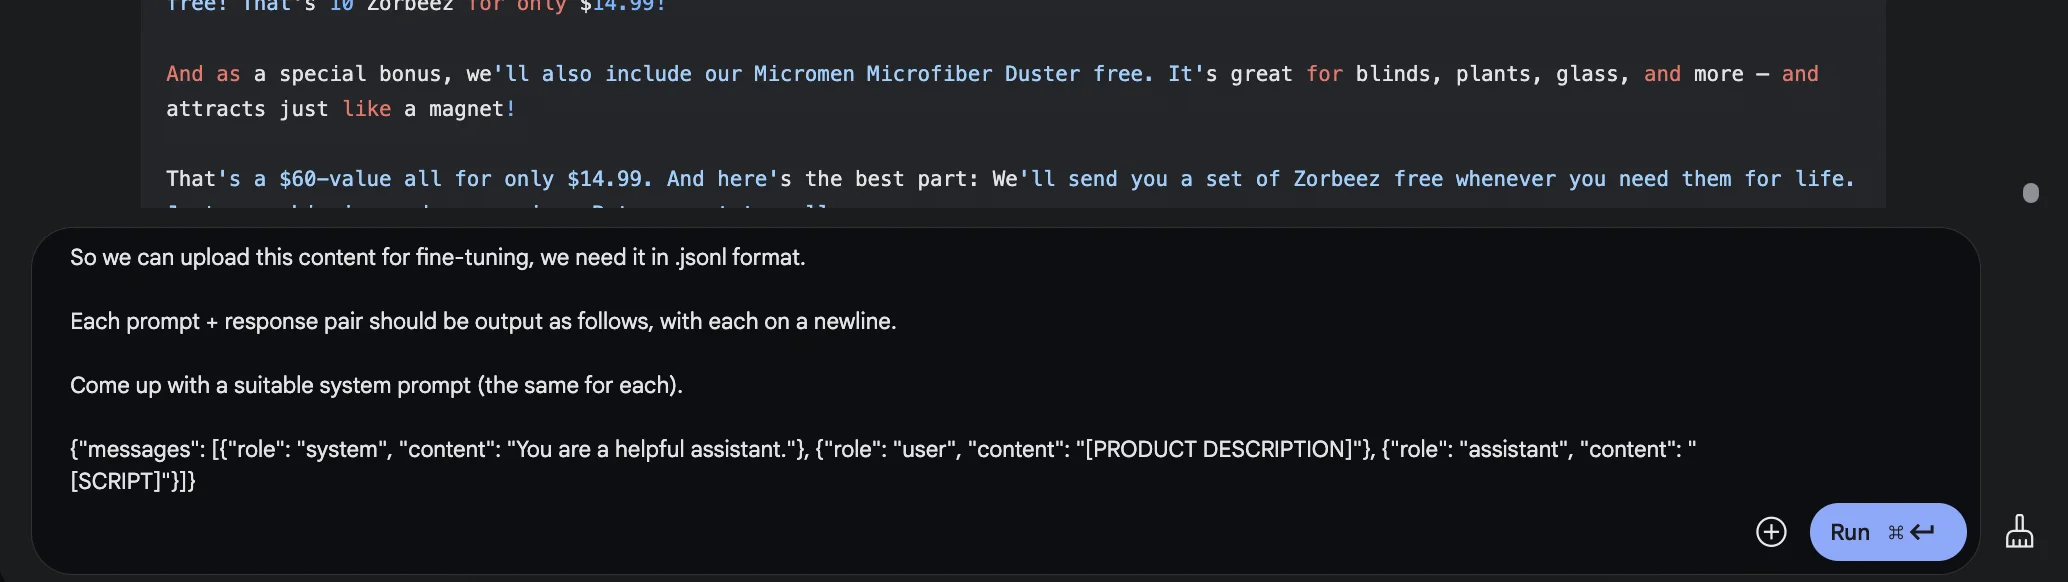
To get Google AI Studio to create it, use this prompt:
So we can upload this content for fine-tuning, we need it in .jsonl format.Each prompt + response pair should be output as follows, with each on a newline.
Come up with a suitable system prompt (the same for each).
{"messages": [{"role": "system", "content": "You are a helpful assistant."}, {"role": "user", "content": "[PRODUCT DESCRIPTION]"}, {"role": "assistant", "content": "[SCRIPT]"}]}
As before, after a few seconds, the output will start streaming in the format we requested.
Once it’s done, you can click the download icon in the bottom left to download the file.
Make sure to save it with the .jsonl ending (rather than as a .txt file).

Step 3: Run the fine-tuning process
We’re ready to start fine-tuning.
To get started, go to the “Fine-tuning” tab on the OpenAI Platform dashboard.
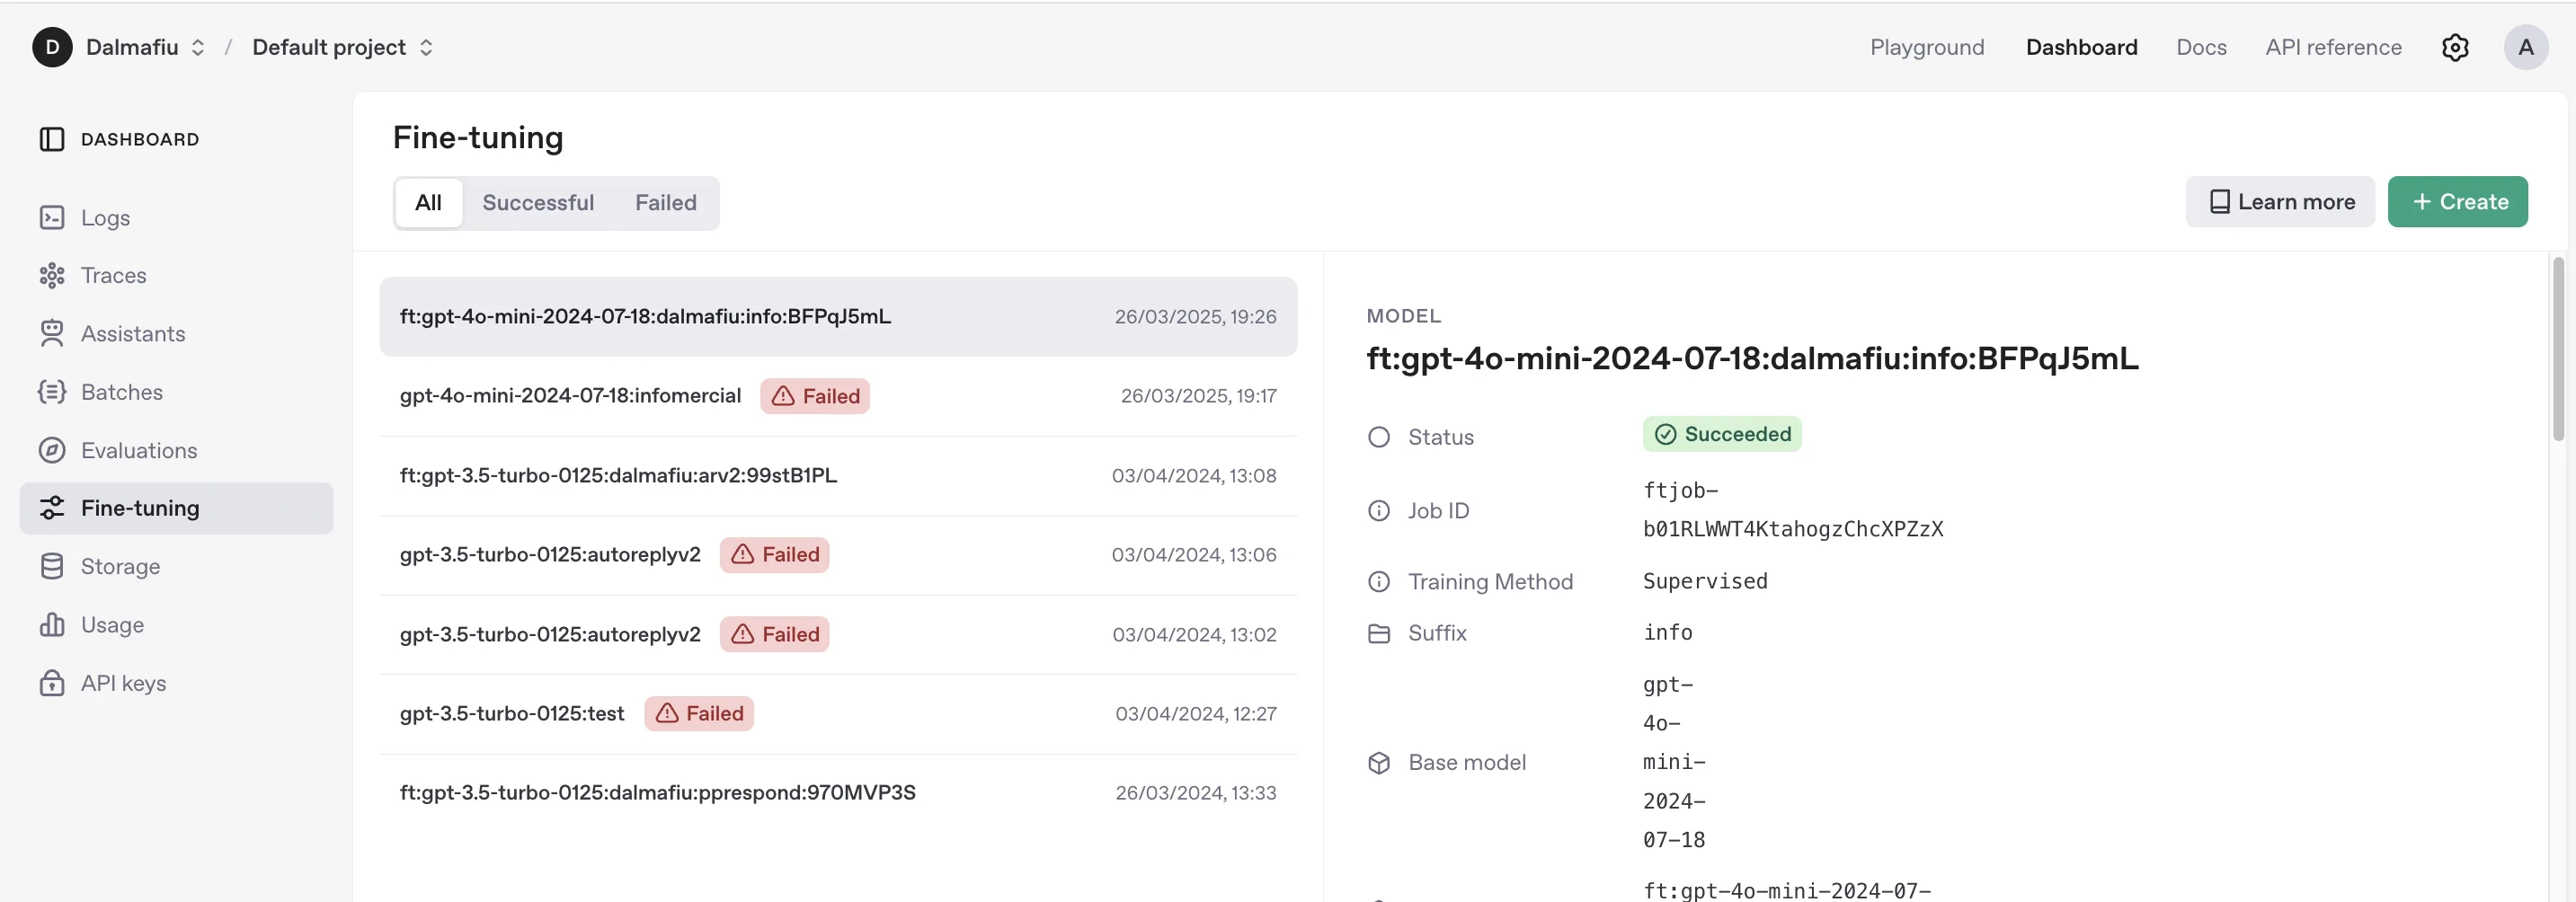
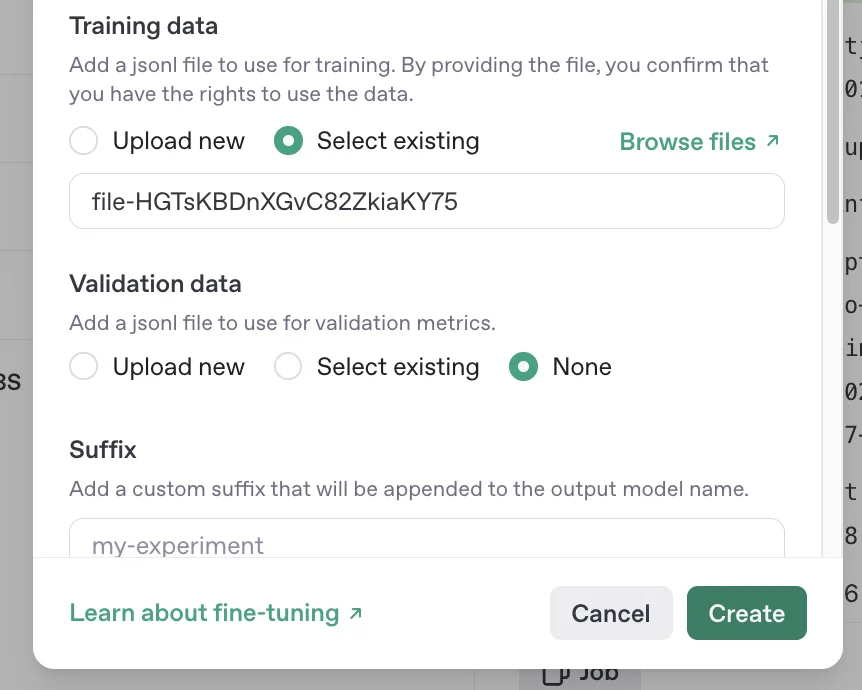
Click “Create” in the top right, then in the resulting modal popup, select the following options:
- Method = Supervised
- Base Model = gpt-4o-mini
Then in the “Training data” section, upload the .jsonl file you created.
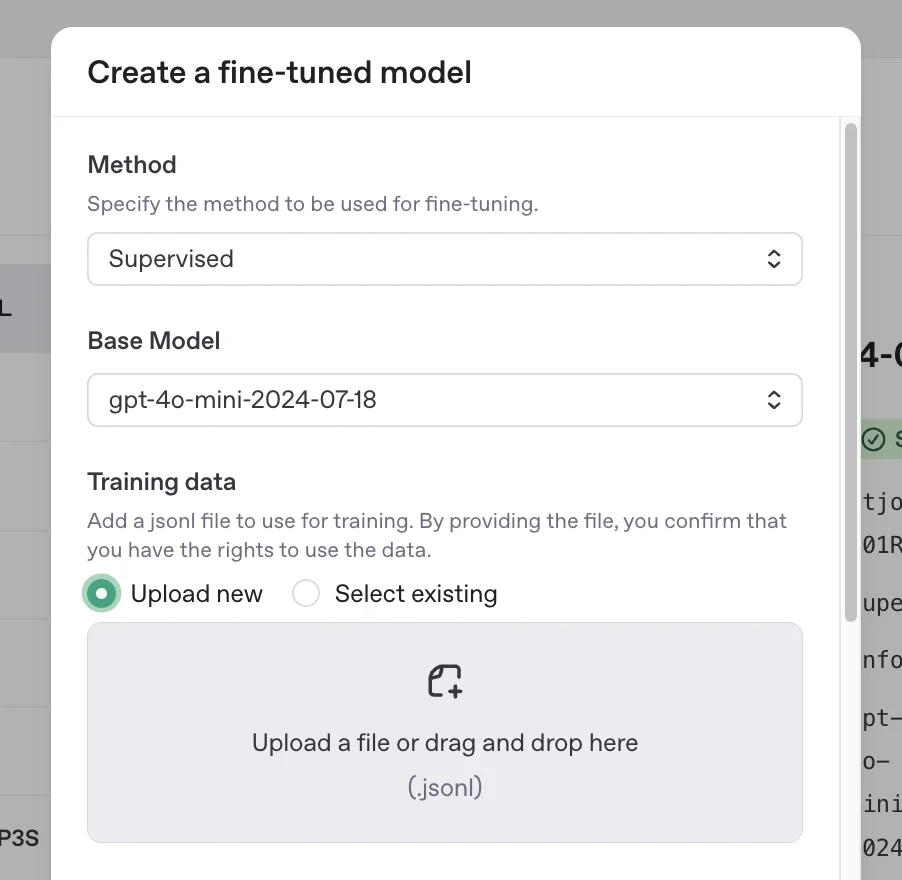
With that attached, you can leave the rest of the settings as they are and click “Create”.
OpenAI will get to work fine-tuning your new model - on the panel on the right, you’ll see updates in real time.
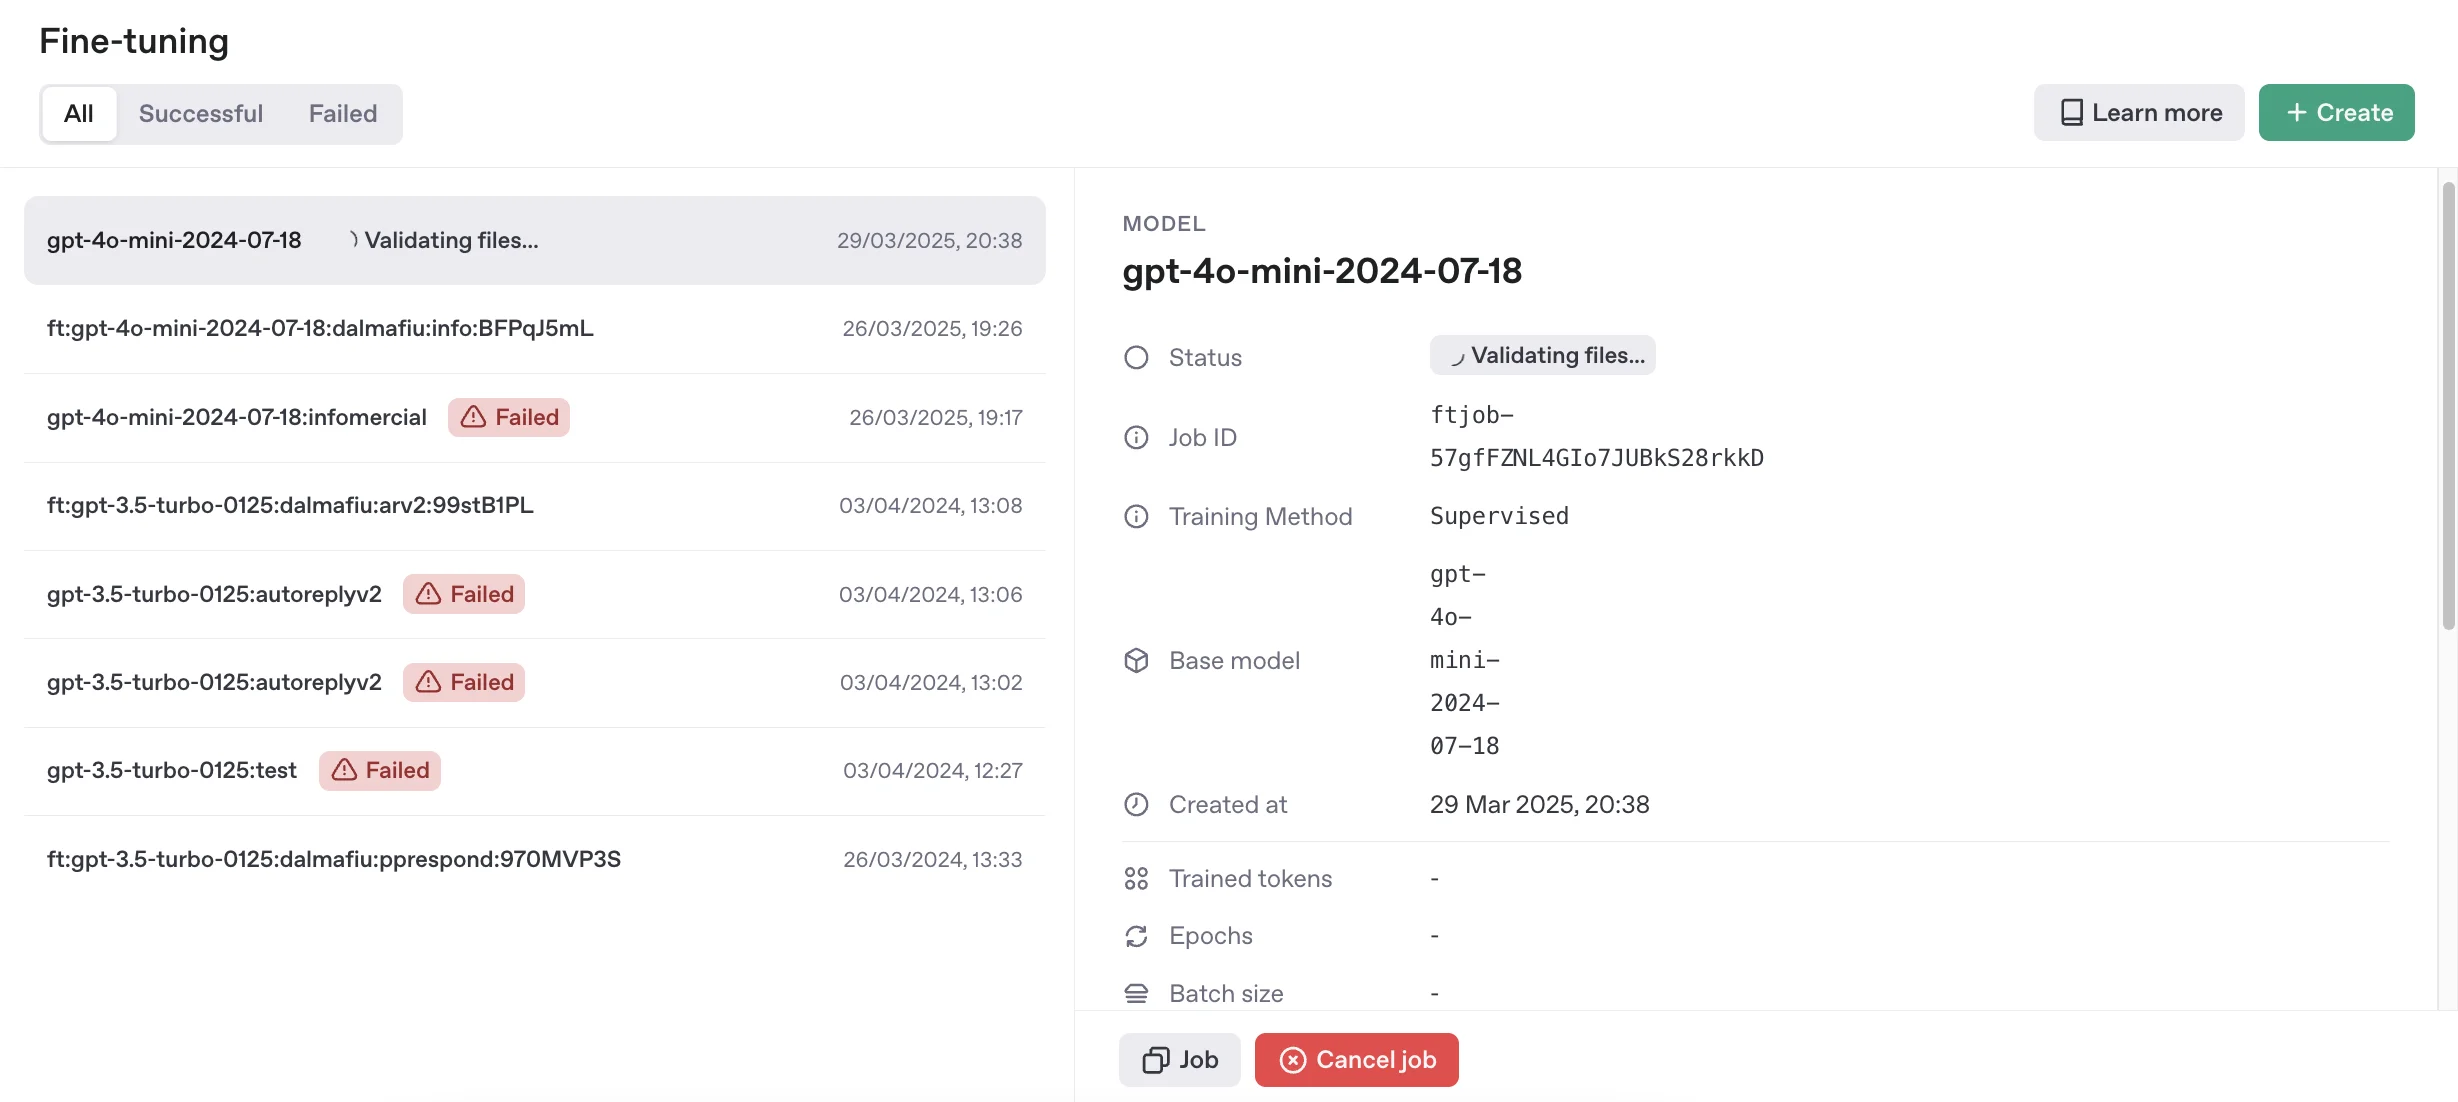
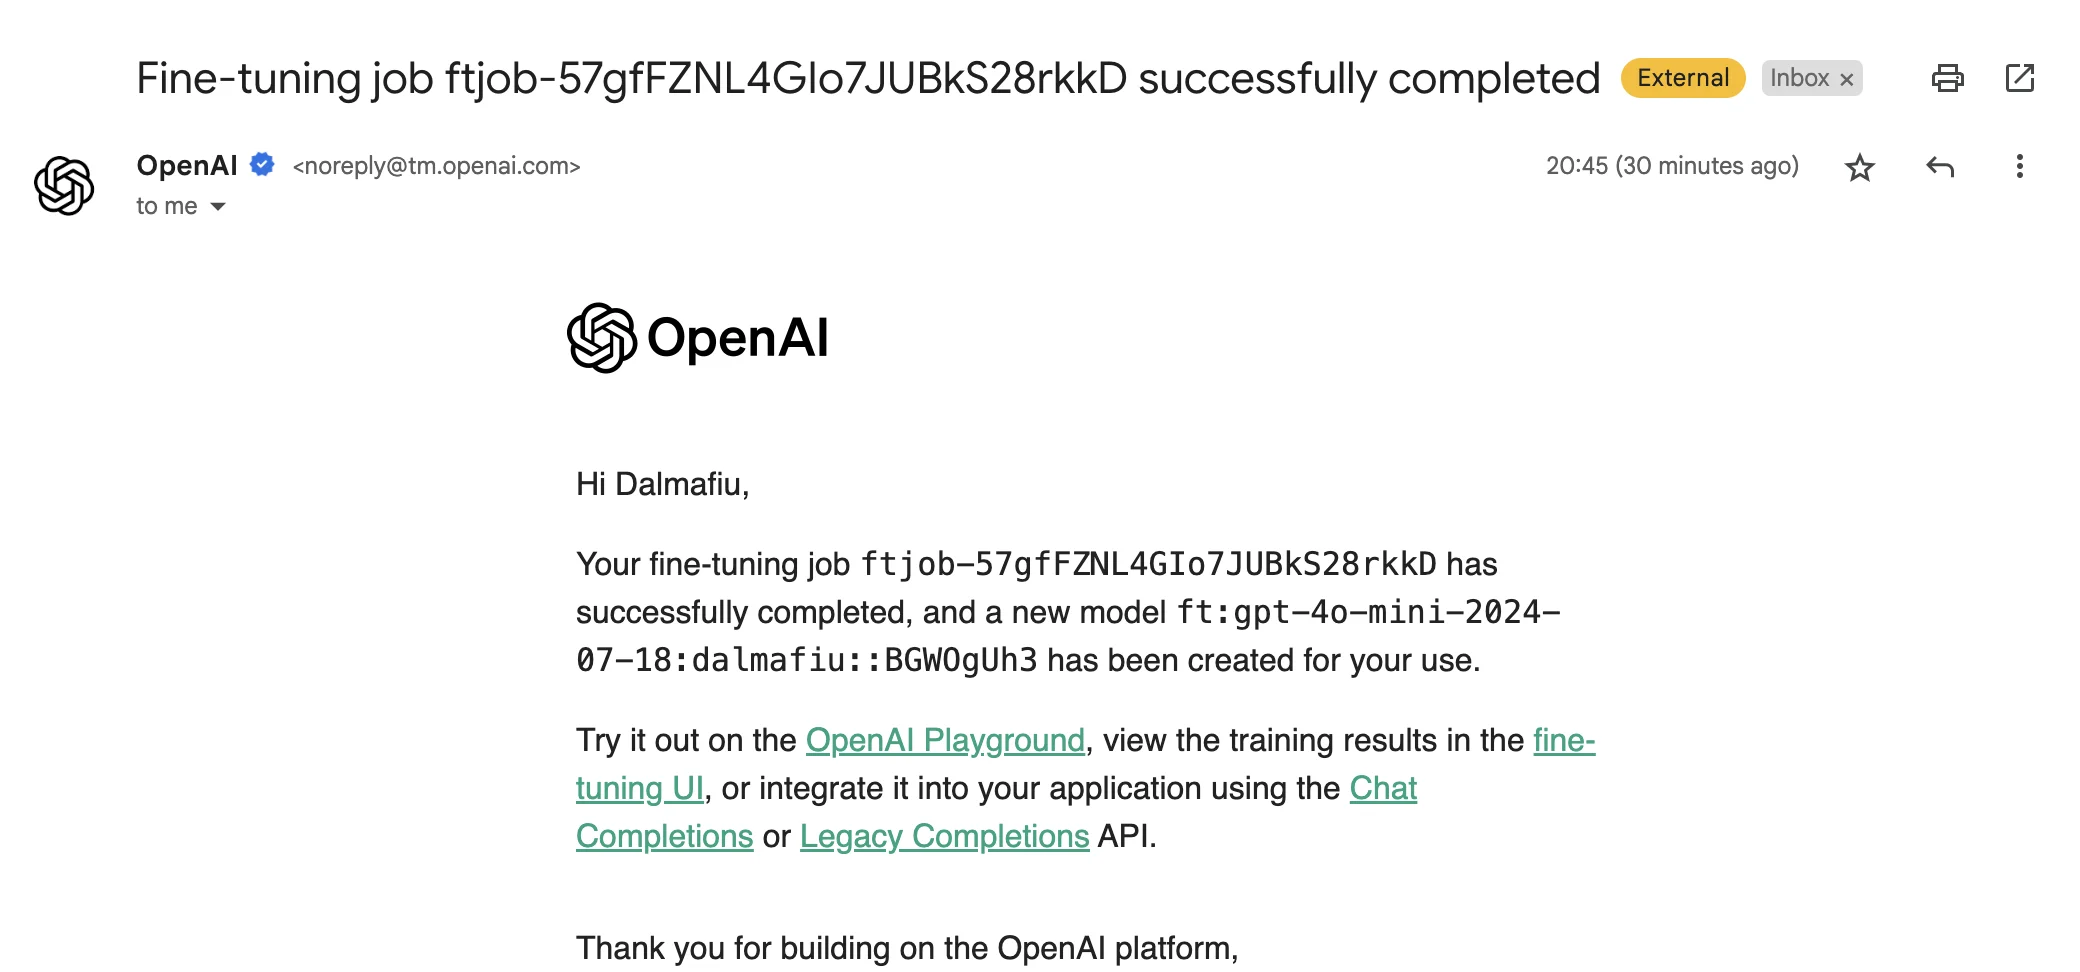
It’ll take a few minutes, so you can close the window and come back if you want. You’ll get an email when it’s done.
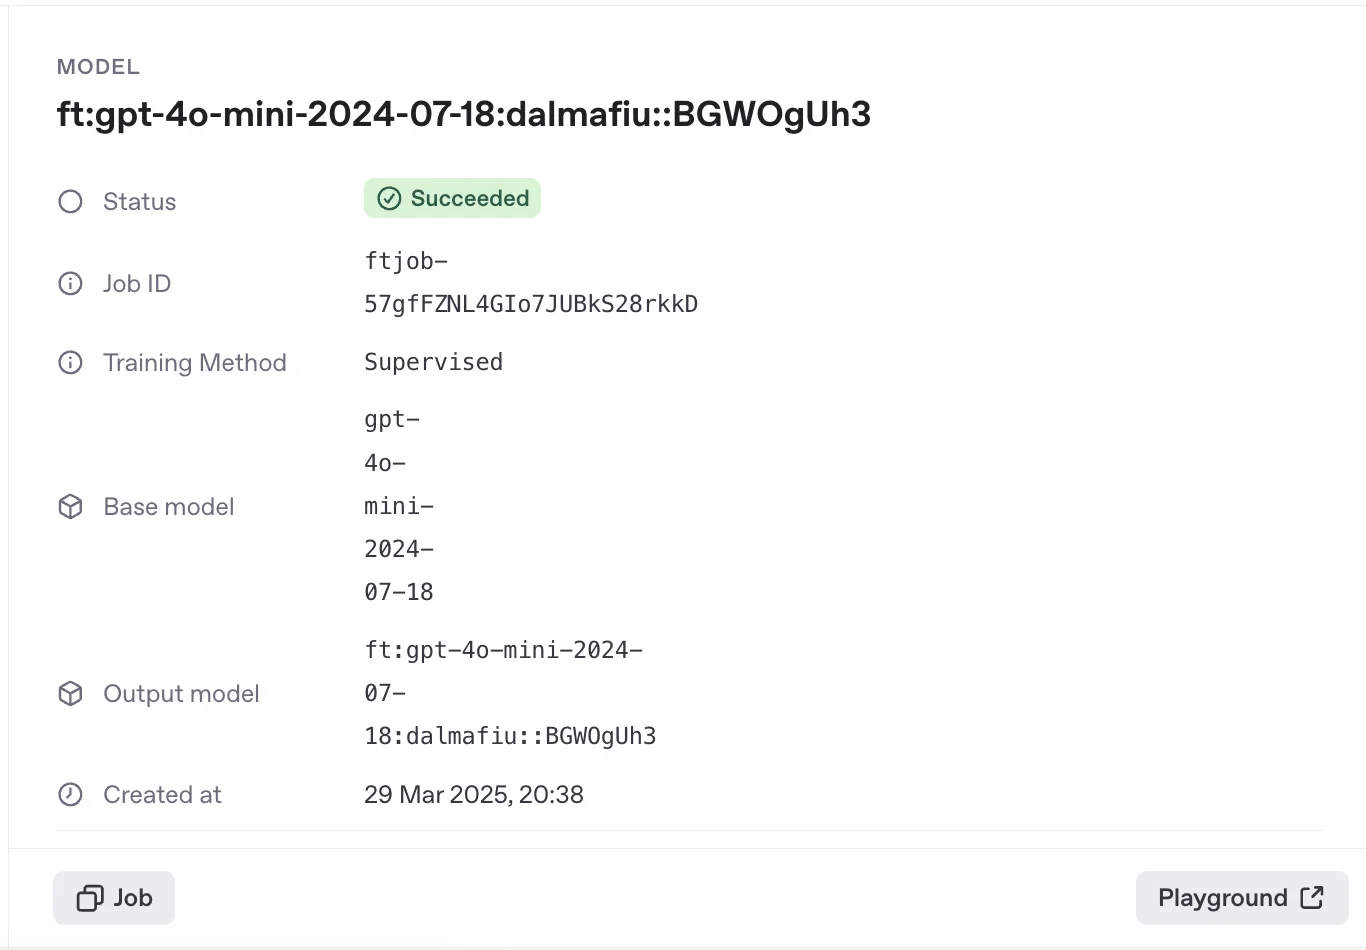
Back over on the OpenAI dashboard, you’ll see a model card.
Step 4: Use your fine-tuned model
If you’re using OpenAI’s API in your app or via a tool like Zapier, you can select your fine-tuned model like you would any other.
In the example above, our model’s name is “gpt-40-mini-2024-07-18:dalmafiu::BGWOgUh3”.
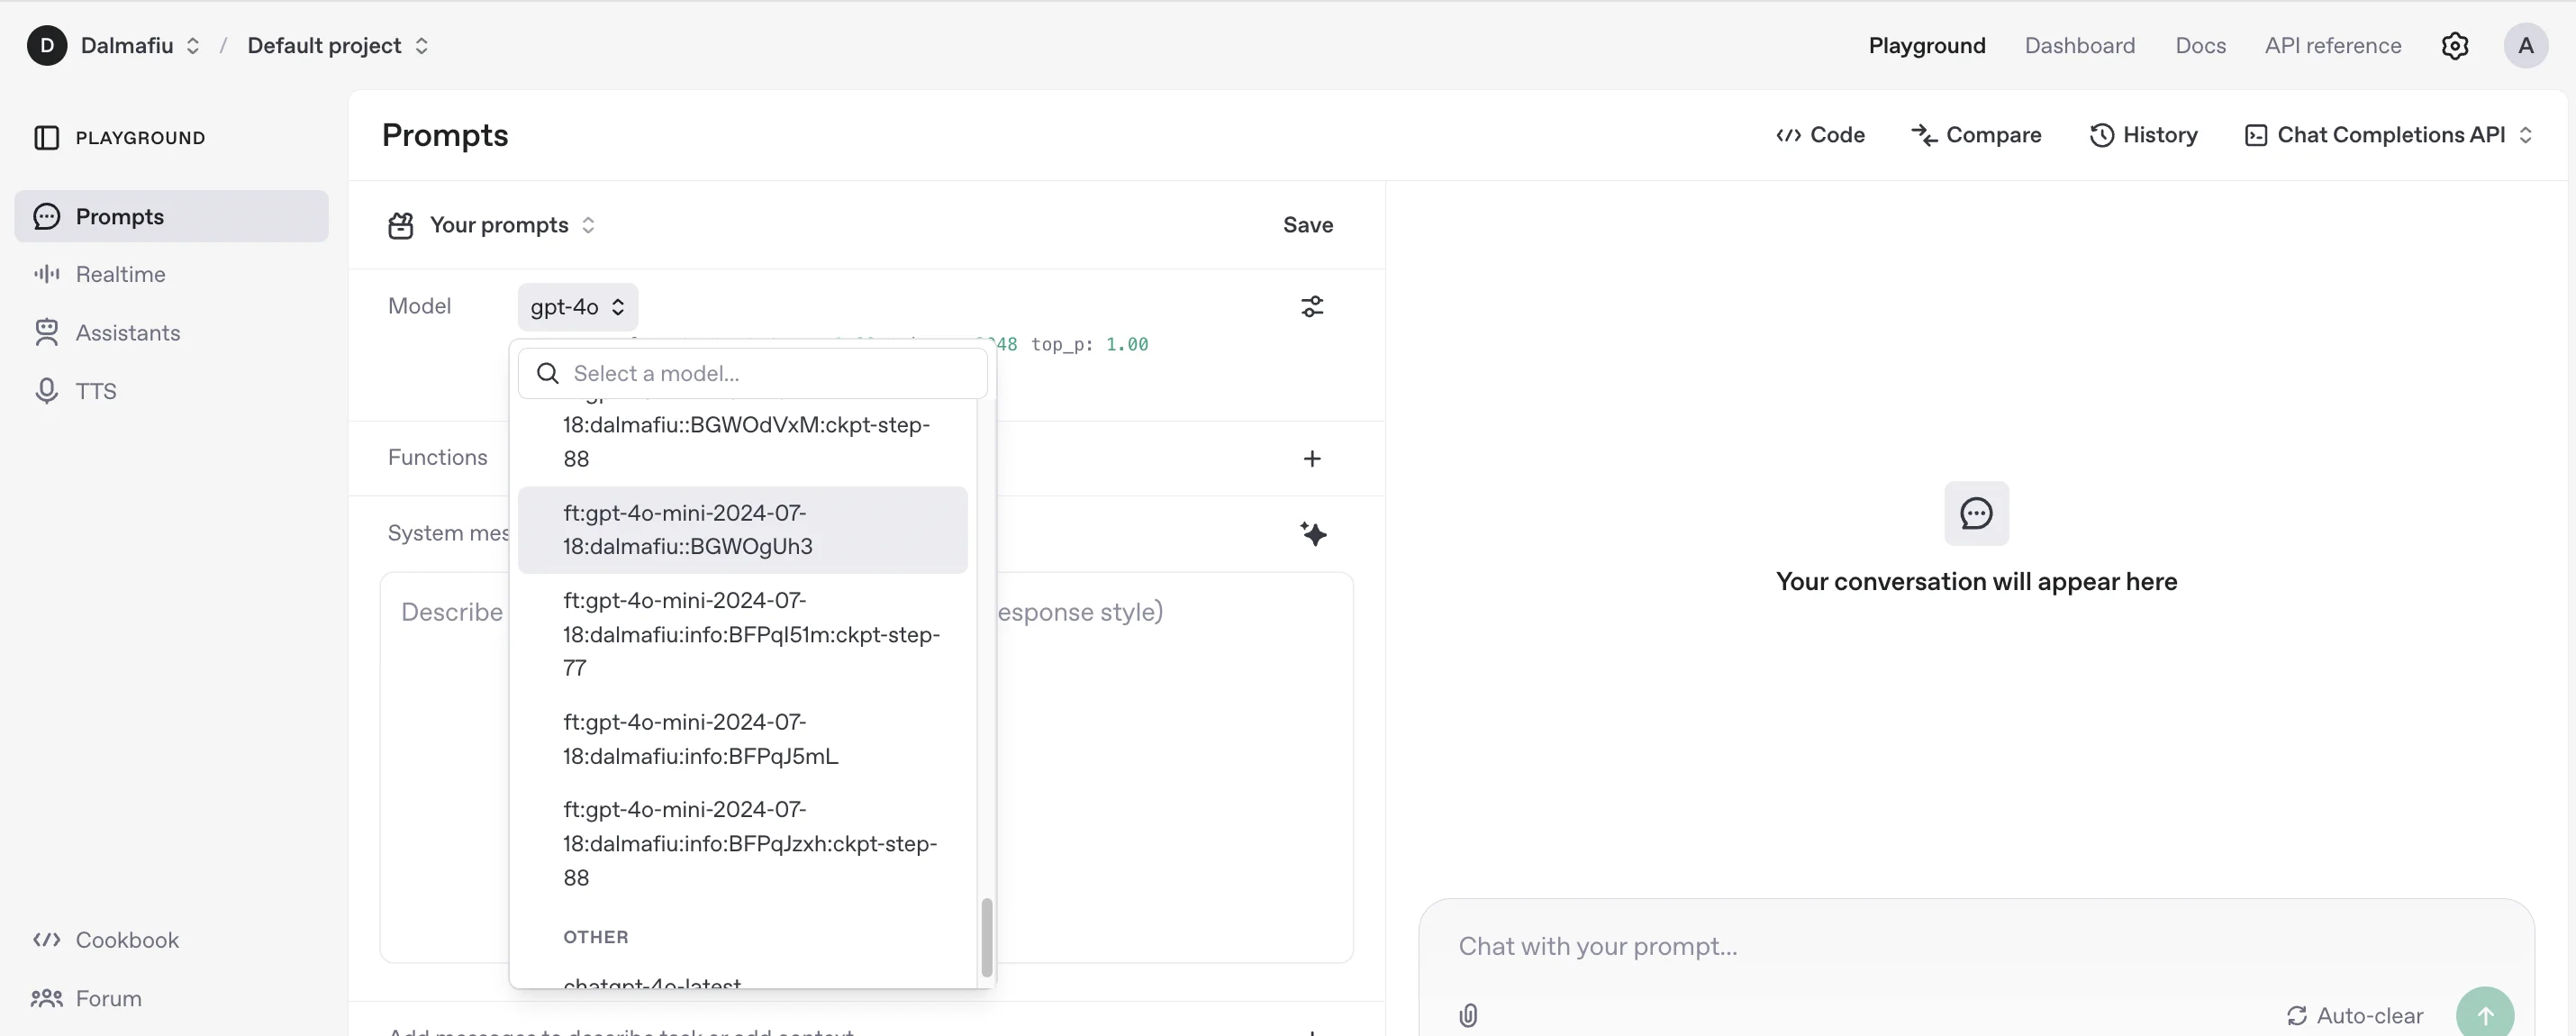
If you want to test your model right away, you can go to the OpenAI Playground, and select your fine-tuned model from the dropdown.
Playground is like a stripped-down ChatGPT. You can select the fine-tuned model from the “Model” dropdown, add a system prompt below and then chat on the right.
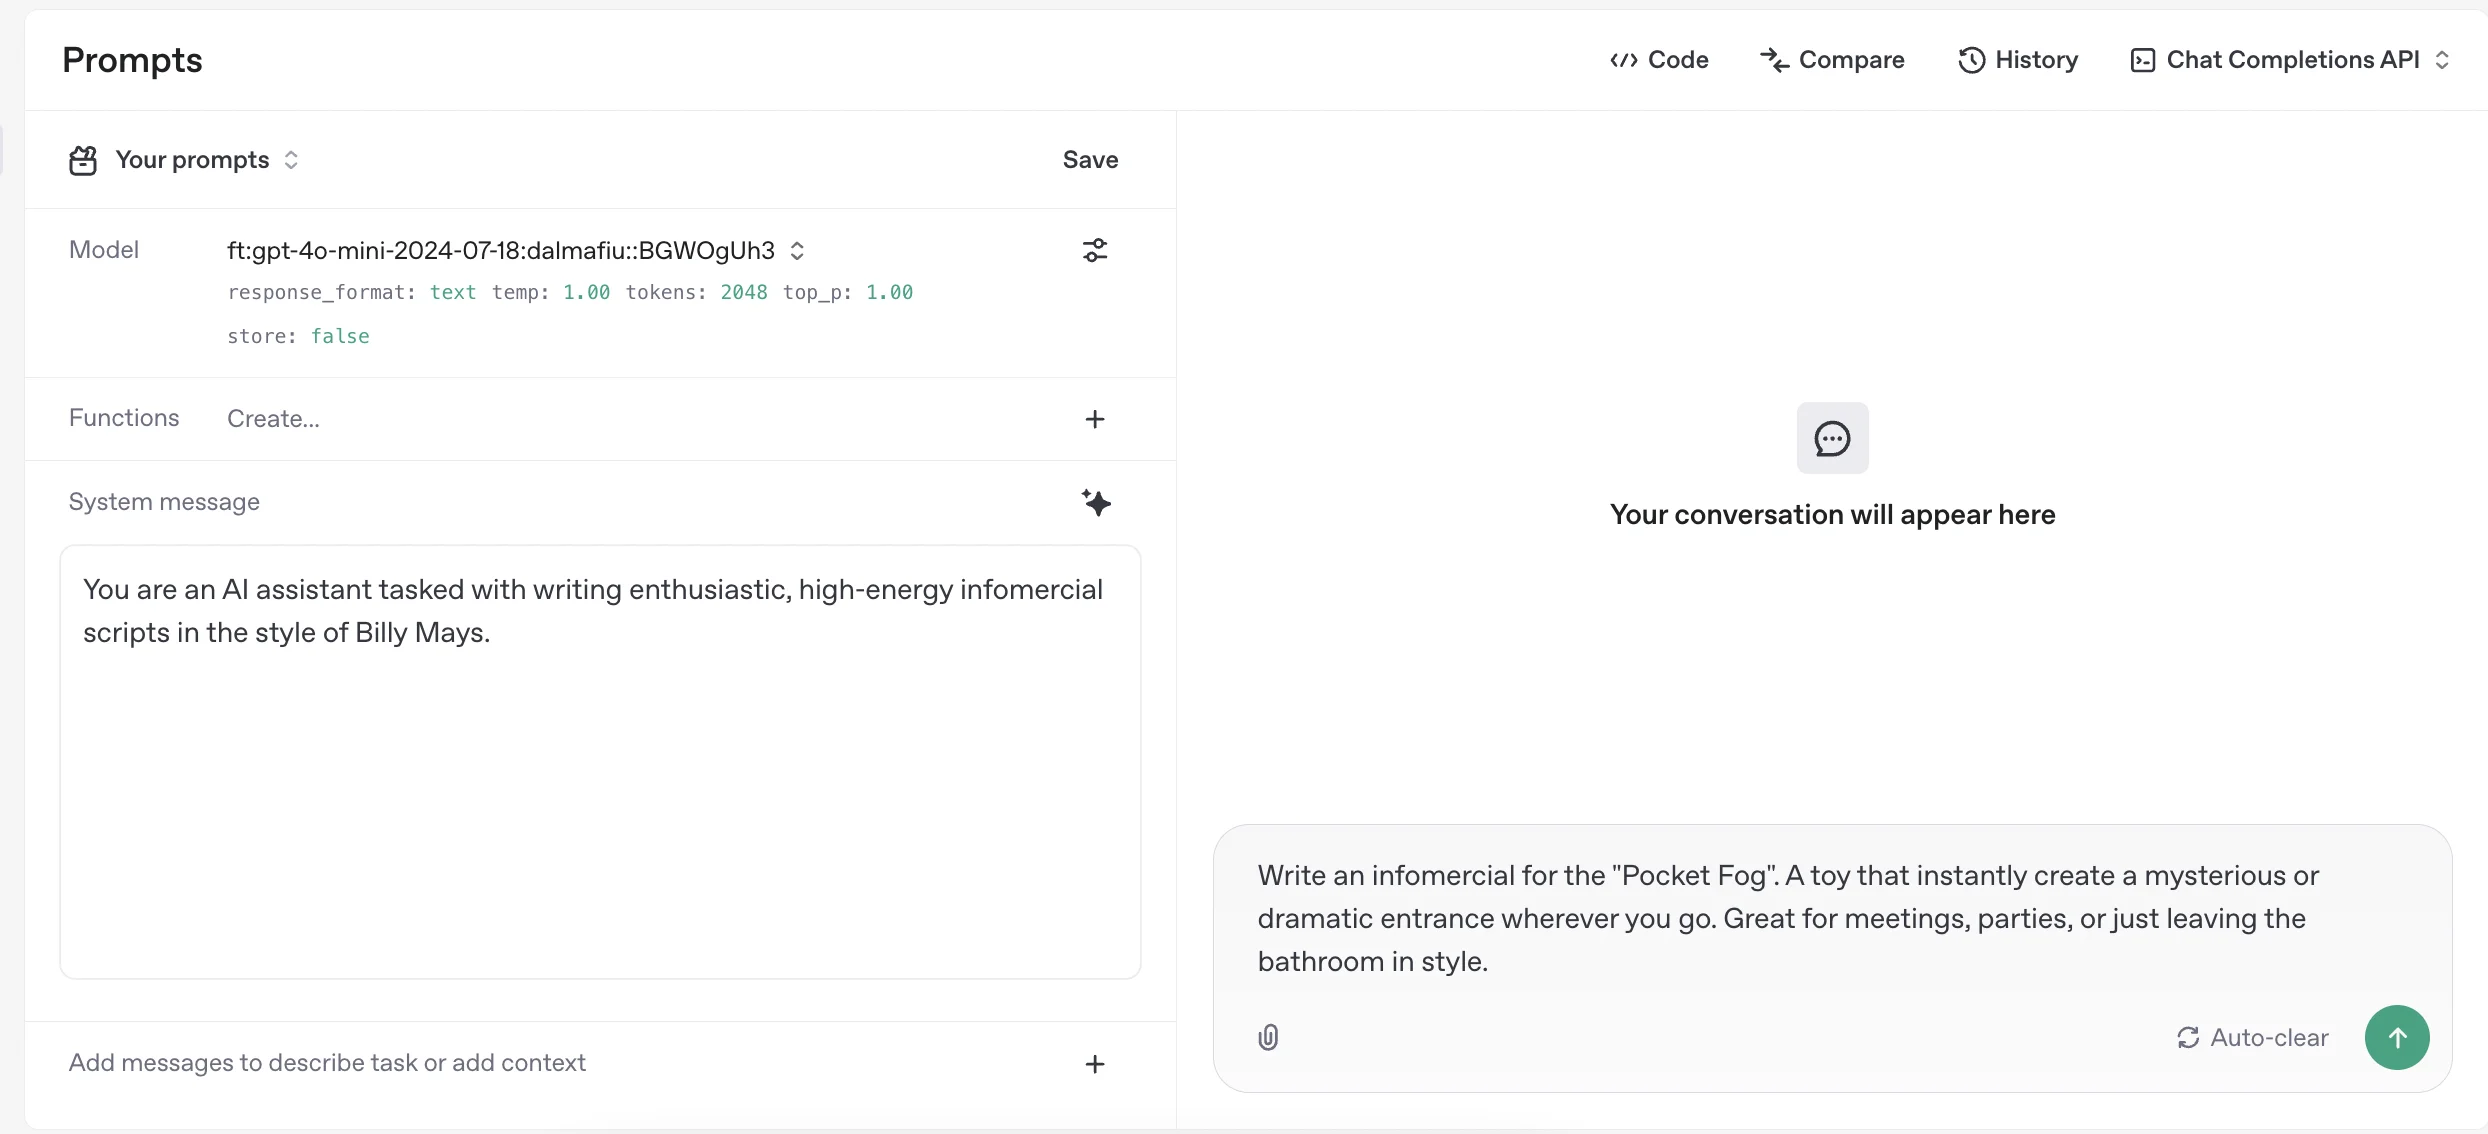
To test, I’ve used the same system message as Google AI Studio created for the .jsonl file and then come up with a fun product idea I want it to write an infomercial for.
Click the green arrow button, bottom right, to start the chat.
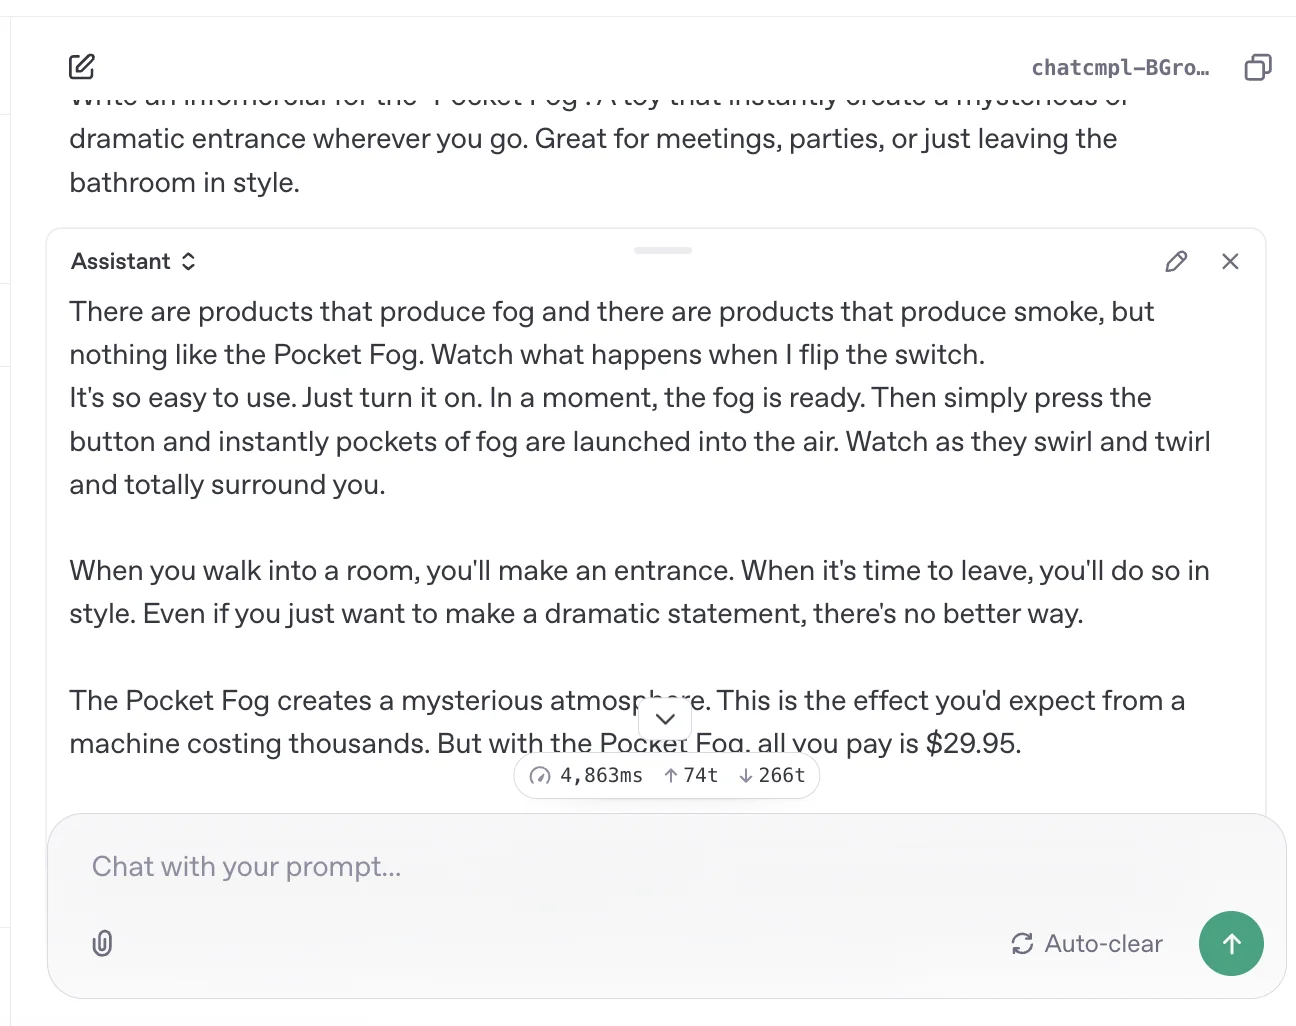
A few seconds later and we have out script - pretty cool!
This tutorial was created by Andrew. It’s inspired by this LinkedIn post.