Use Replit AI to explain code inside GitHub repositories
Improve your coding skills by using Replit’s AI to explain code repositories from Github.
2024-11-13
A wealth of useful code exists on GitHub - a giant library where people share their code projects. If you’re learning, it’s a great place to immerse yourself.
Sooner or later, you’ll encounter some code you don’t understand. Previously you’d need to turn to Google or Stack Overflow for answers, but now using the developer app Replit and their built-in AI, you can have your own personalised tutor.
In this tutorial you will learn how to:
- Find and load the GitHub code into Replit
- Ask Replit AI to explain the code
- Do some follow-up Q&A
- Use Replit AI to edit the code to add new functionality
- Optional: Run your code
You’ll need:
- Replit account (paid offers you more powerful AI models and a higher usage quota)
Let’s see how it’s done.
Step 1: Find and load the GitHub code into Replit
When it comes to finding interesting GitHub repositories, the supply is practically infinite.
Follow enough developers online and you’ll find they’ll promote their new projects, and GitHub also has a Trending page you can browse.
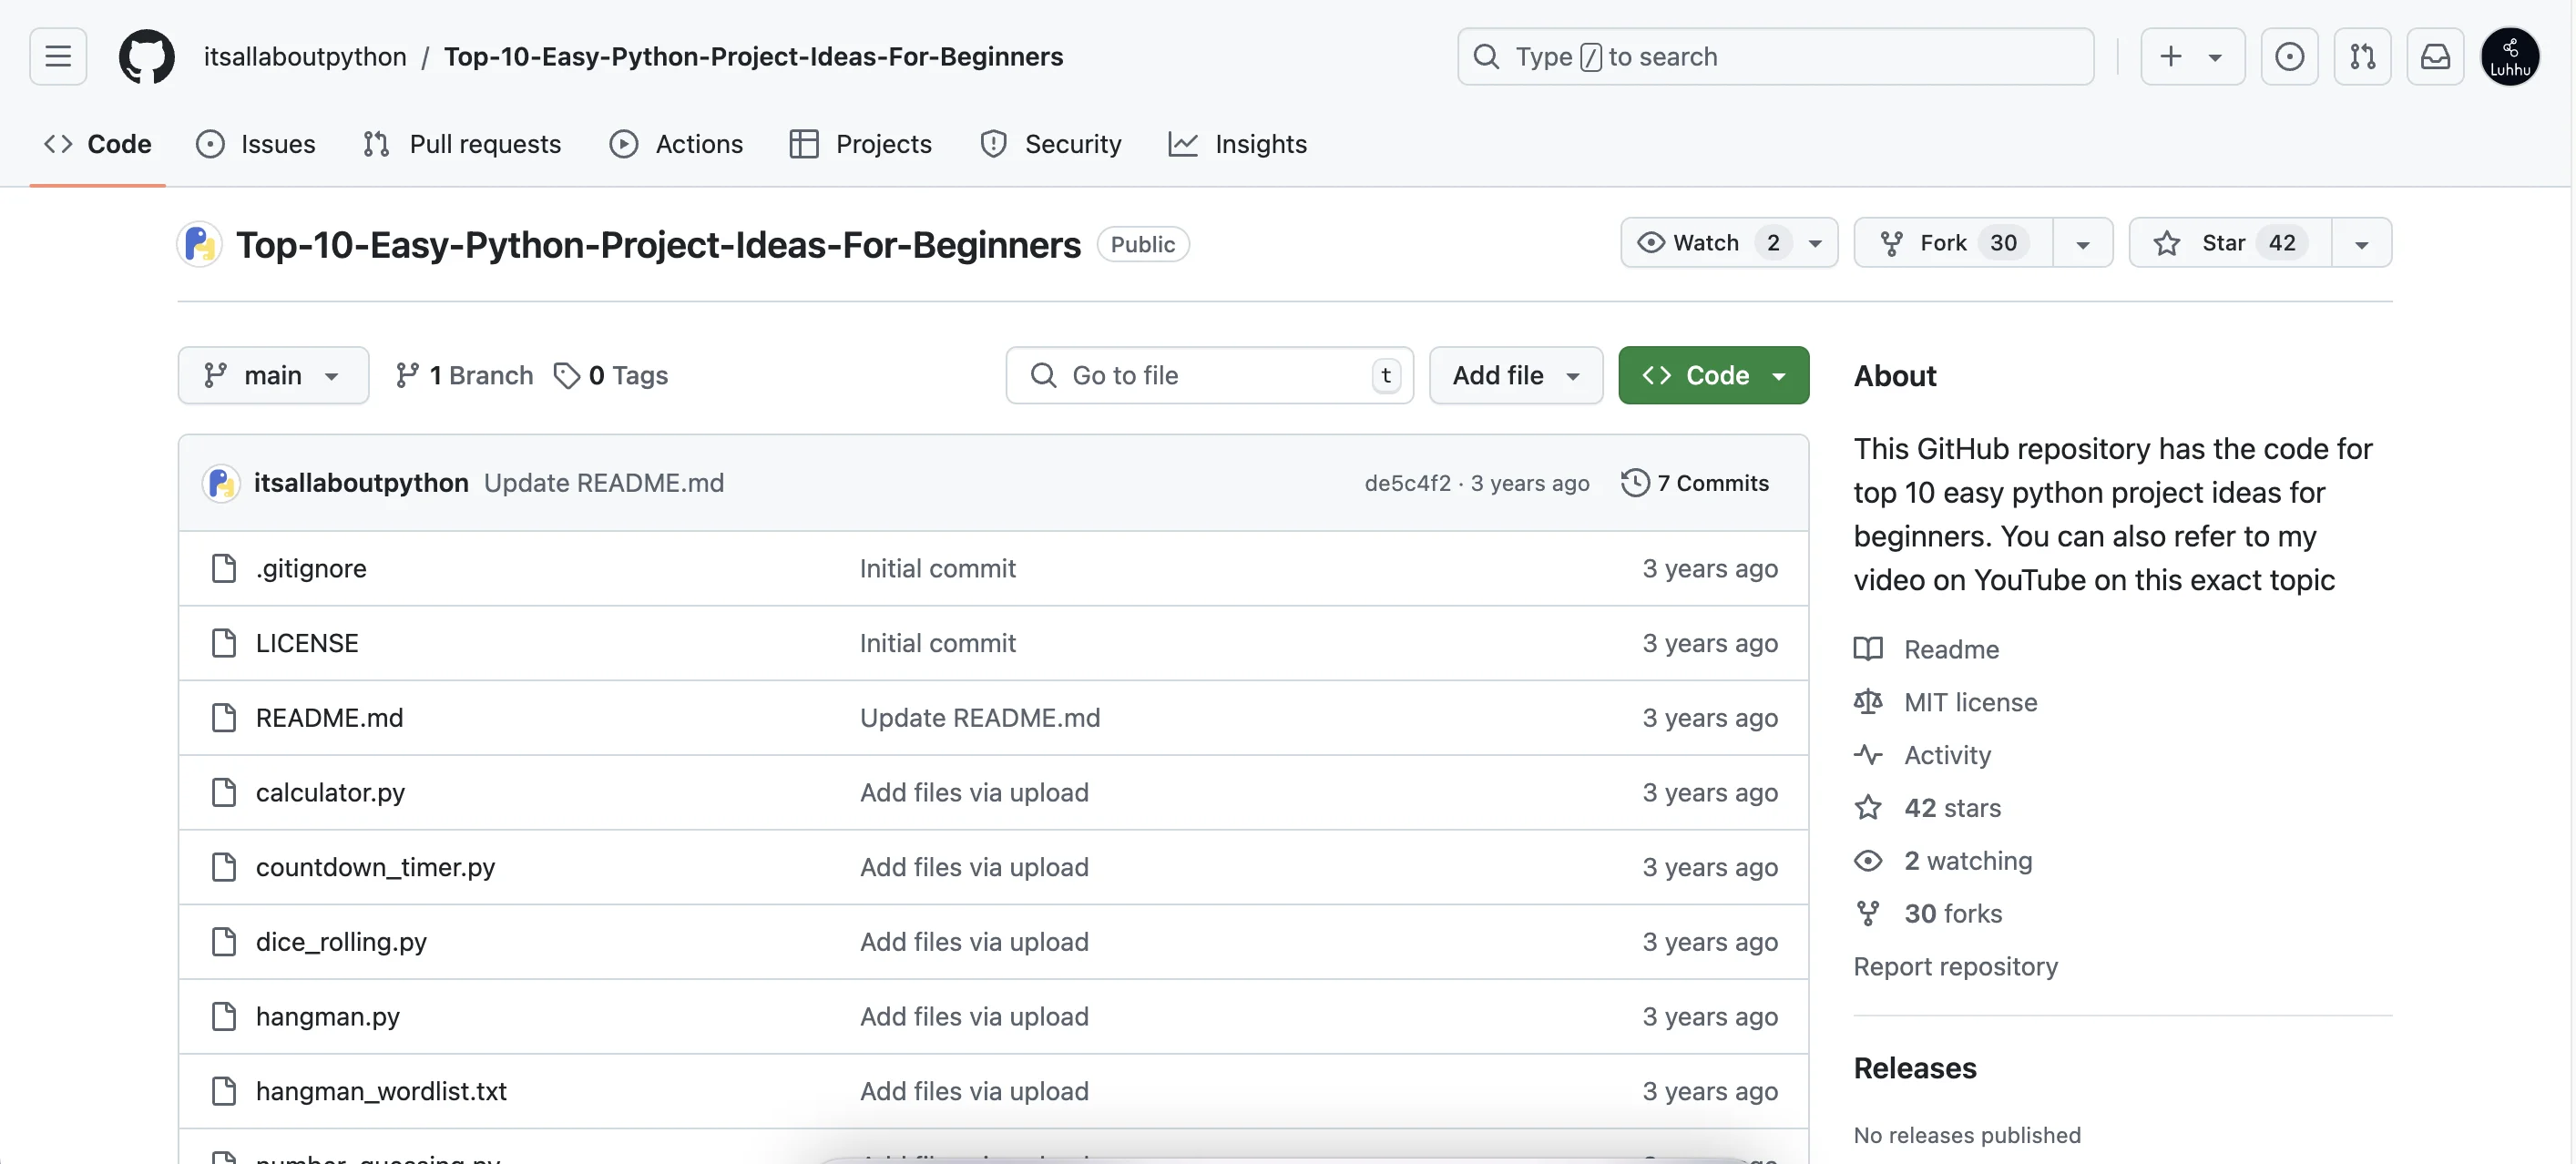
For this tutorial, I found a repository called: Top-10-Easy-Python-Project-Ideas-For-Beginners
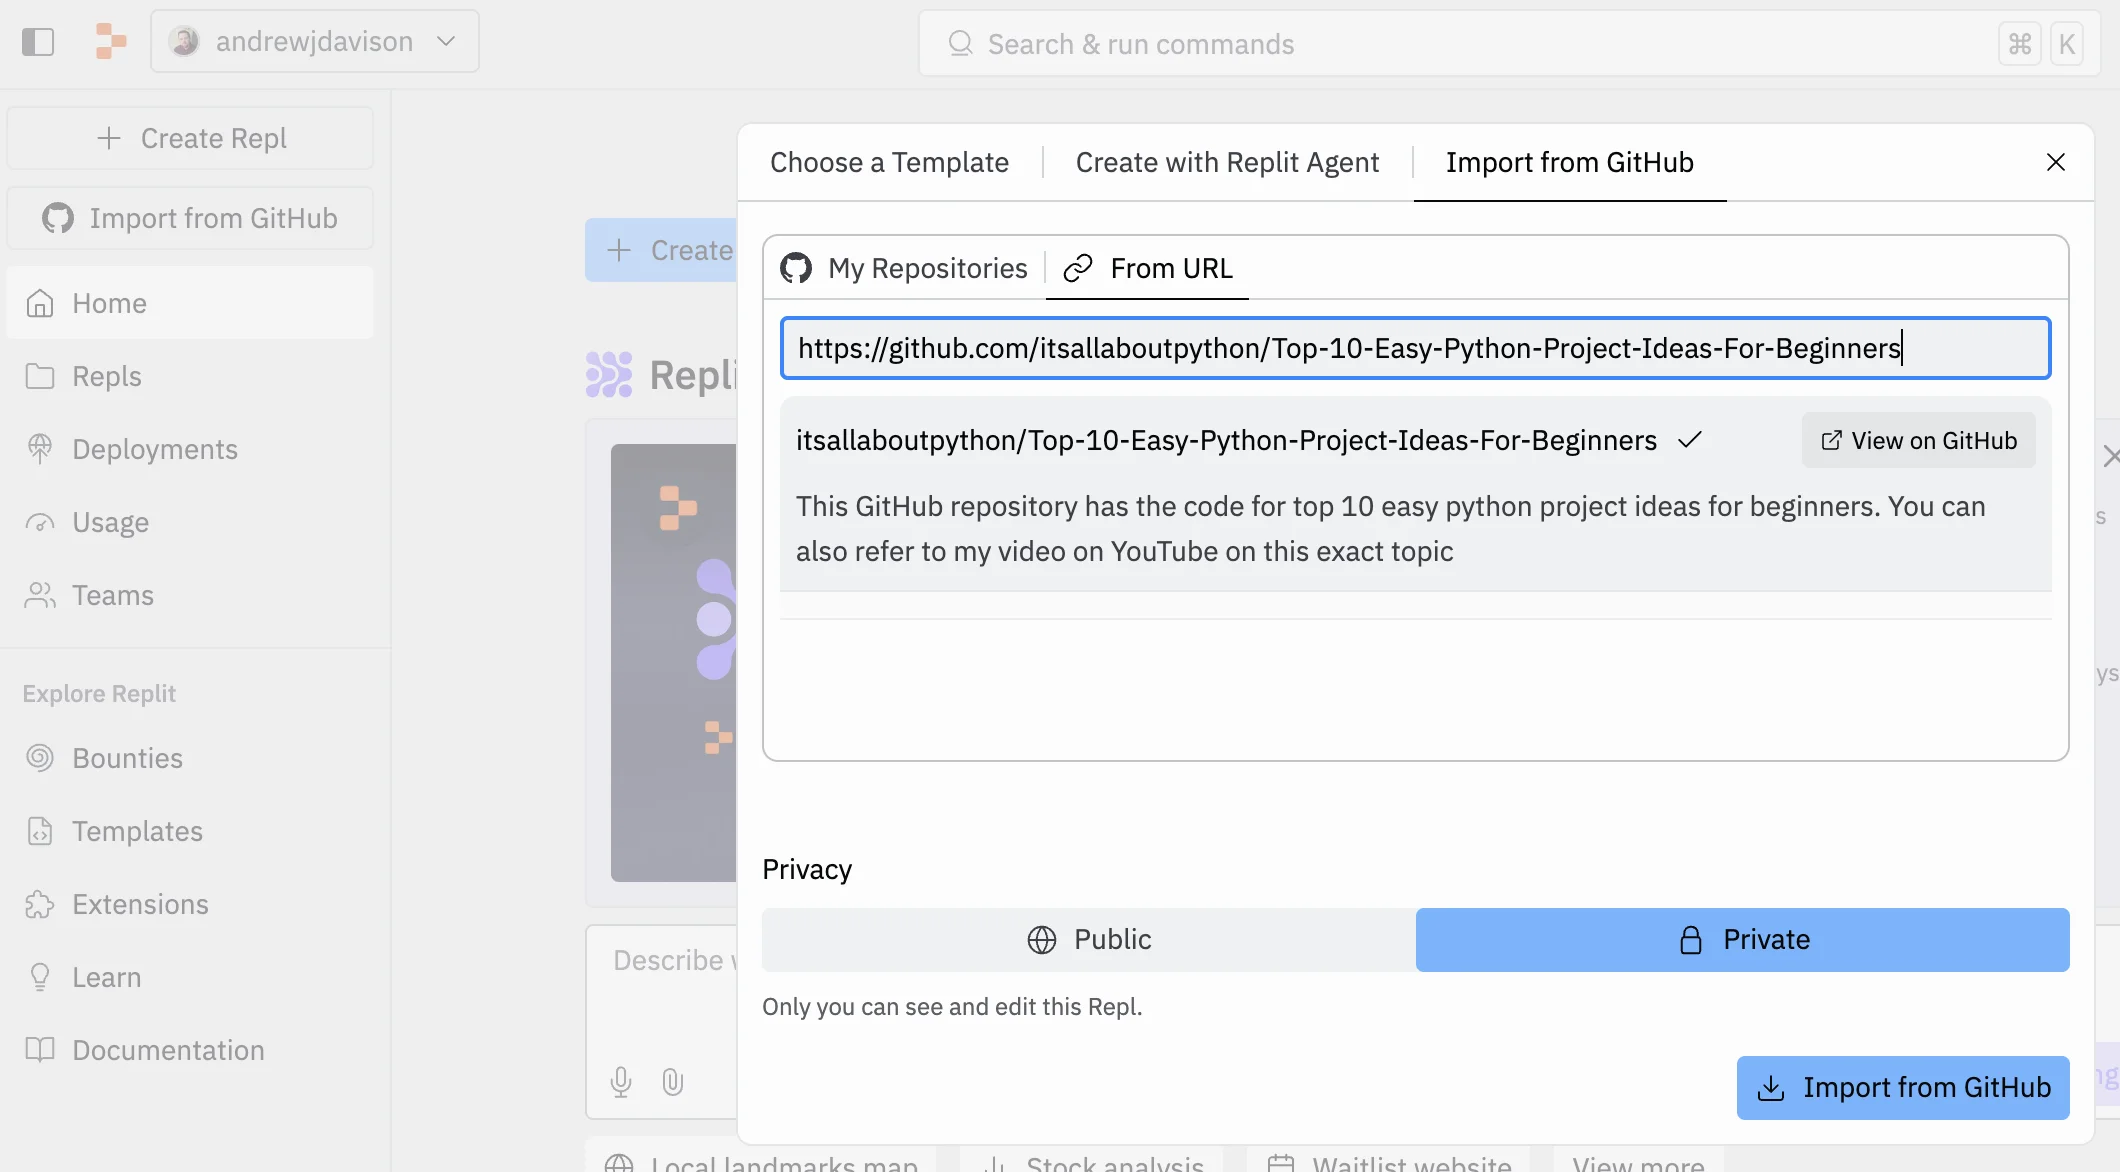
Now, go to the Replit dashboard and click the “Create Repl” button in the top left corner.
In the panel that appears, select the ‘Import from GitHub’ tab at the top, then below that, the ‘From URL’ tab, then paste in the URL of the GitHub repository page.
You can also decide whether to make your Repl public (visible on your profile) or private.
When you’re ready, click “Import from GitHub”.
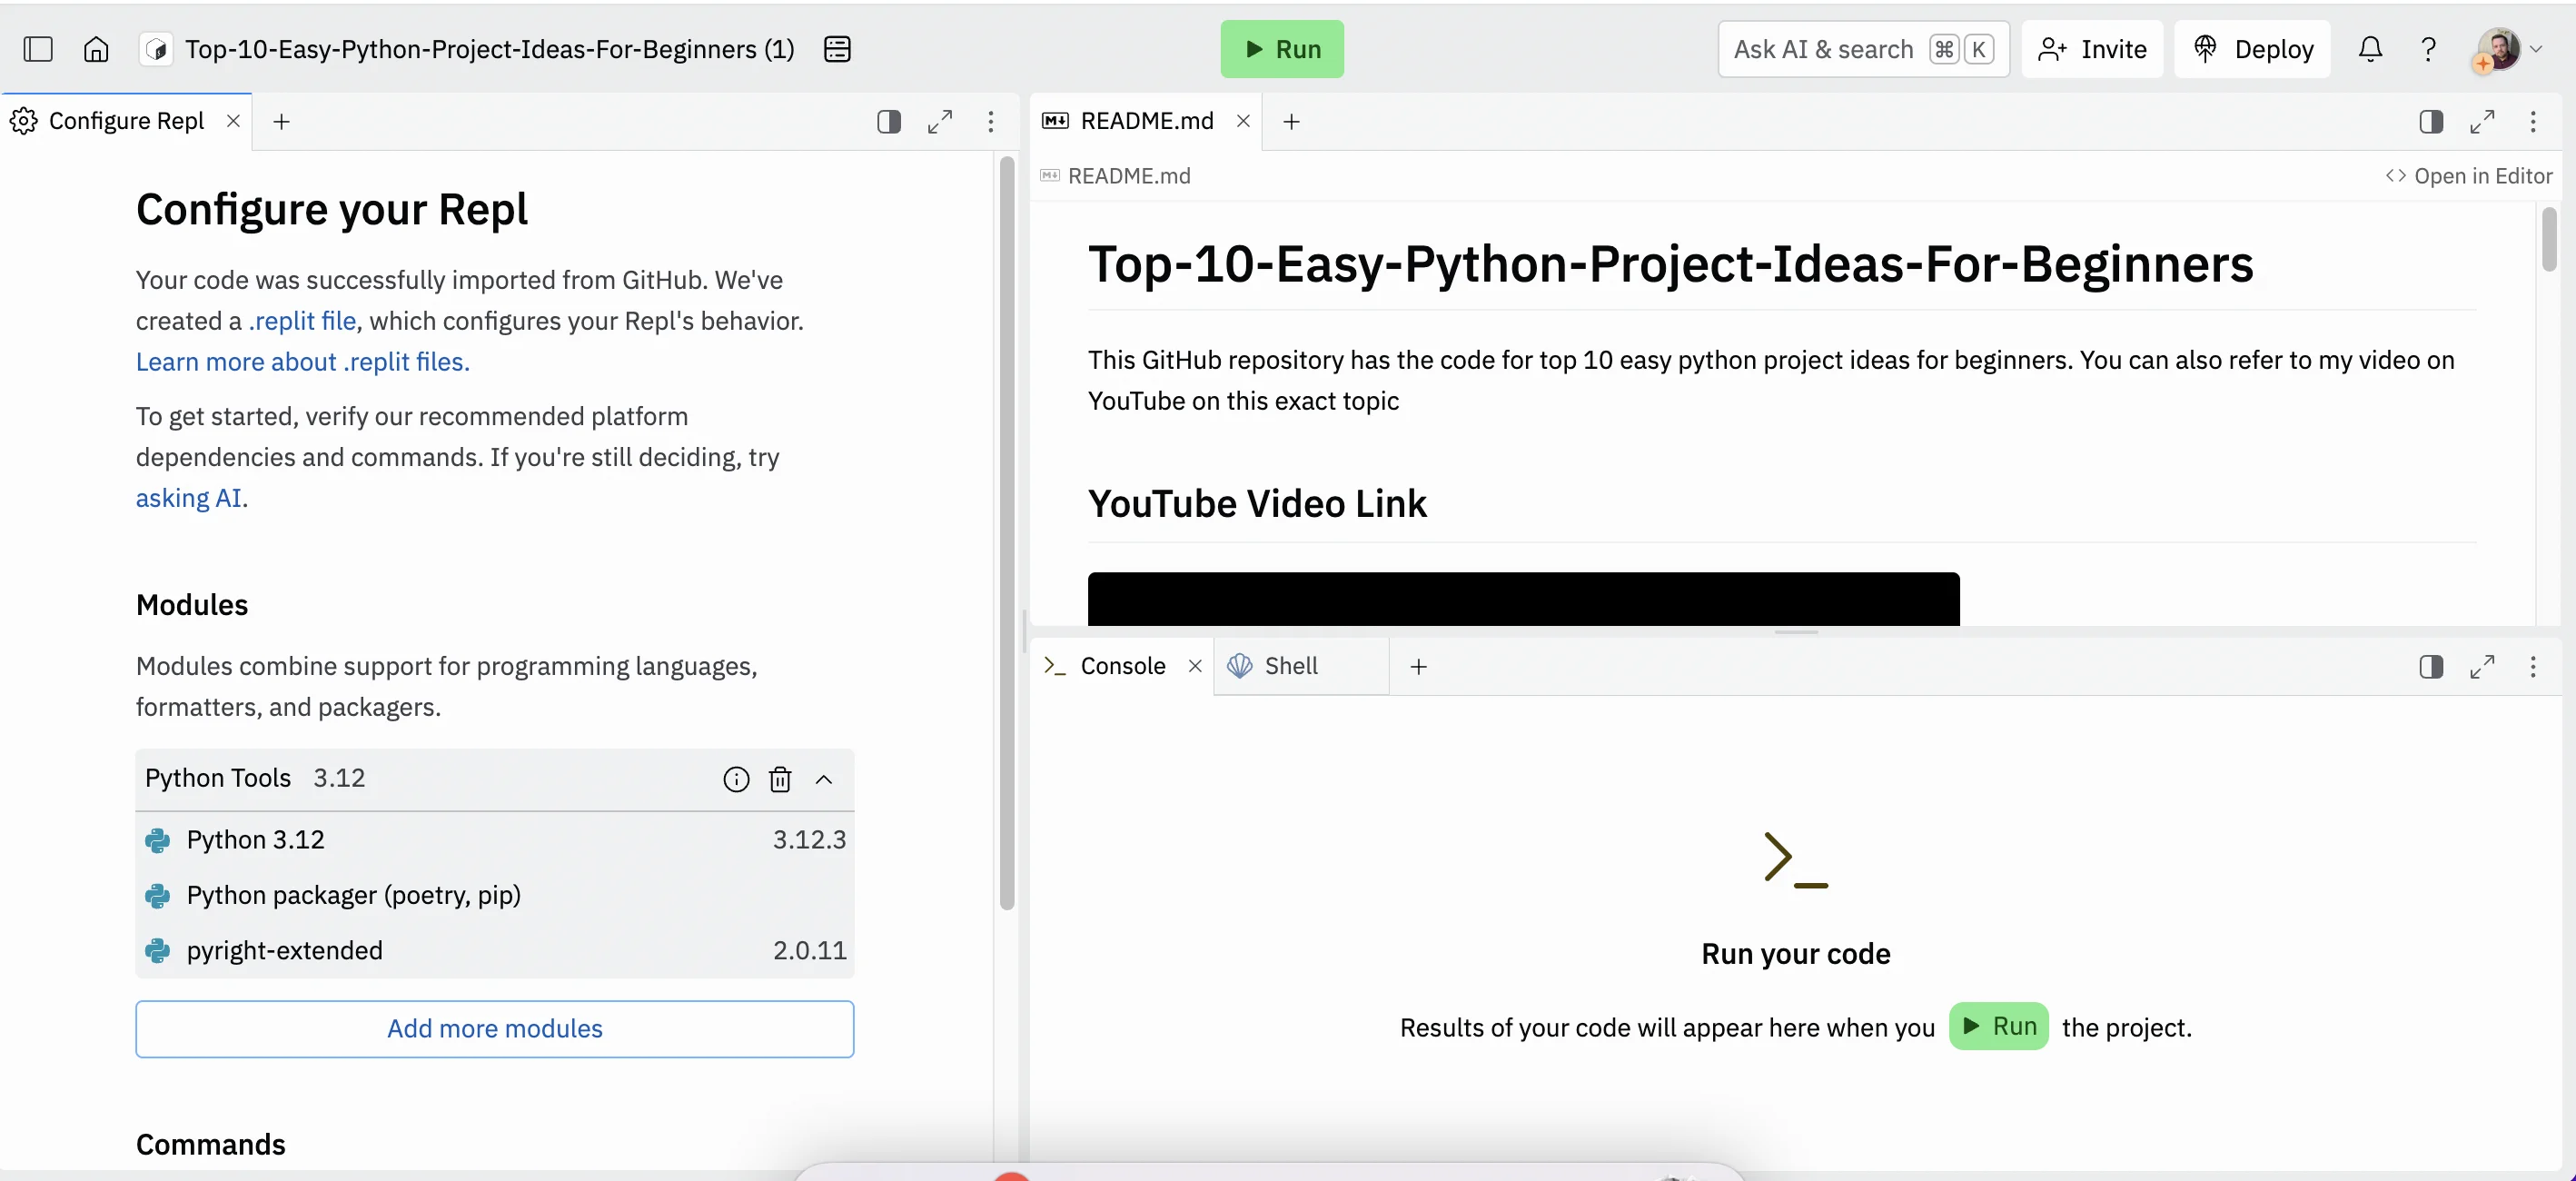
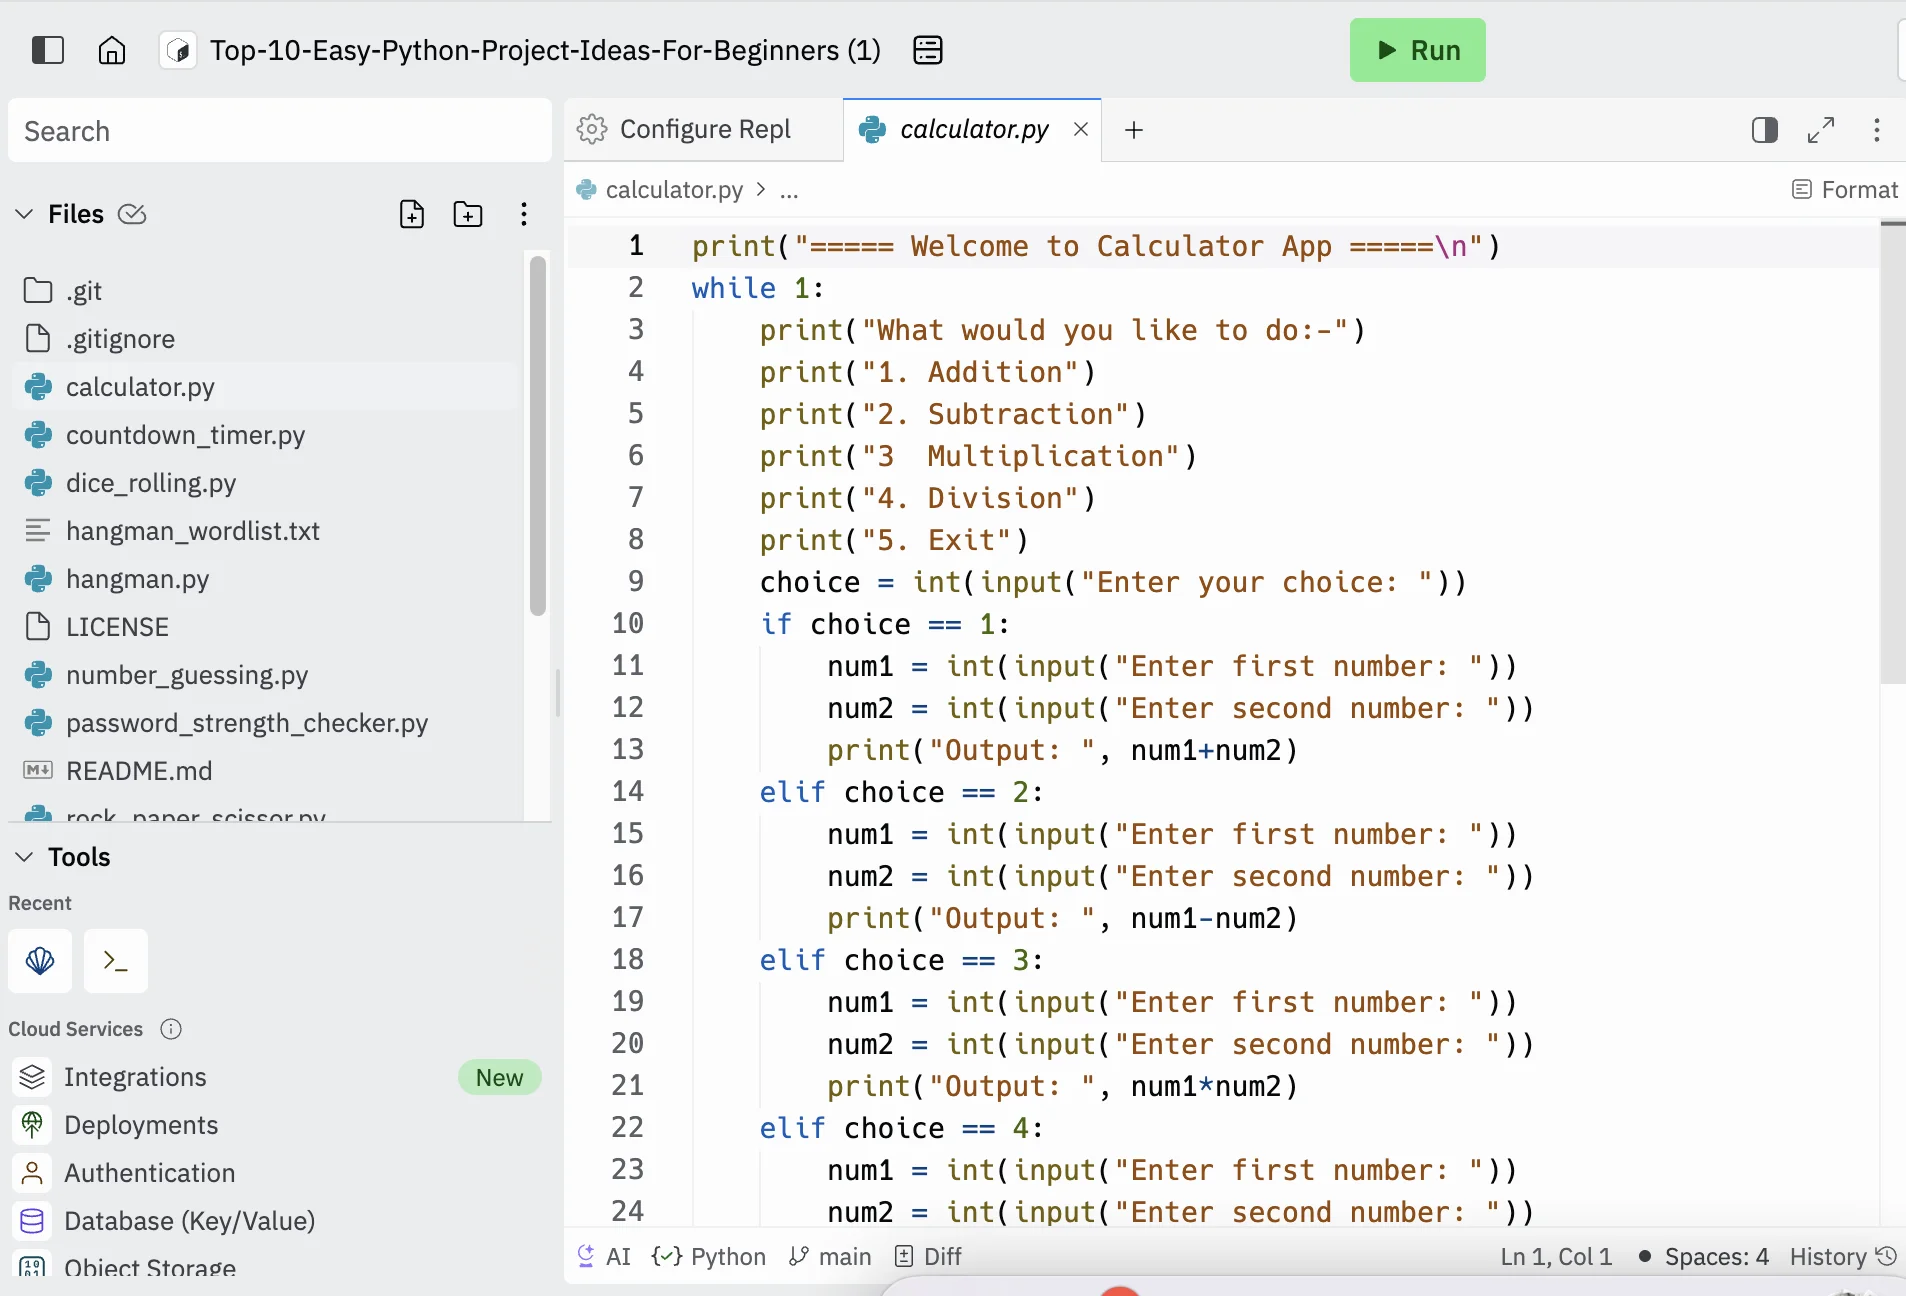
Give Replit a few seconds and you’ll see the editor appear. The top right panel displays the GitHub repository’s readme file so you can get an idea of what it does and how the creator intends for you to use it. It’s worth reading this before you have AI explain code to you.
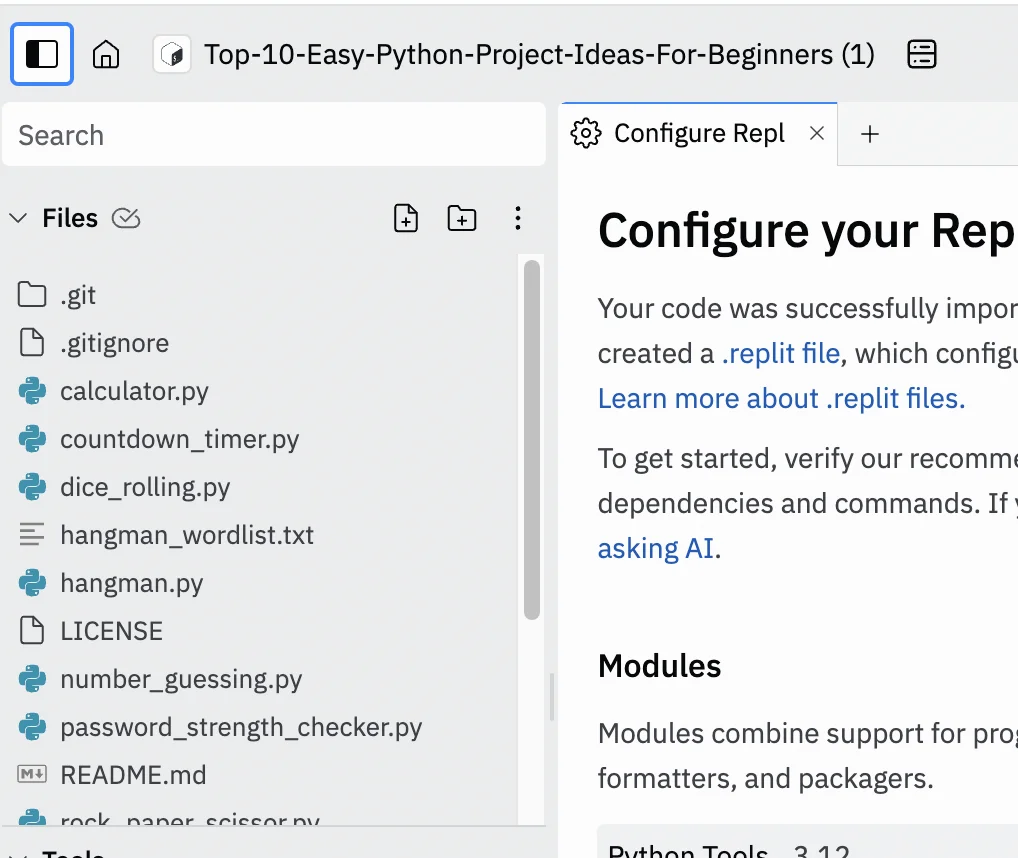
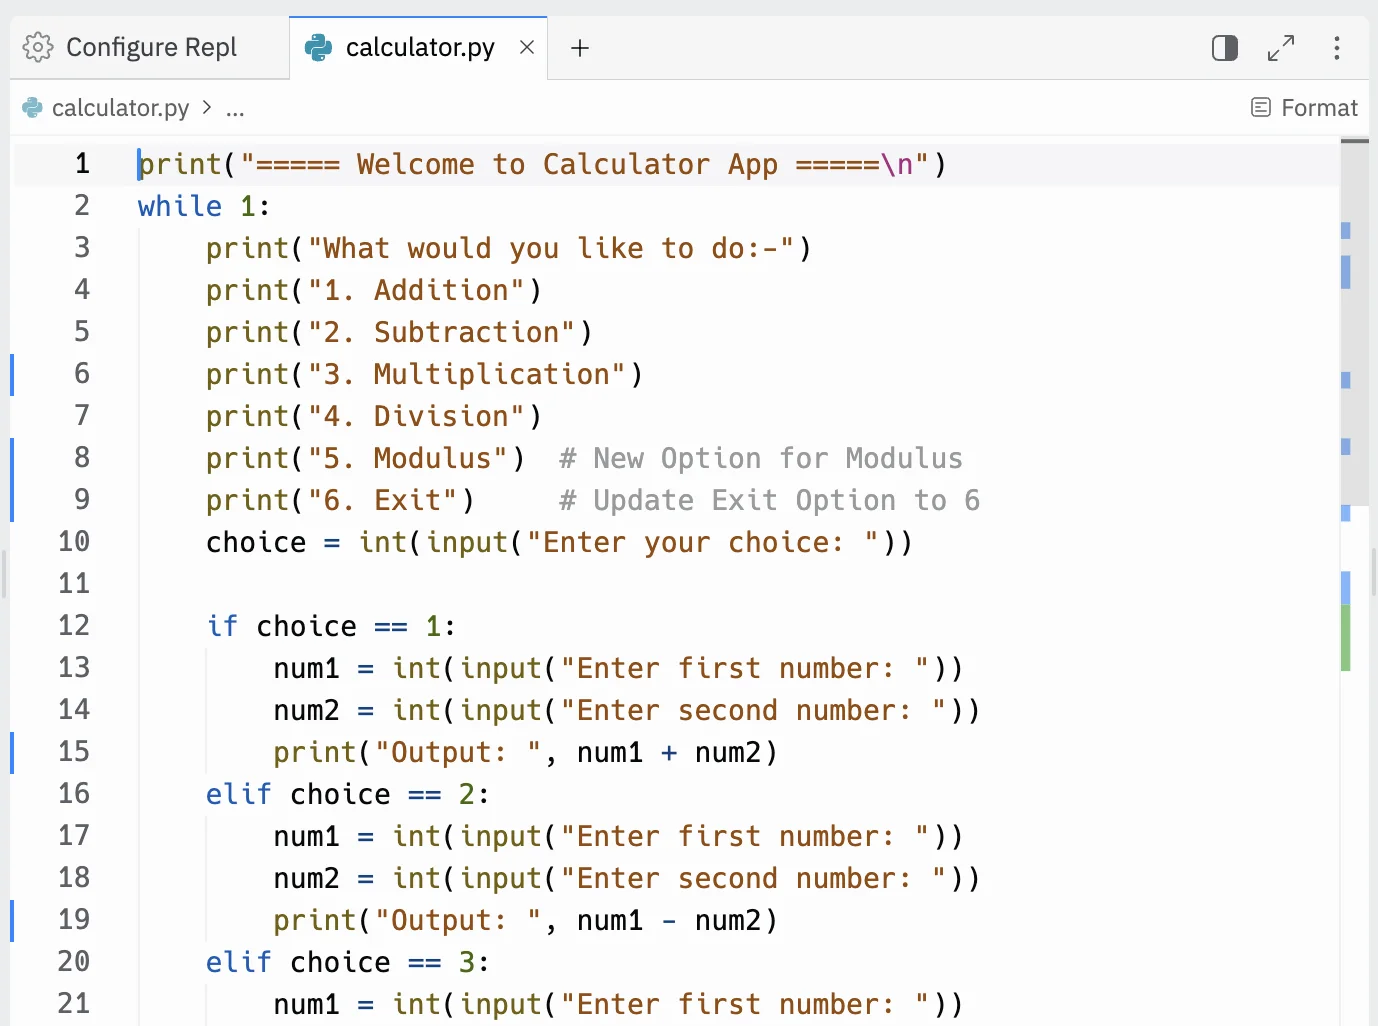
In the very top left of the screen, you’ll see a panel button - click this and a file list will slide out from the left. Today we’ll explore the calculator.py script.
Select it from the file list and you’ll see a new tab open in the middle panel showing the code.
Step 2: Ask Replit AI to explain the code
This is where we’ll ask AI to step in as our teacher.
Go ahead and shrink the bottom right panel to make the top right panel larger. Then open a new tab next to the README.md tab and select “AI” from the suggested options.
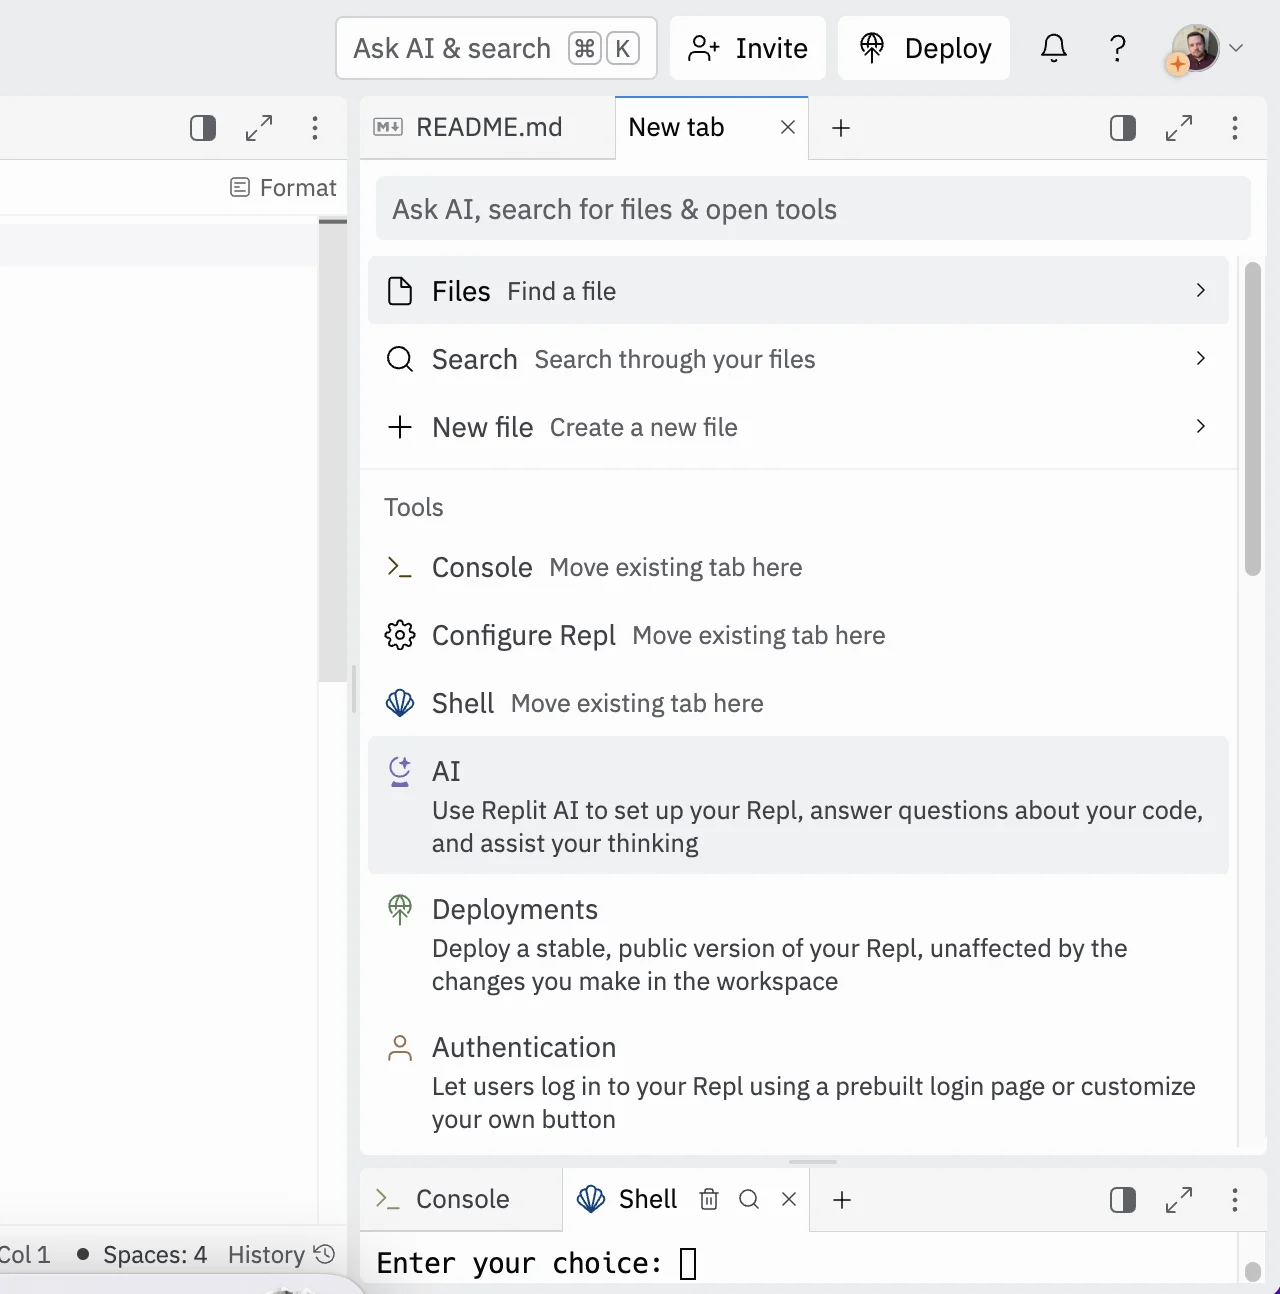
This will open an AI chat window.
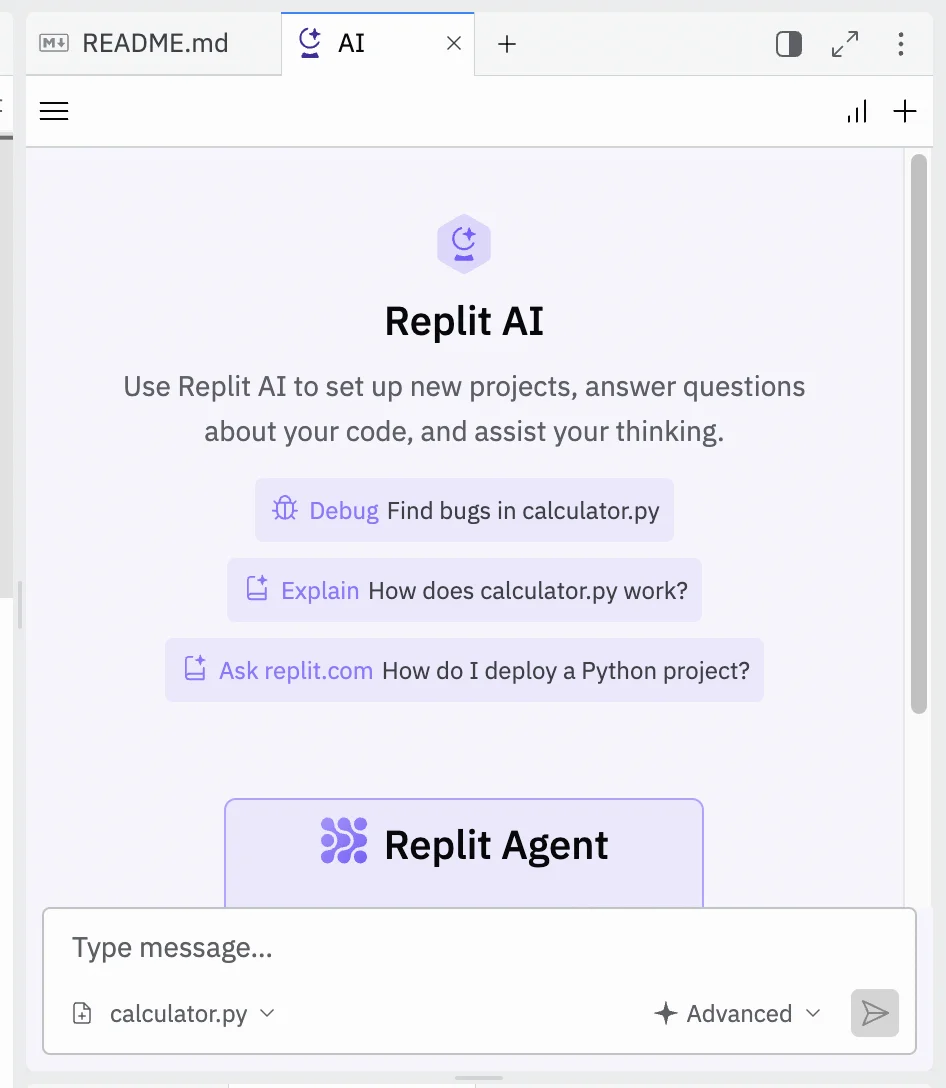
Before we dive into our coding lesson, it’s worth checking some of the configuring options on the chat window.
On the left of the chat input, you’ve got the option to select which files the AI can see when answering questions - in this case, we want it just to see calculator.py.
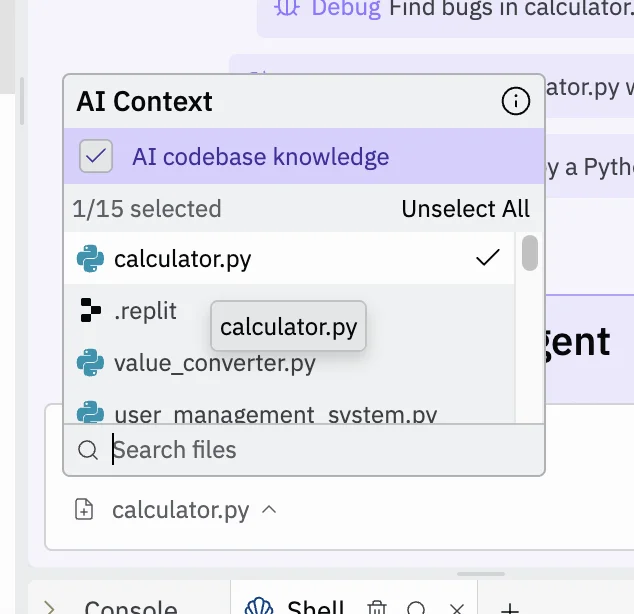
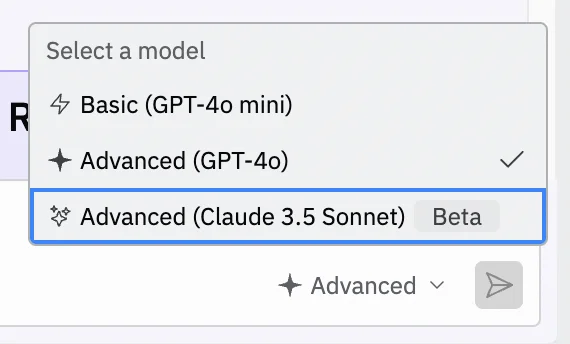
Meanwhile, on the right, there’s an option to select which AI model you want to use.
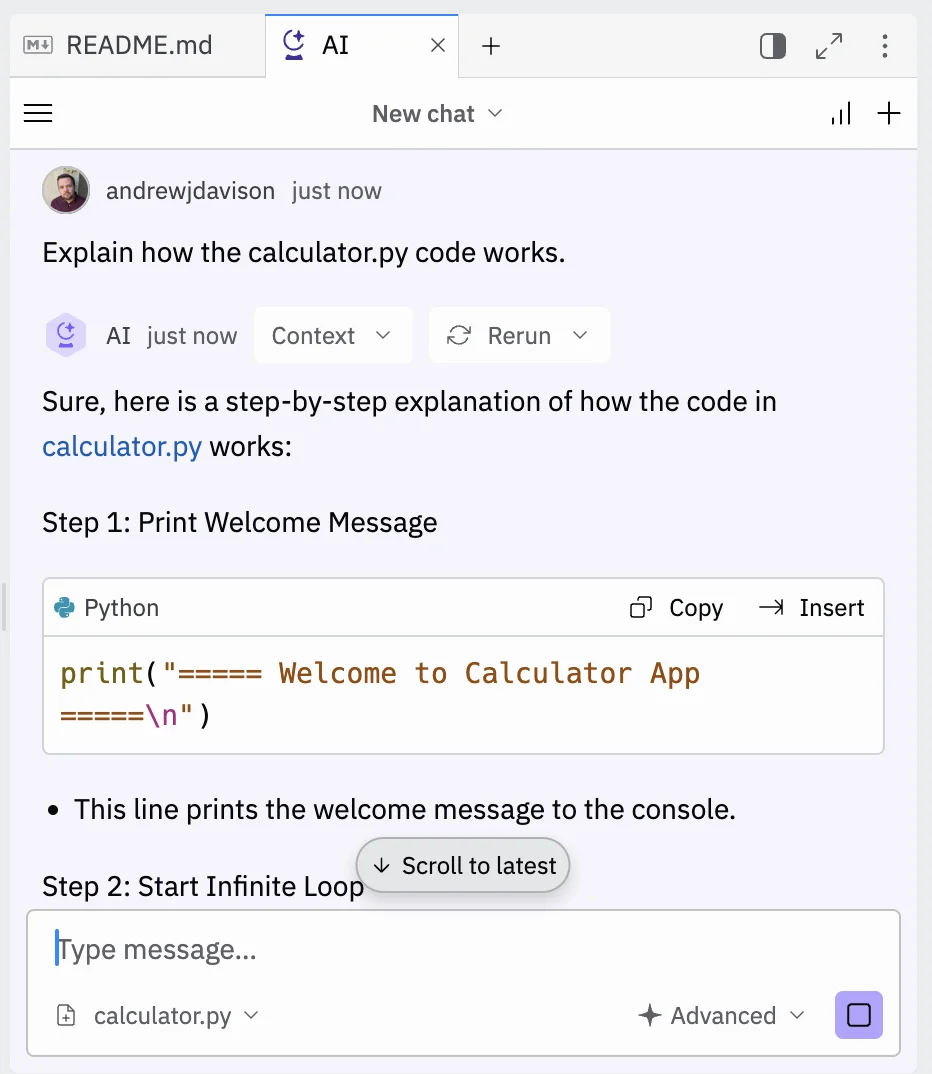
With that done, let’s ask a broad question:
Explain how the calculator.py code works.
Wait a few seconds, and you’ll see a response from the AI.
Step 3: Do some follow-up Q&A
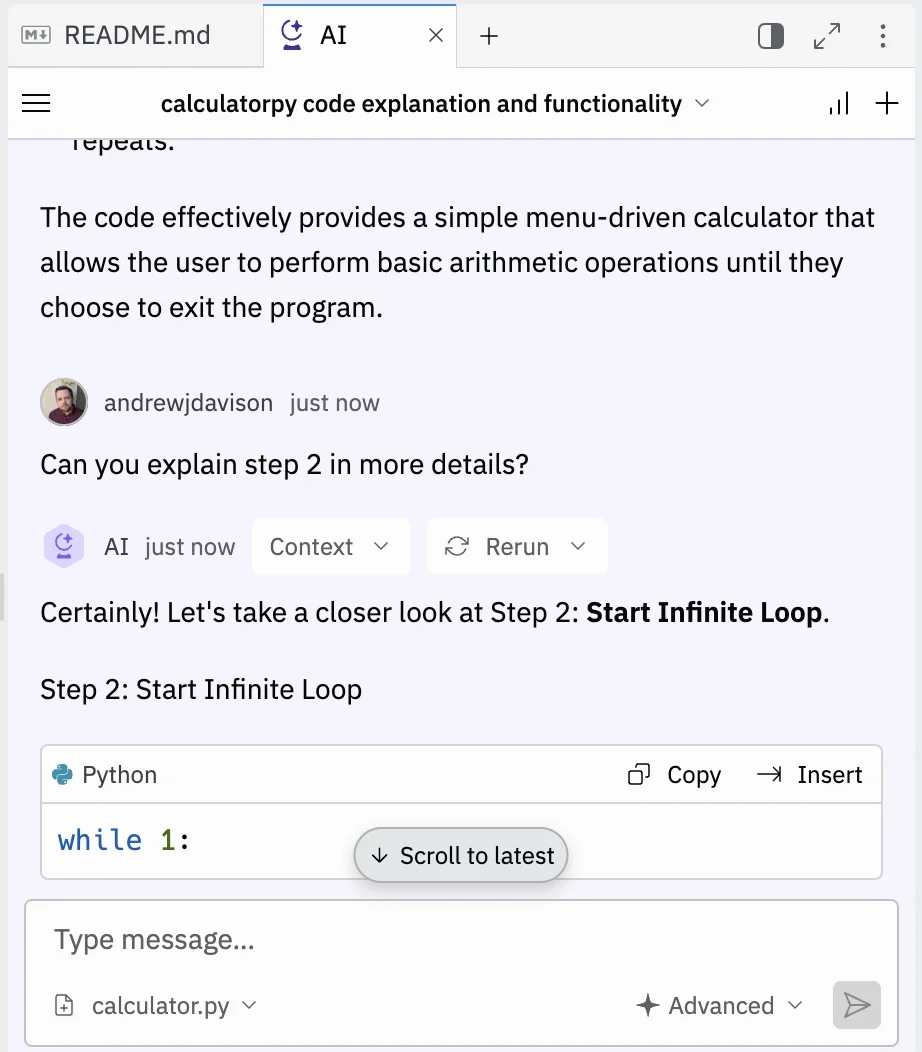
As you’d expect, you can also ask follow-up questions.
But you’re not just limited to asking in the chat window. Go back to the centre panel, highlight some code, and you’ll see three buttons appear. The middle one asks the AI to explain just that section of code.

Click it and you’ll see the explanation generated in a box above the code.
And if you click the “Reply in Chat” button, you’ll see the conversation move back to the AI chat window, where it’ll remember the specific piece of code you’re talking about.

Step 4: Use Replit AI to edit the code to add new functionality
Part of learning is doing, and a good way to do that is to ask AI to suggest a new feature to add to the script and see how it implements it.
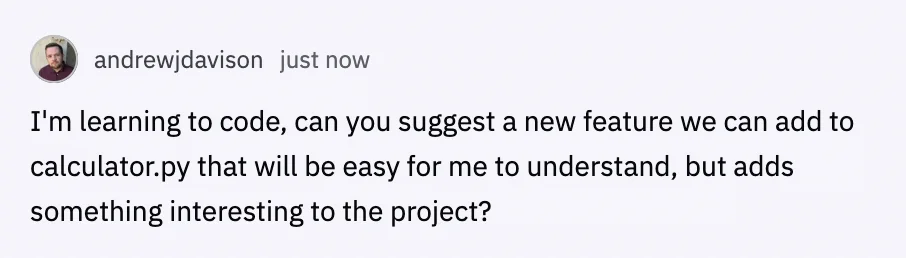
Go back to the chat window and use the following prompt:
I'm learning to code, can you suggest a new feature we can add to calculator.py that will be easy for me to understand but adds something interesting to the project?
Give it a few seconds and AI will suggest something. First, it will tell you what it’s going to do.
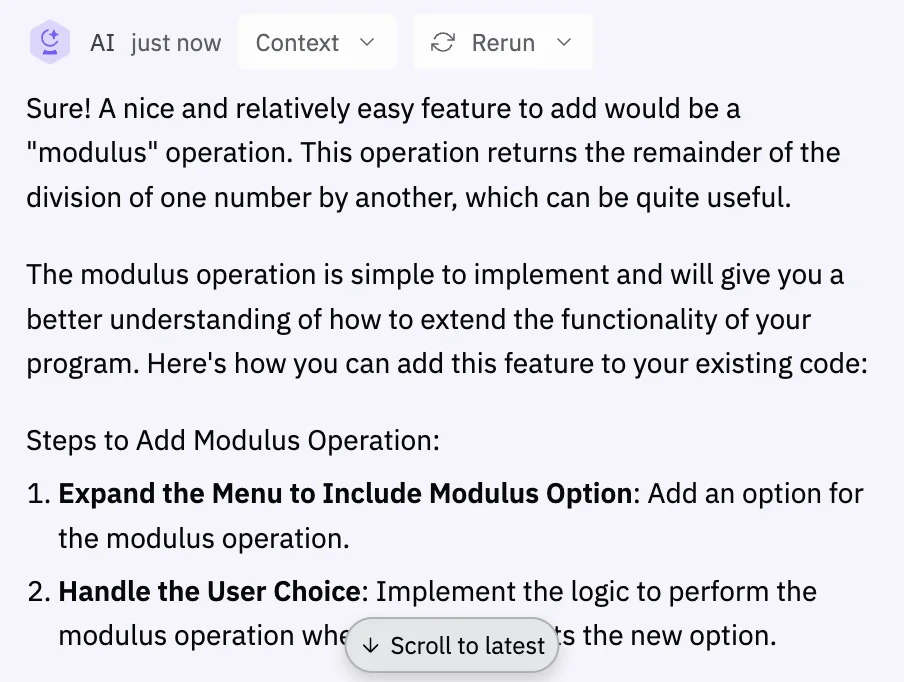
Then it will create some updated code for you.
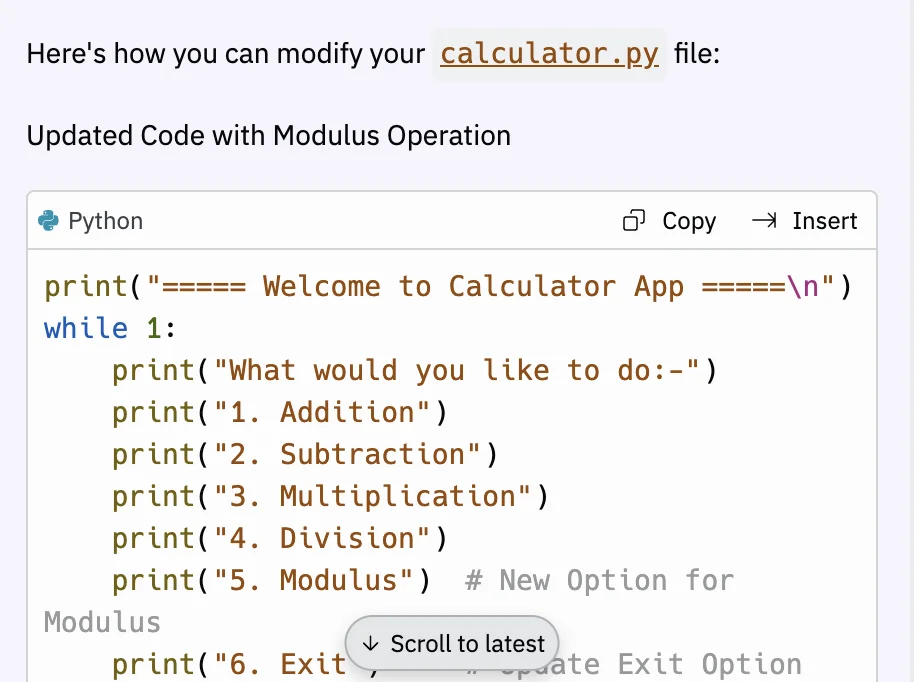
Most of the time, especially if the code isn’t too long, Replit will output the full piece of code with the changes made.
That’s the case here, so click the “Copy” button in the top right, then in the centre panel, select and delete the existing code, and paste in the new code.
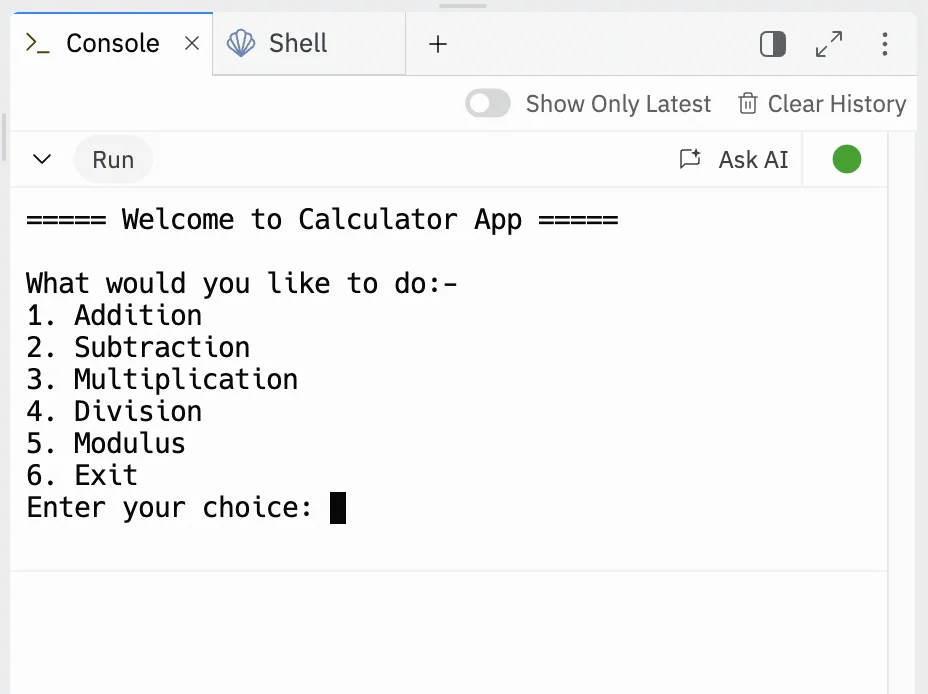
In our case, you’ll see two new options - one for modulus calculations and an exit option.
Optional: Run your code
Not every piece of code you import from Github will be runnable as it is. Sometimes additional configuration is needed. In our case, this is a single Python file containing all the functionality of the app and set to run in the console, so it’s quite easy to test. Just a little bit of code editing is needed.
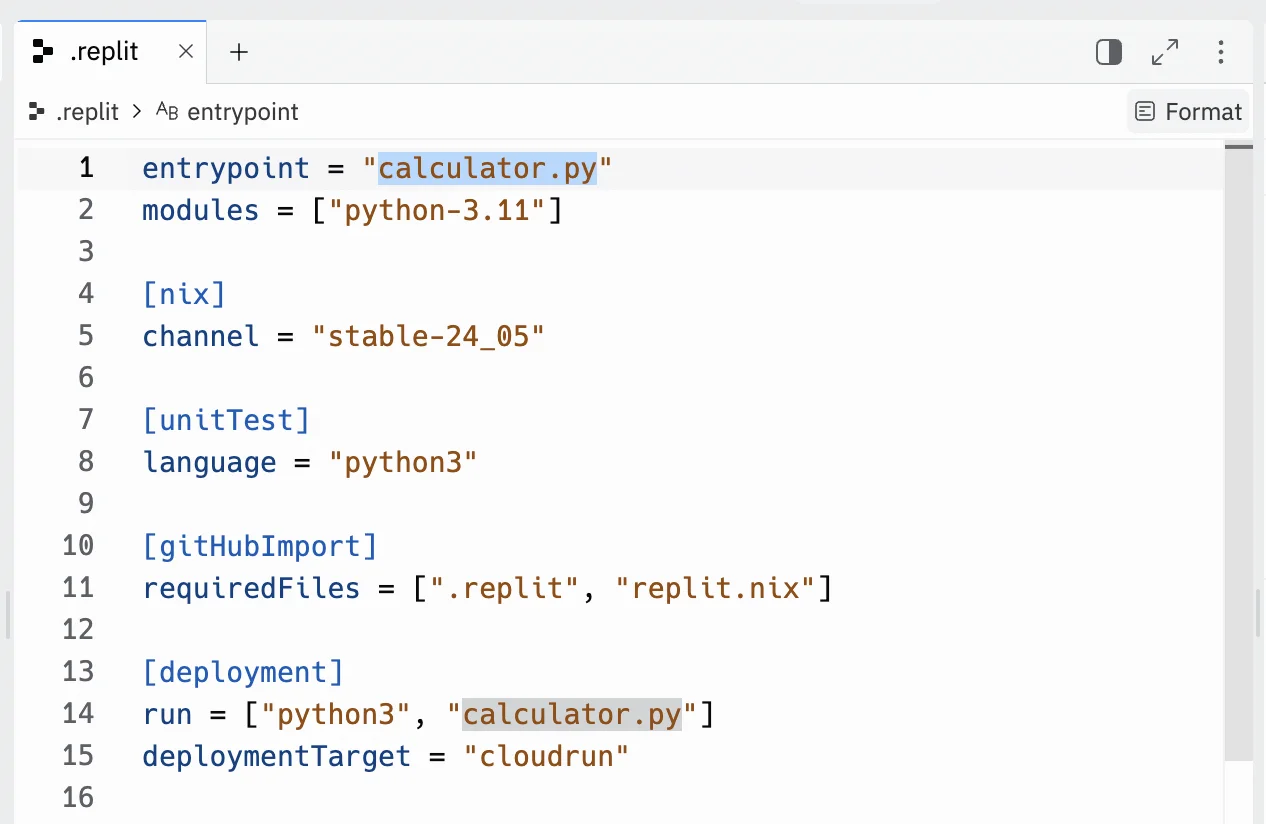
At the bottom of the panel on the left, select the “.replit” file
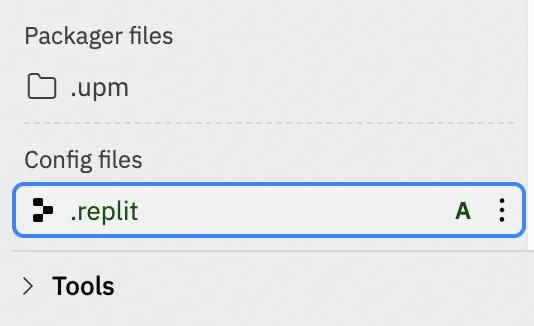
In the centre panel, you’ll see code that looks something like this:
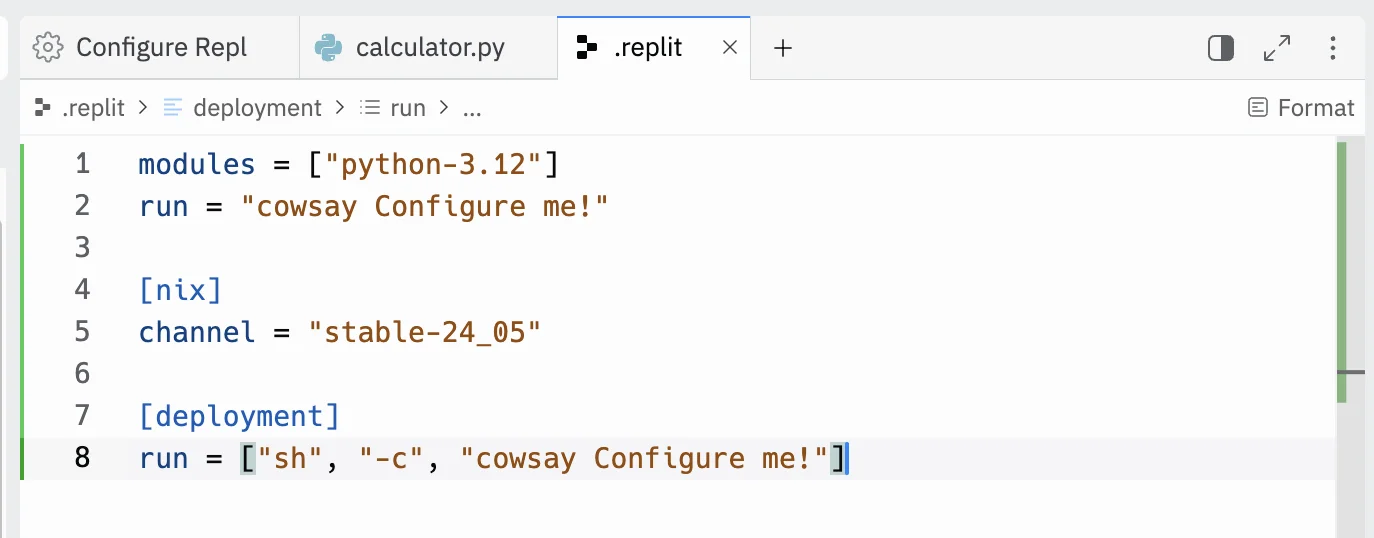
Select and delete the existing code and then replace it with the following:
You’ll see that in two places it references the name of the code file we are working on. You can change this as needed.
Next at the bottom of the panel on the right, go to the “Console” tab and then click the green ‘Run’ button.

If all is well, you’ll see your calculator app loaded and ready to play with.
This tutorial was created by Andrew.