Use Replit’s AI Agent to build apps in minutes without code
Use Replit’s AI Agent to build apps from plain English prompts in minutes, and without using code.
2024-11-13
Replit’s new AI Agent is a tool that promises to take you from a simple prompt to a working app in just a few minutes, and often without the need to do any coding yourself.
One of my favourite retro games growing up was Pong, so naturally, that’s what we’re going to ask Replit to build!
In this tutorial you will learn how to:
- Prompt Replit Agent for the app we want to build
- Monitor build progress
- Deploy the working app ready to share
- Find app ideas for your business
You’ll need:
- Replit paid account
Let’s see how it’s done.
Step 1: Prompt Replit Agent for the app we want to build
On the Replit dashboard, you’ll see a prompt input for the agent.
Keep your prompt simple and explain what you want to build in plain English. Replit Agent excels at turning this into working code behind the scenes.

I’ve been deliberately vague with my prompt in terms of features, as I want to see what the agent comes up with.
The only thing I’ve been specific about is that it should use Python + Flask, a popular programming language and framework combo, which many AI models are very familiar with.
Click “Start building” and you’ll see the magic start to happen.
Replit will open up in editor mode for your new project and will appear initially as a chat box in the centre of the screen.
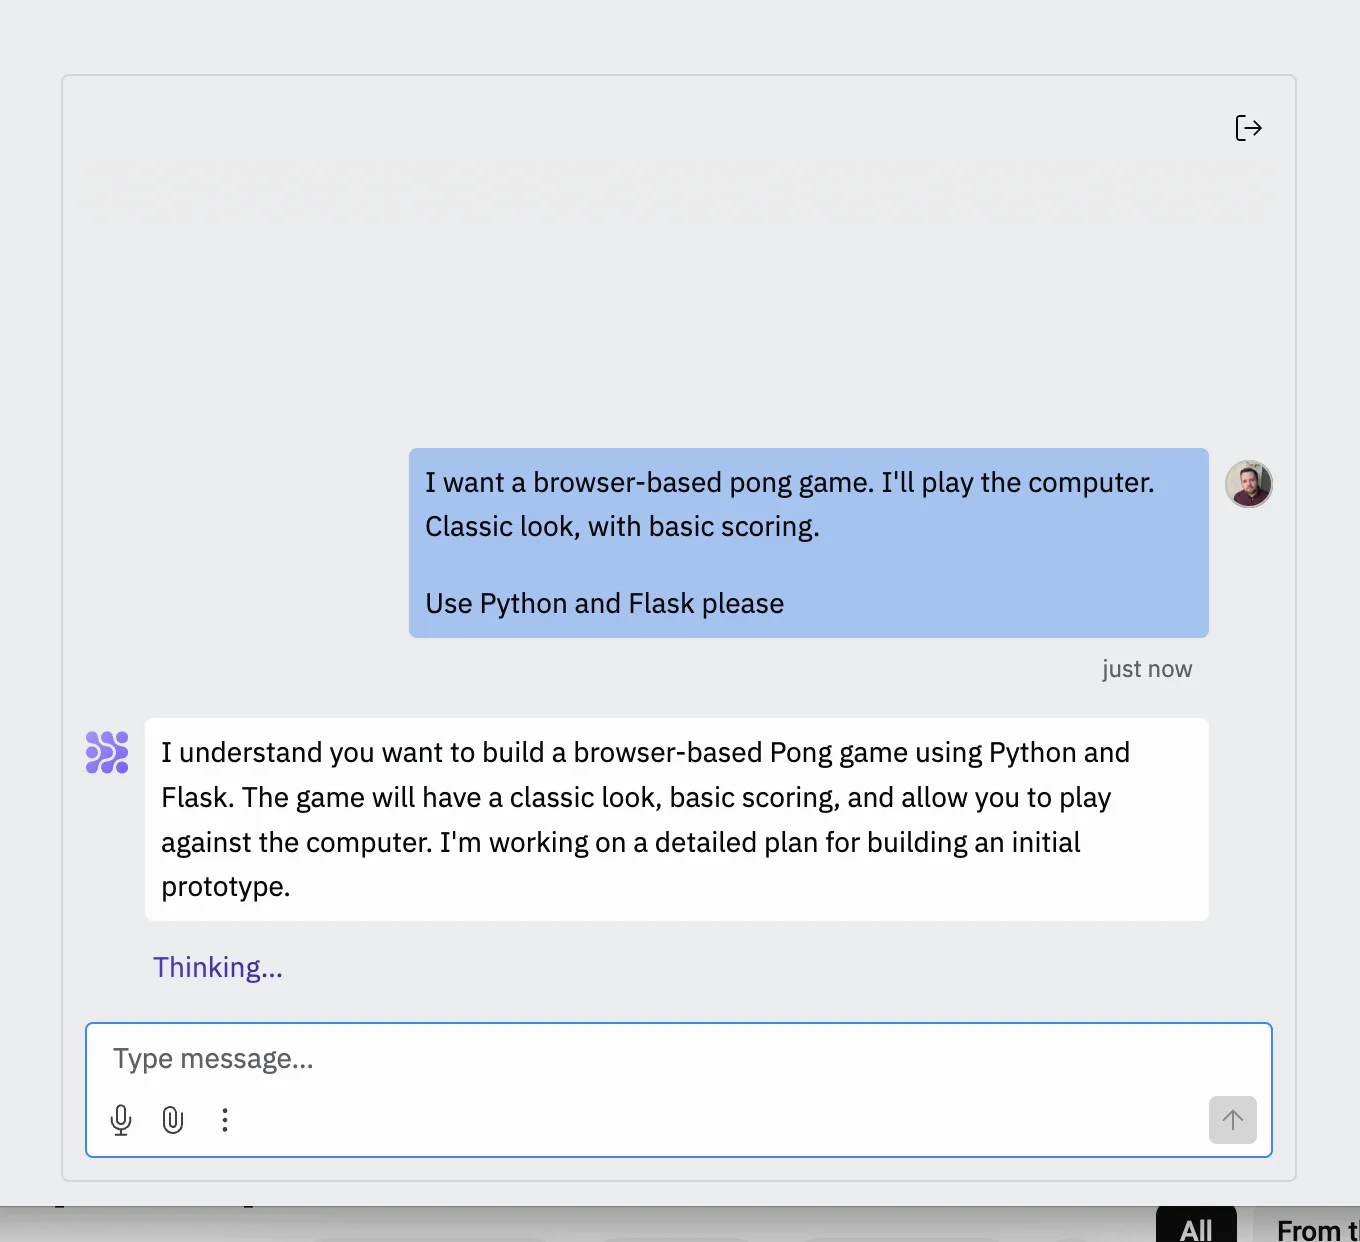
The first step the agent takes for every project is to come up with a detailed plan of action which should appear after a few seconds.
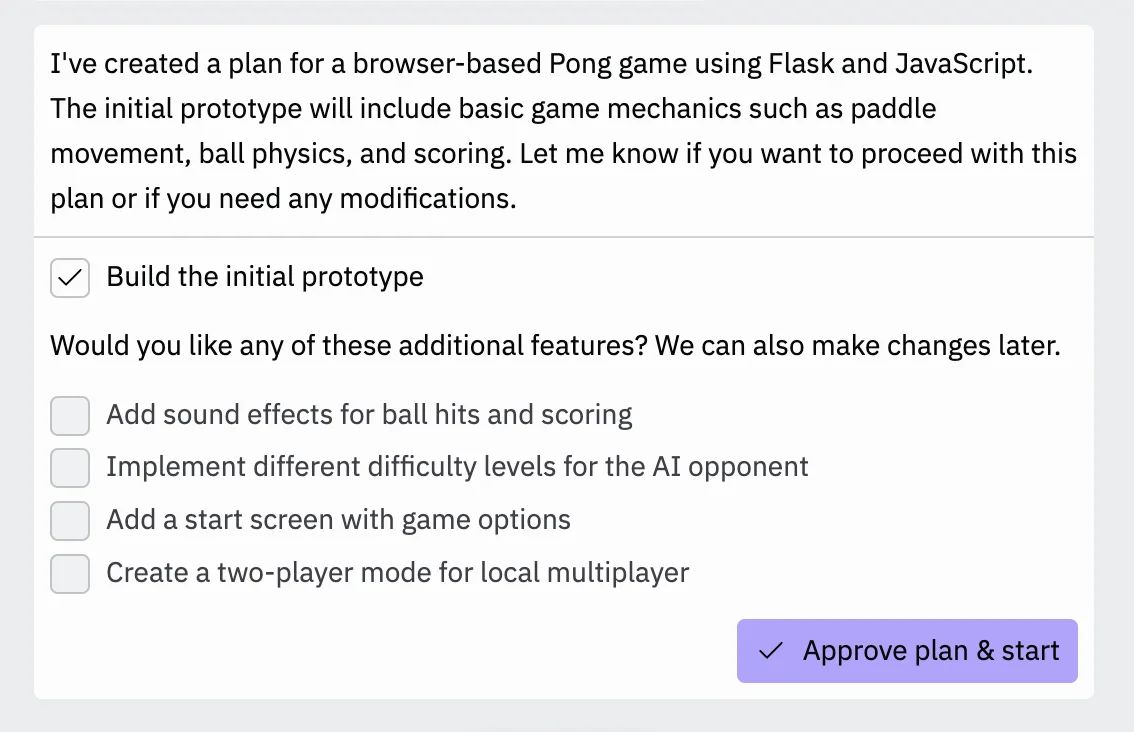
Looking at this plan, you’ll see that its description for the initial prototypes covers pretty much all the core features you’d expect. It also suggests some additional features that you might want - simply tick to include them. For this tutorial, we’ll just stick to the initial prototype.
When you’re happy, click “Approve plan & start”.
At this point, the chat window will slide to the right and a new ‘Progress’ tab will open in the middle of the screen. This is where you’ll see the agent building your app step by step.
Step 2: Monitor build progress and input when asked
Things will start happening right away in the progress tab.
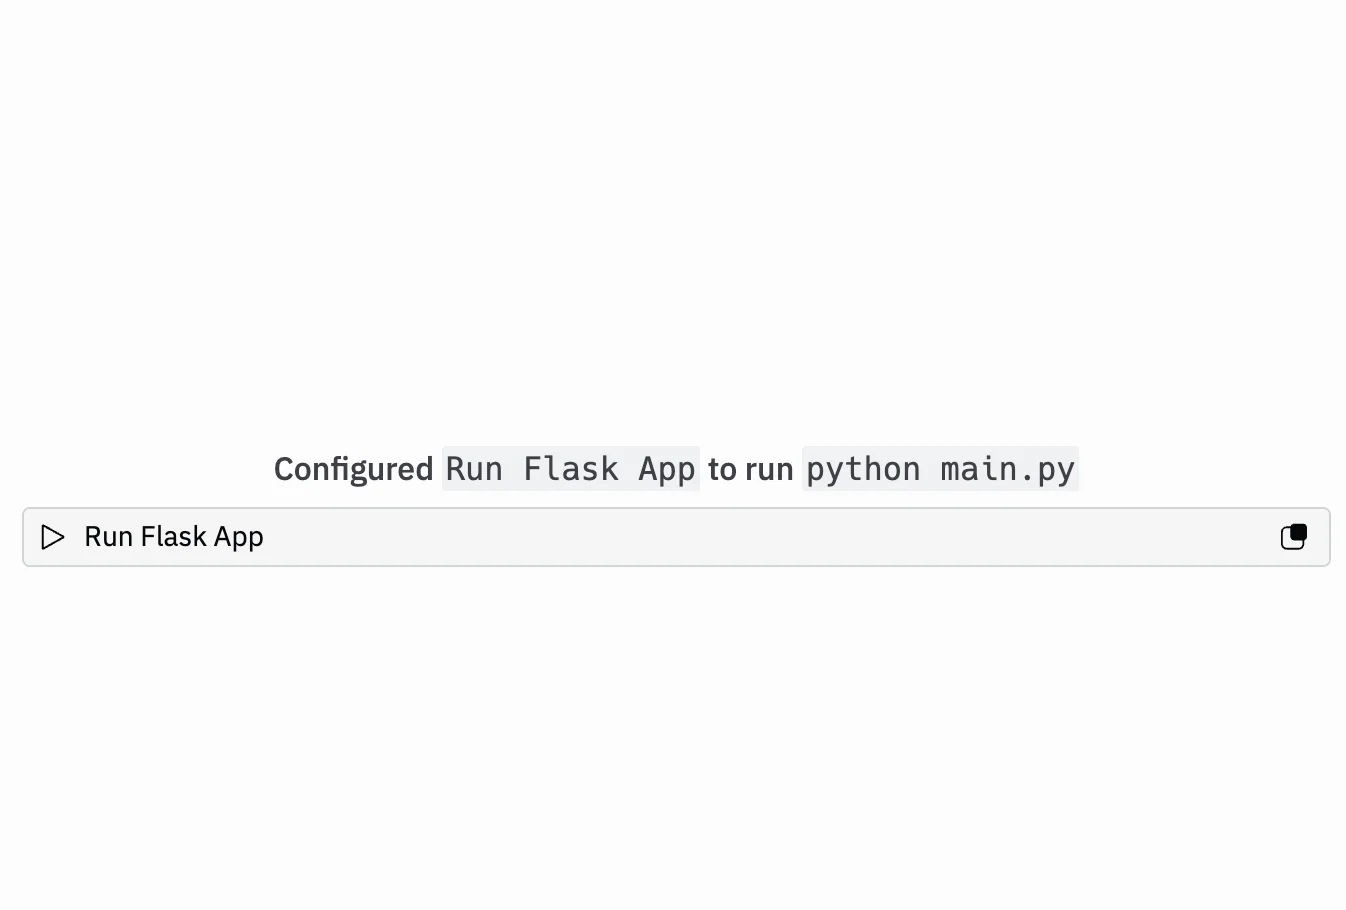
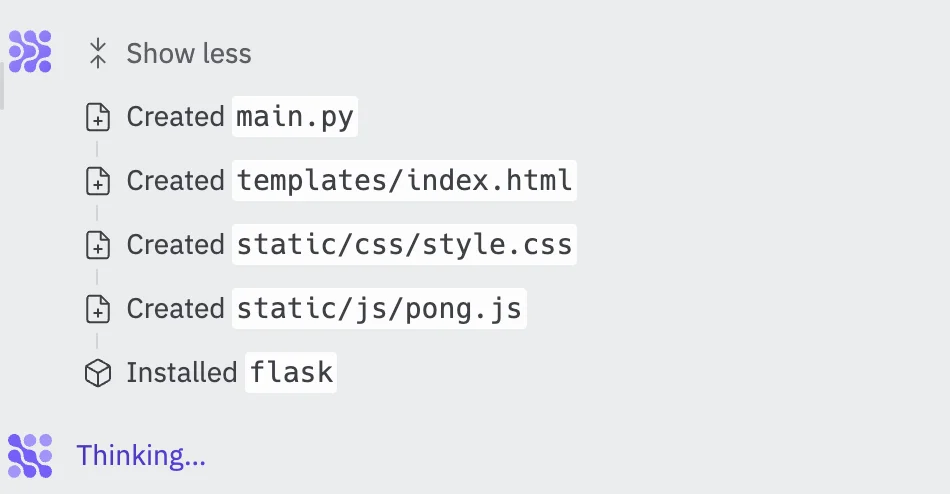
Code will start to be written in real time and the tab will scroll down to show each file being created or modified, as well as any other configuration actions the agent takes.
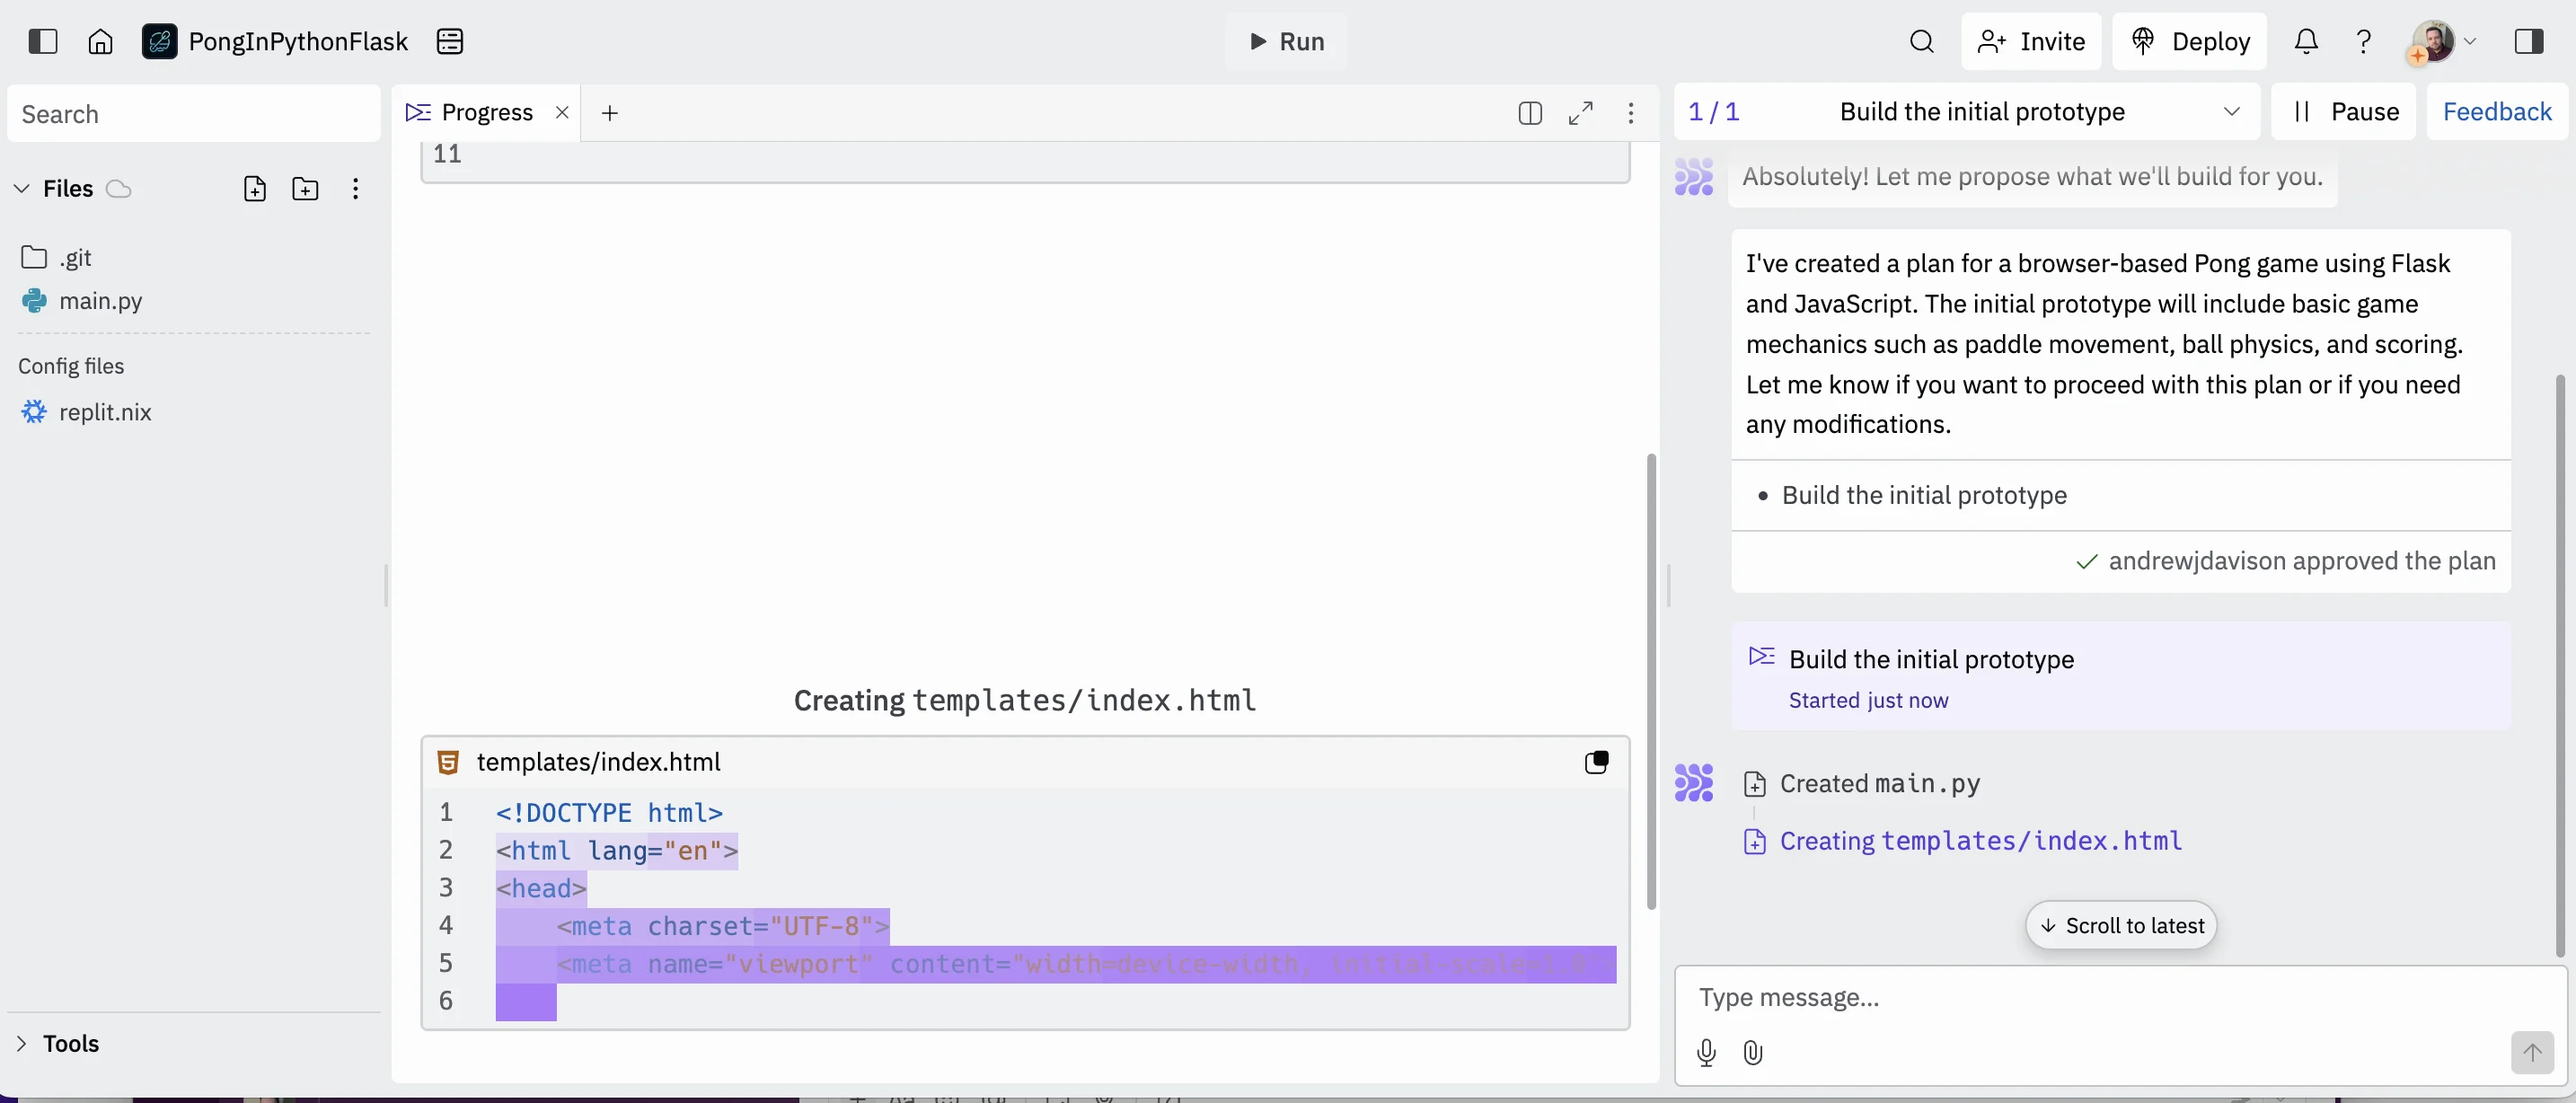
Meanwhile, the chat window will summarise what actions the agent has taken and tell you when it’s “thinking” (ie interacting with its AI model to write code or decide on the next steps).
Keep watching, and in most cases, the agent will have a working MVP to show you within 90 seconds.
As ours is a web-based app, it will appear in a ‘Webview’ tab that opens within the editor.
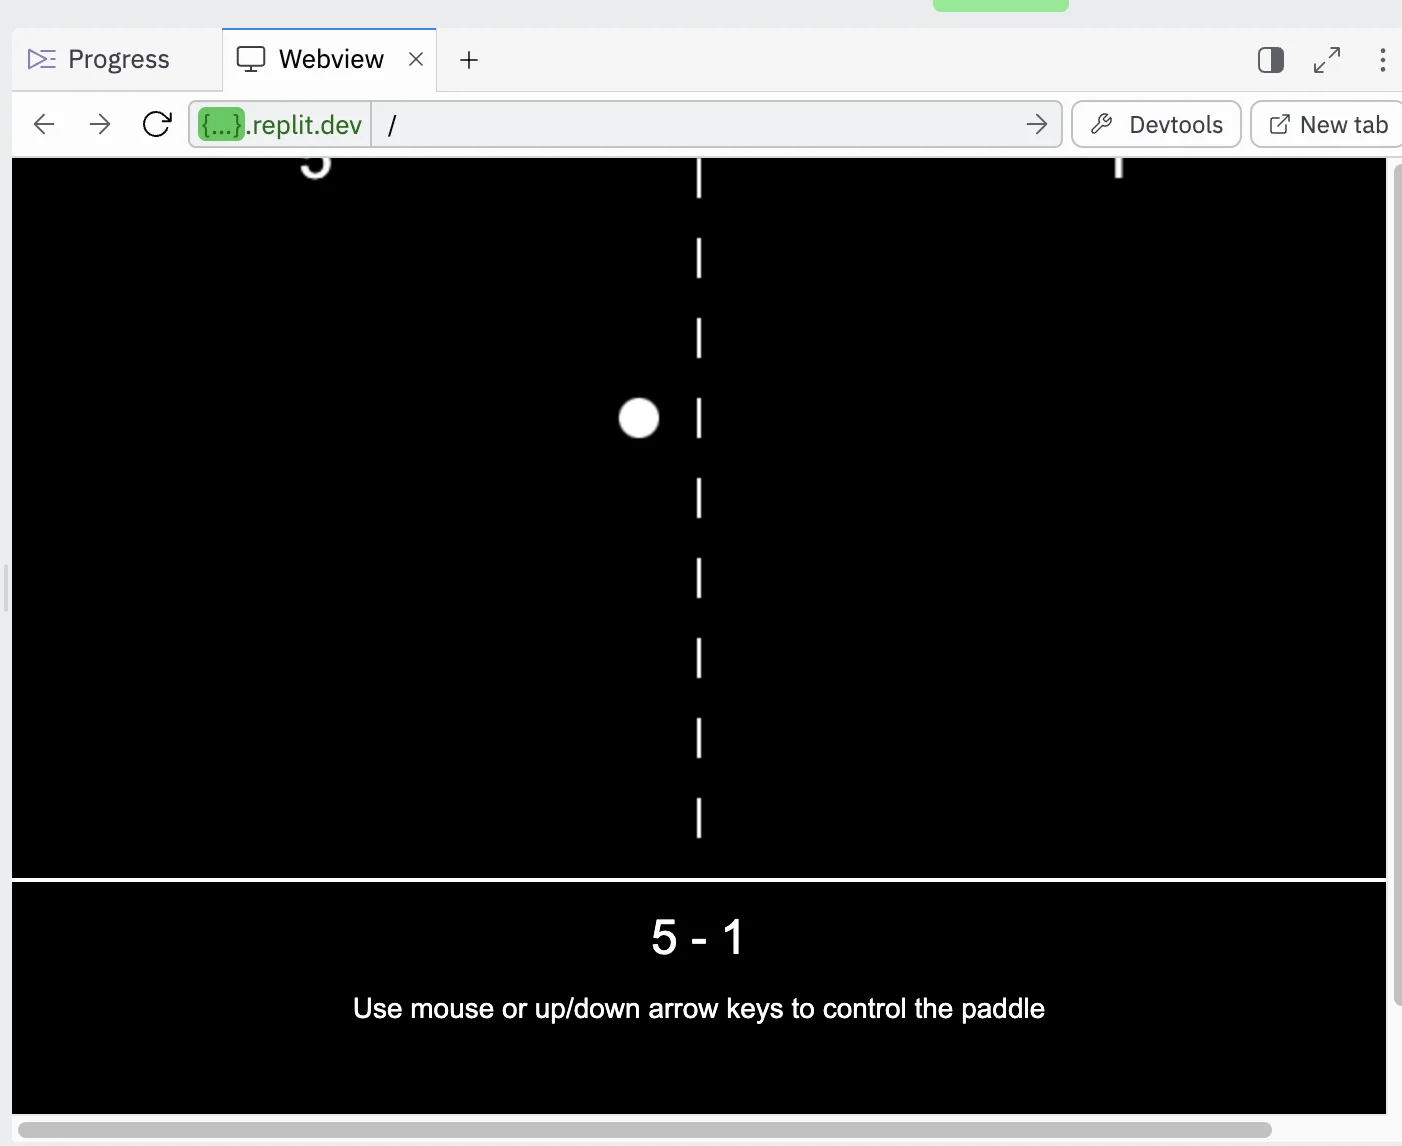
To make it easier to test our new game, you can also click the “New tab” button in the top right of the tab to open it in a separate browser window.
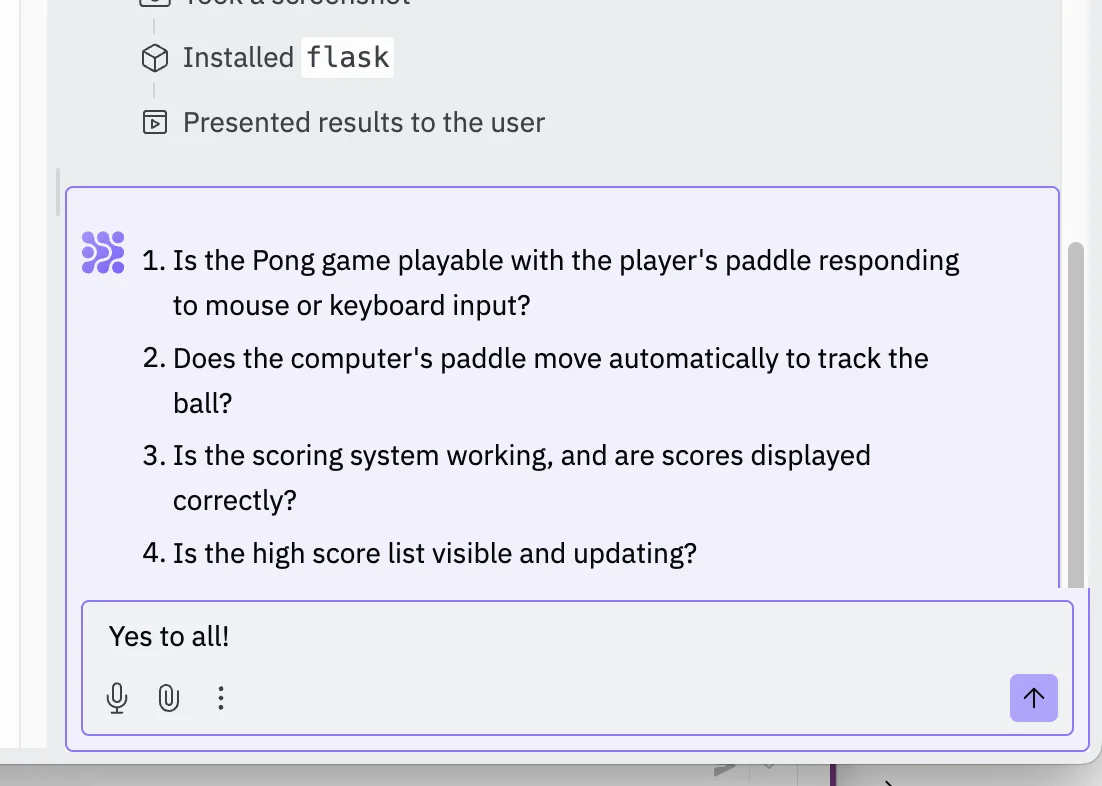
At certain points in the process, the agent may ask for information (like API keys for external services - but in this case, none are needed) or for feedback.
In this case, we can happily answer yes to all four questions.
Step 3: Deploy the working app ready to share
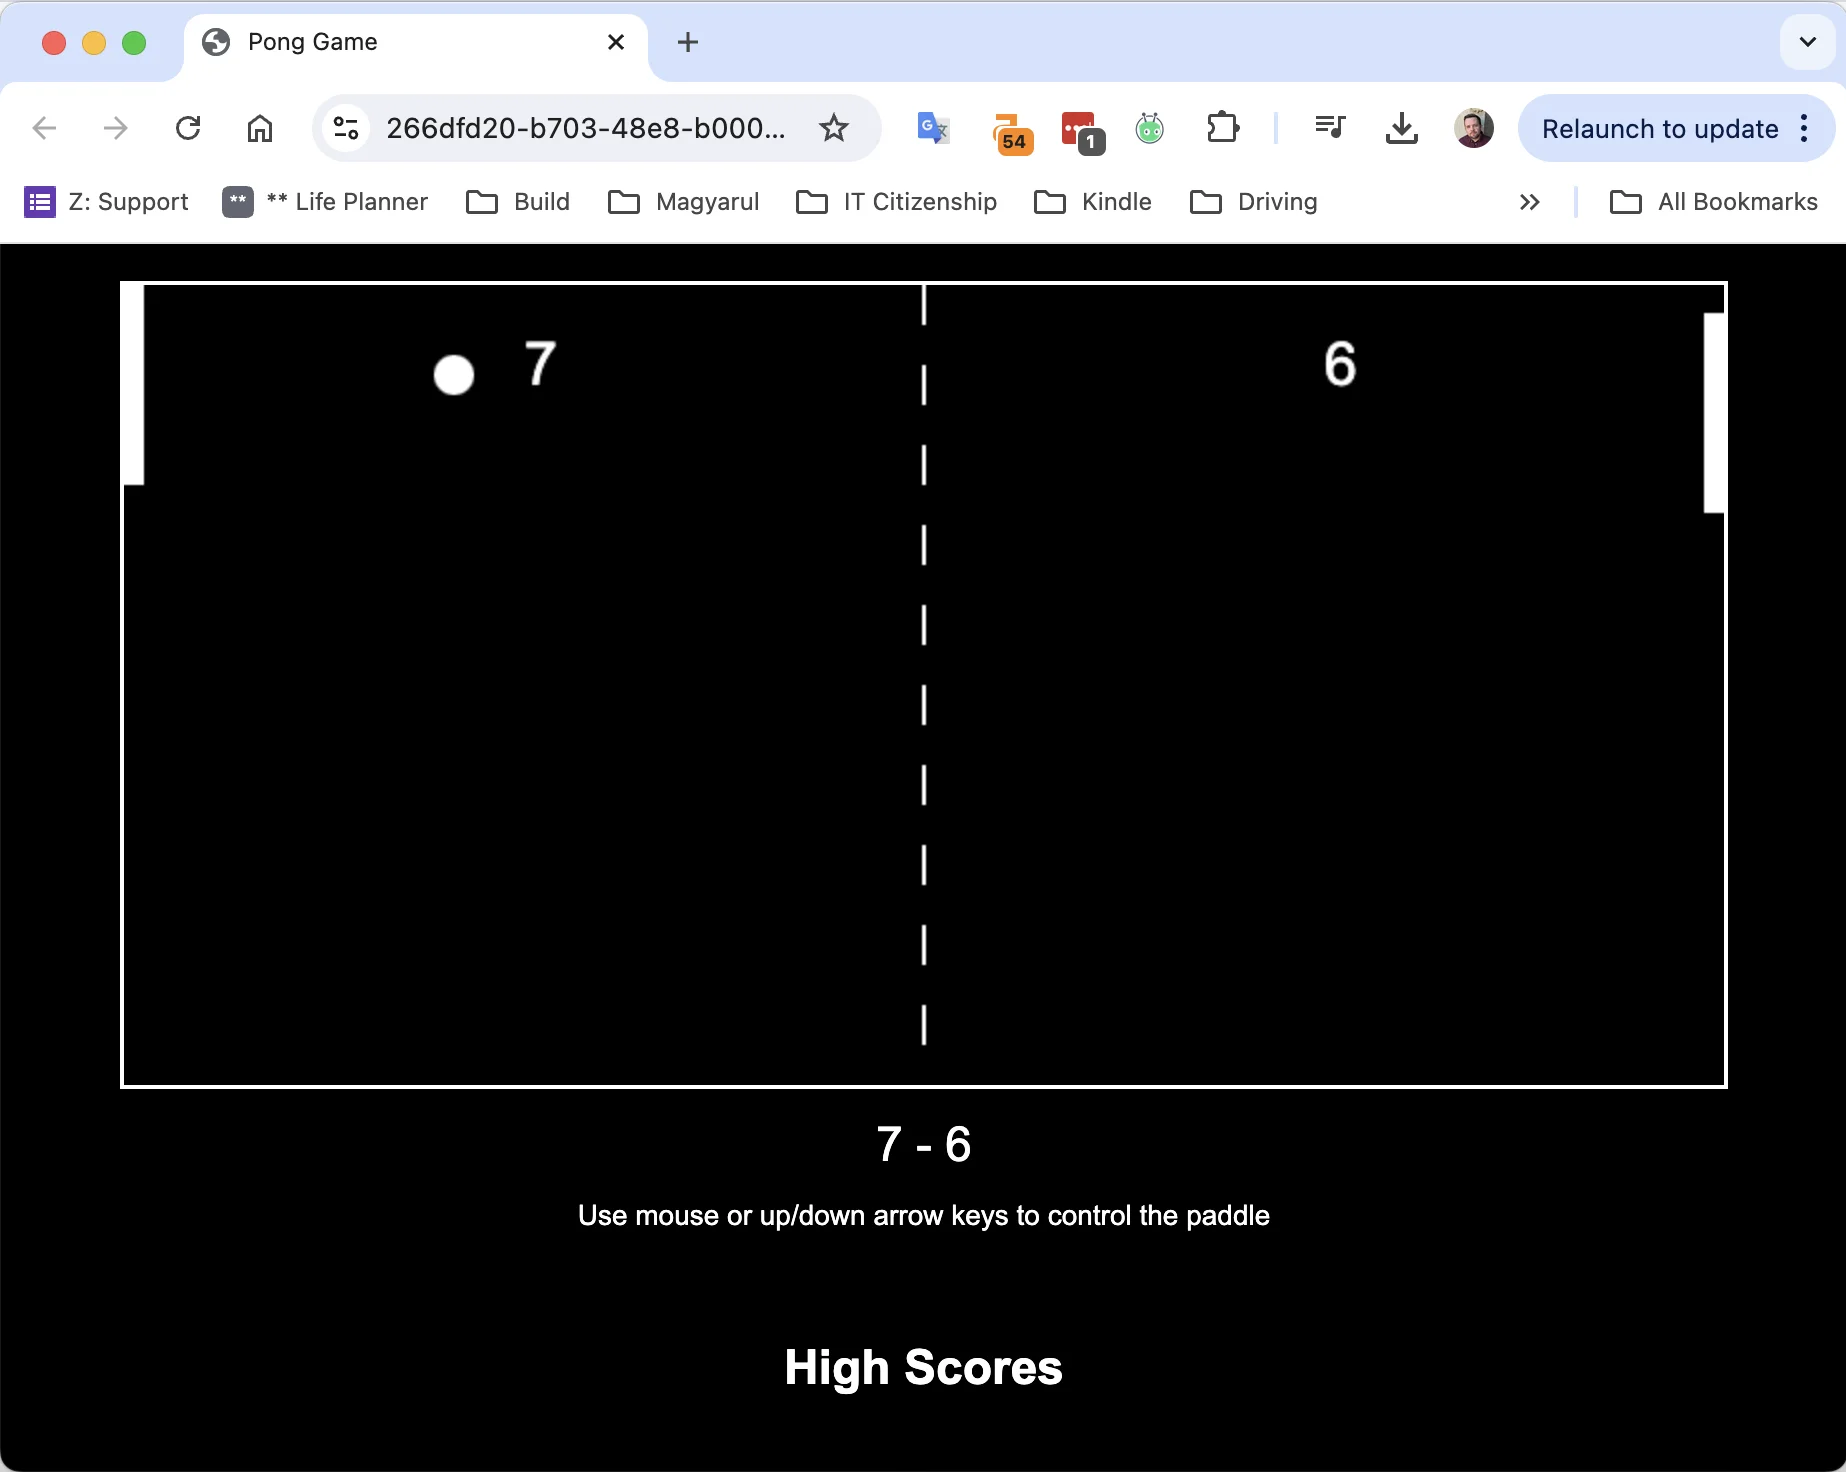
Right now, you can run the app in Replit and you’ll get a unique URL to load your app in your browser and test.
But the app will only remain live for a few minutes if you’re not actively using it. Not ideal if you want your app to stay live and ready to play whenever.
Replit offers hosting which you can access via the “Deploy” button in the top right of the screen. Click it and a new ‘Deployments’ panel will open in the centre panel of the screen.
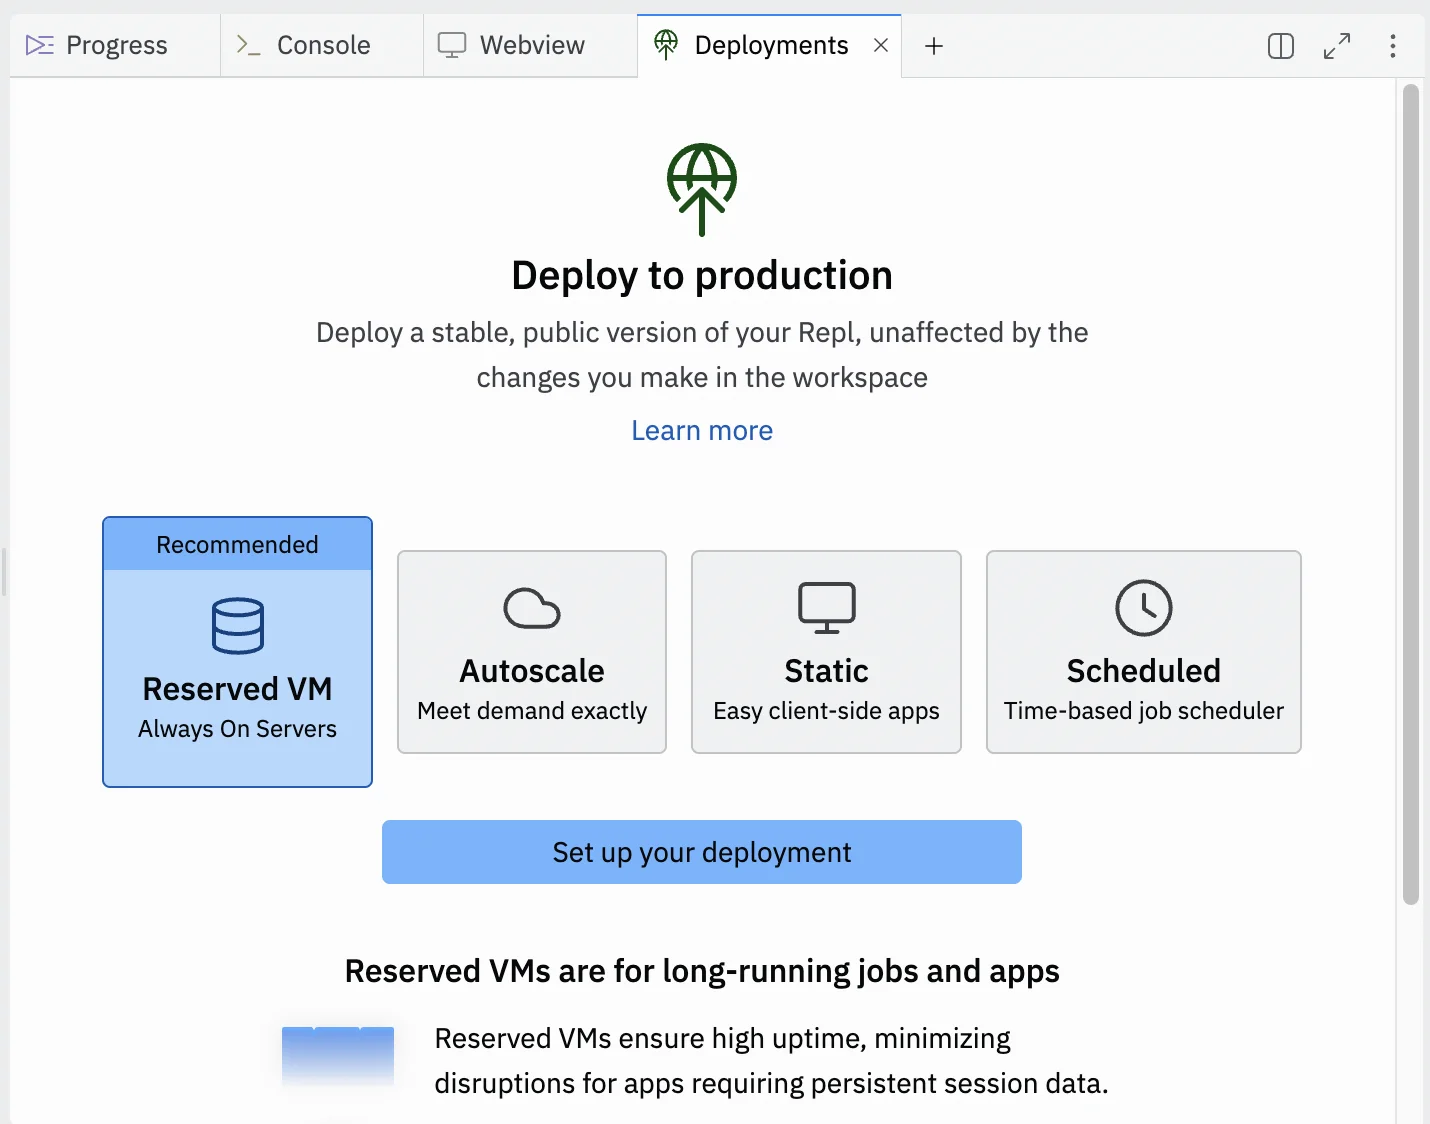
You have 2 options for this type of app:
- Reserved VM
- Hosting with a set amount of resources which are always available. Ideal if you expect heavy usage for your app. It has a fixed cost.
- Autoscale
- Hosting where Replit will scale up or down resources as needed to handle whatever traffic you’re getting. In most cases, this is the best choice, especially for low-use apps, as the cost is variable depending on usage.
We’ll go with “Autoscale”. Select that option, then click “Set up your deployment’.
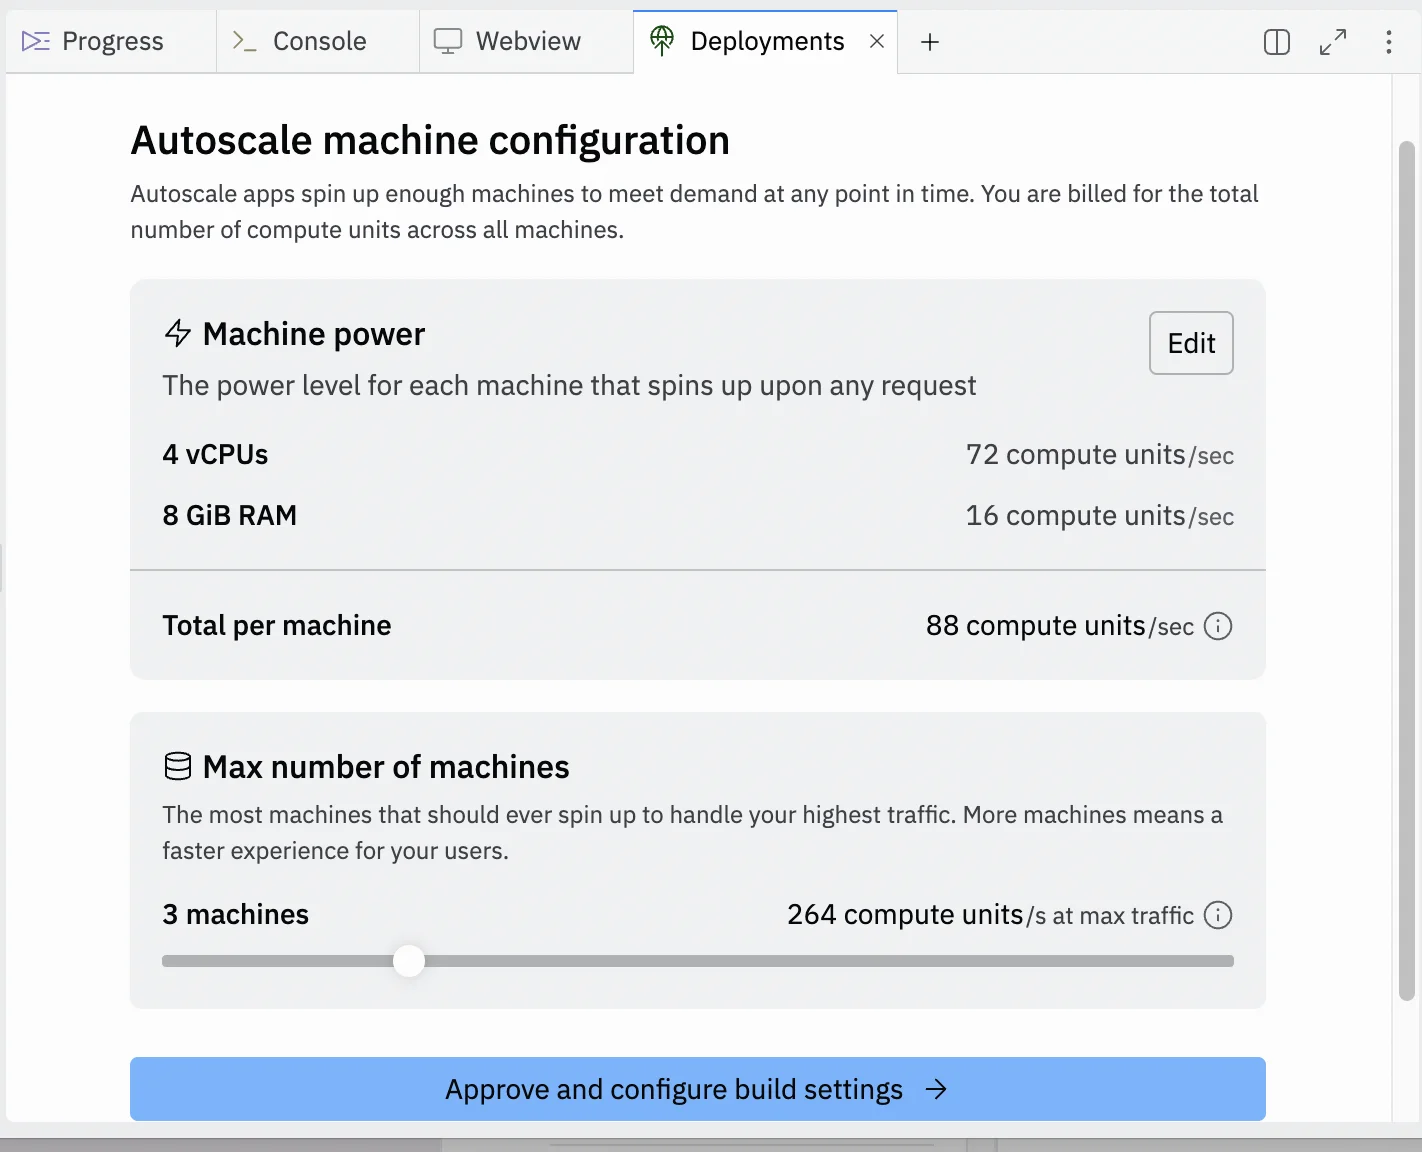
On the next screen, you’ll be able to configure various resource levels related to the hosting. You can just stick with the default options.
Once ready, click “Approve and configure build settings”.
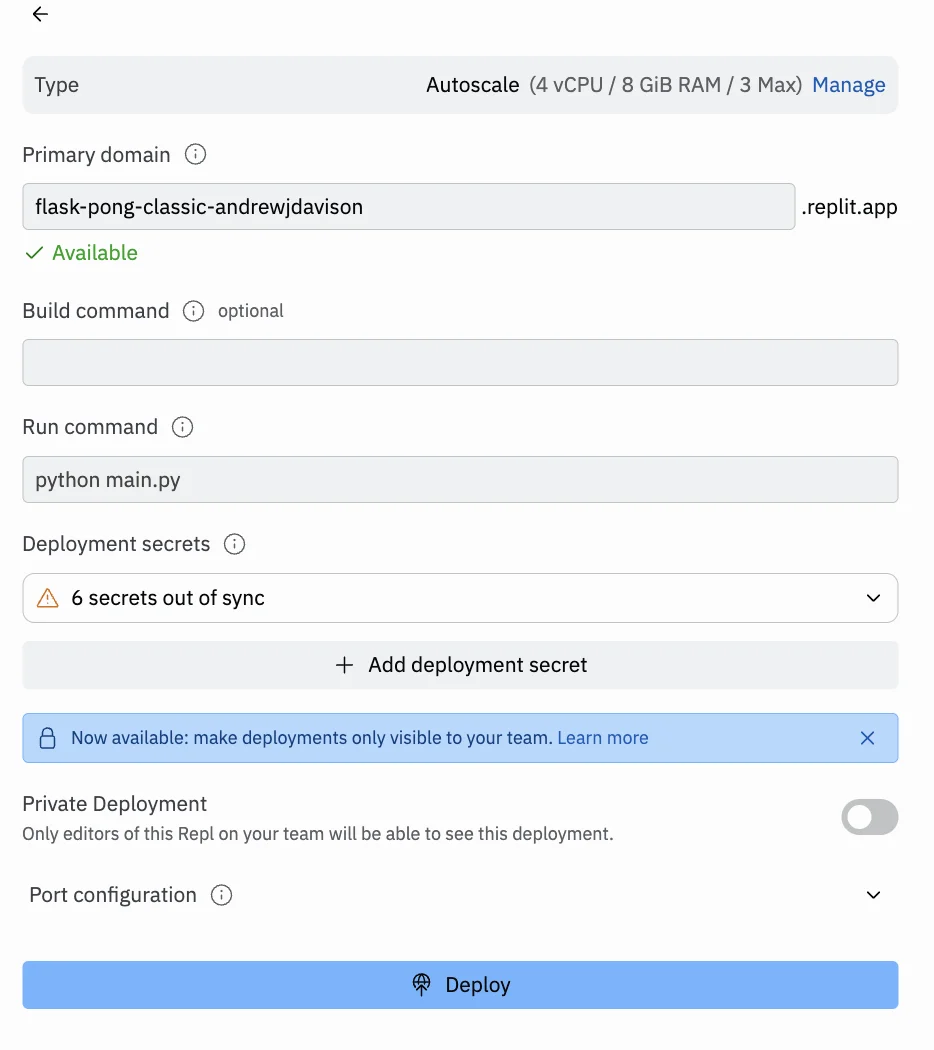
On the next screen, you can customise your app’s replit.app URL. Everything else can be left as is. When ready, click “Deploy”.
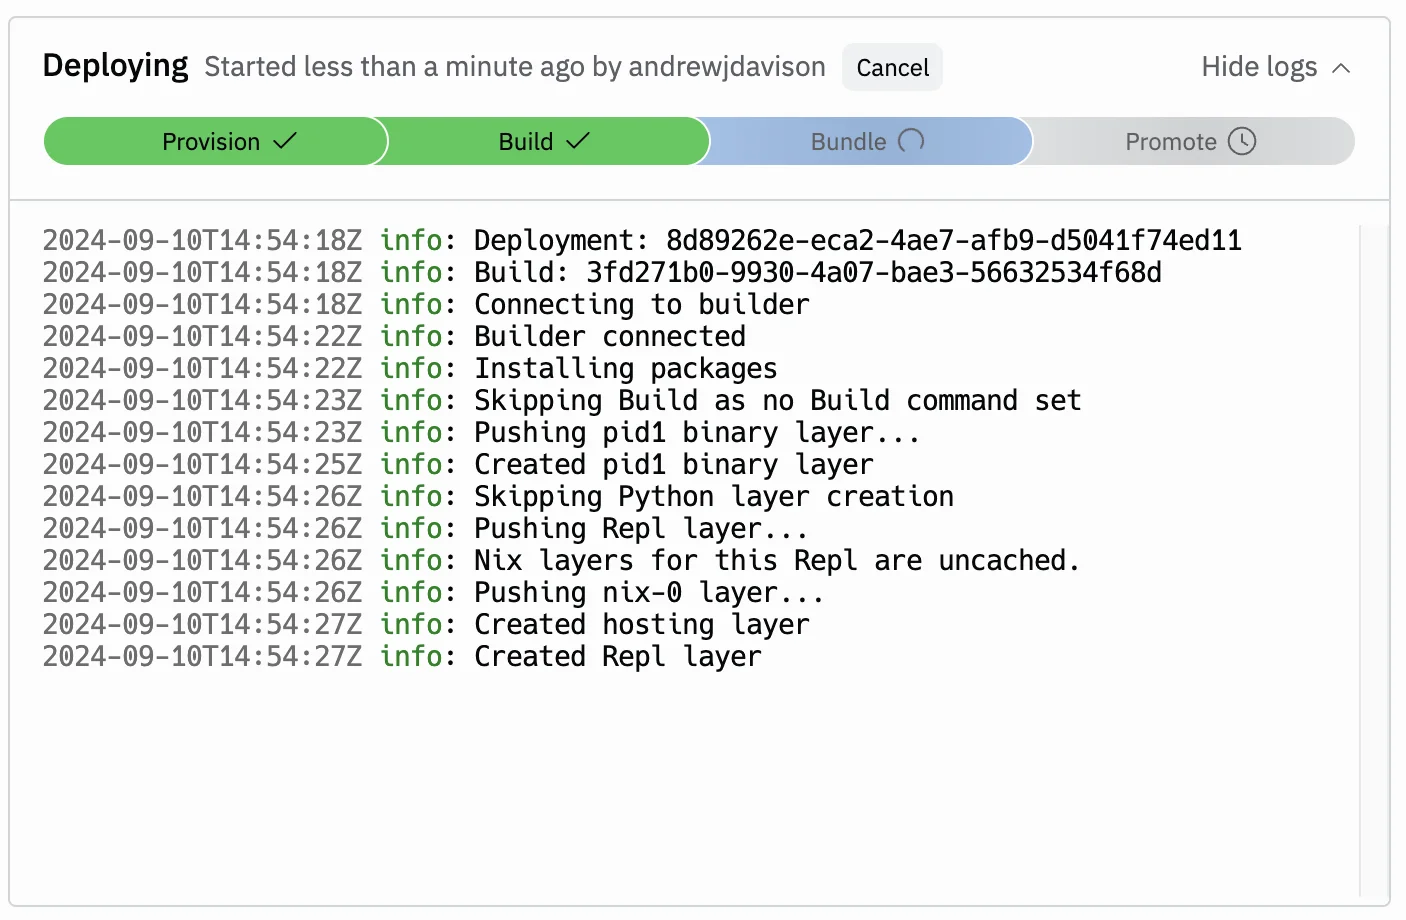
Once deployment has started, you’ll see logs like this. Don’t worry if nothing here makes sense. It doesn’t need to.
If all goes well, after a few moments you’ll see the following screen.
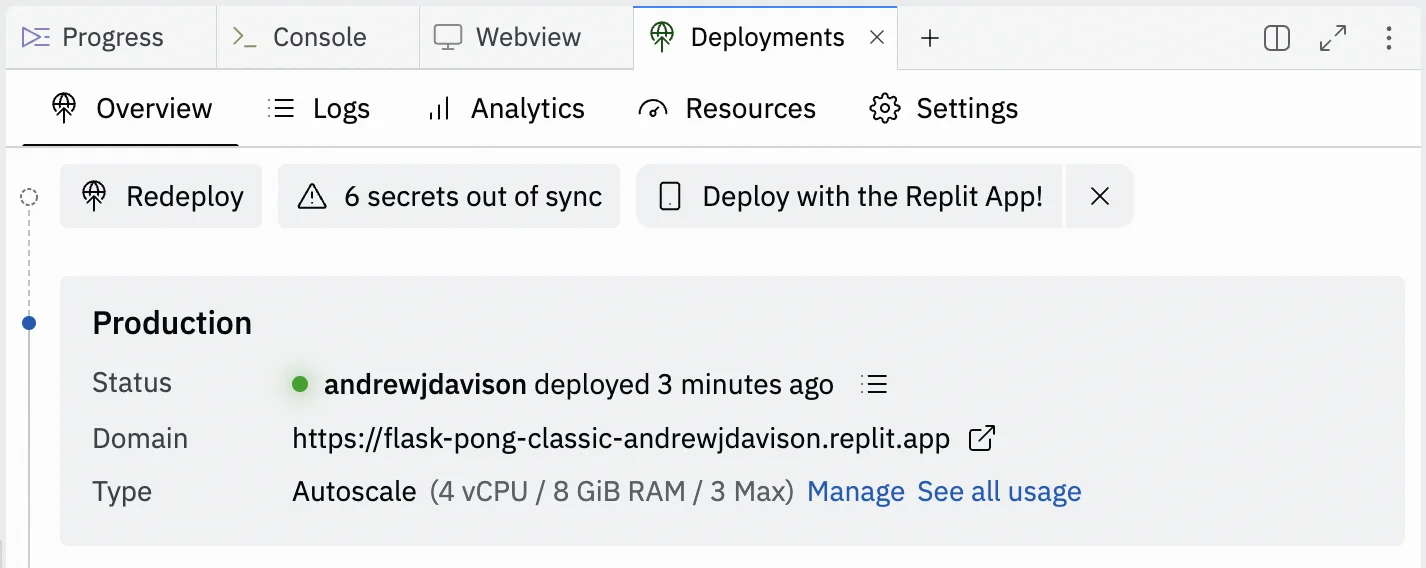
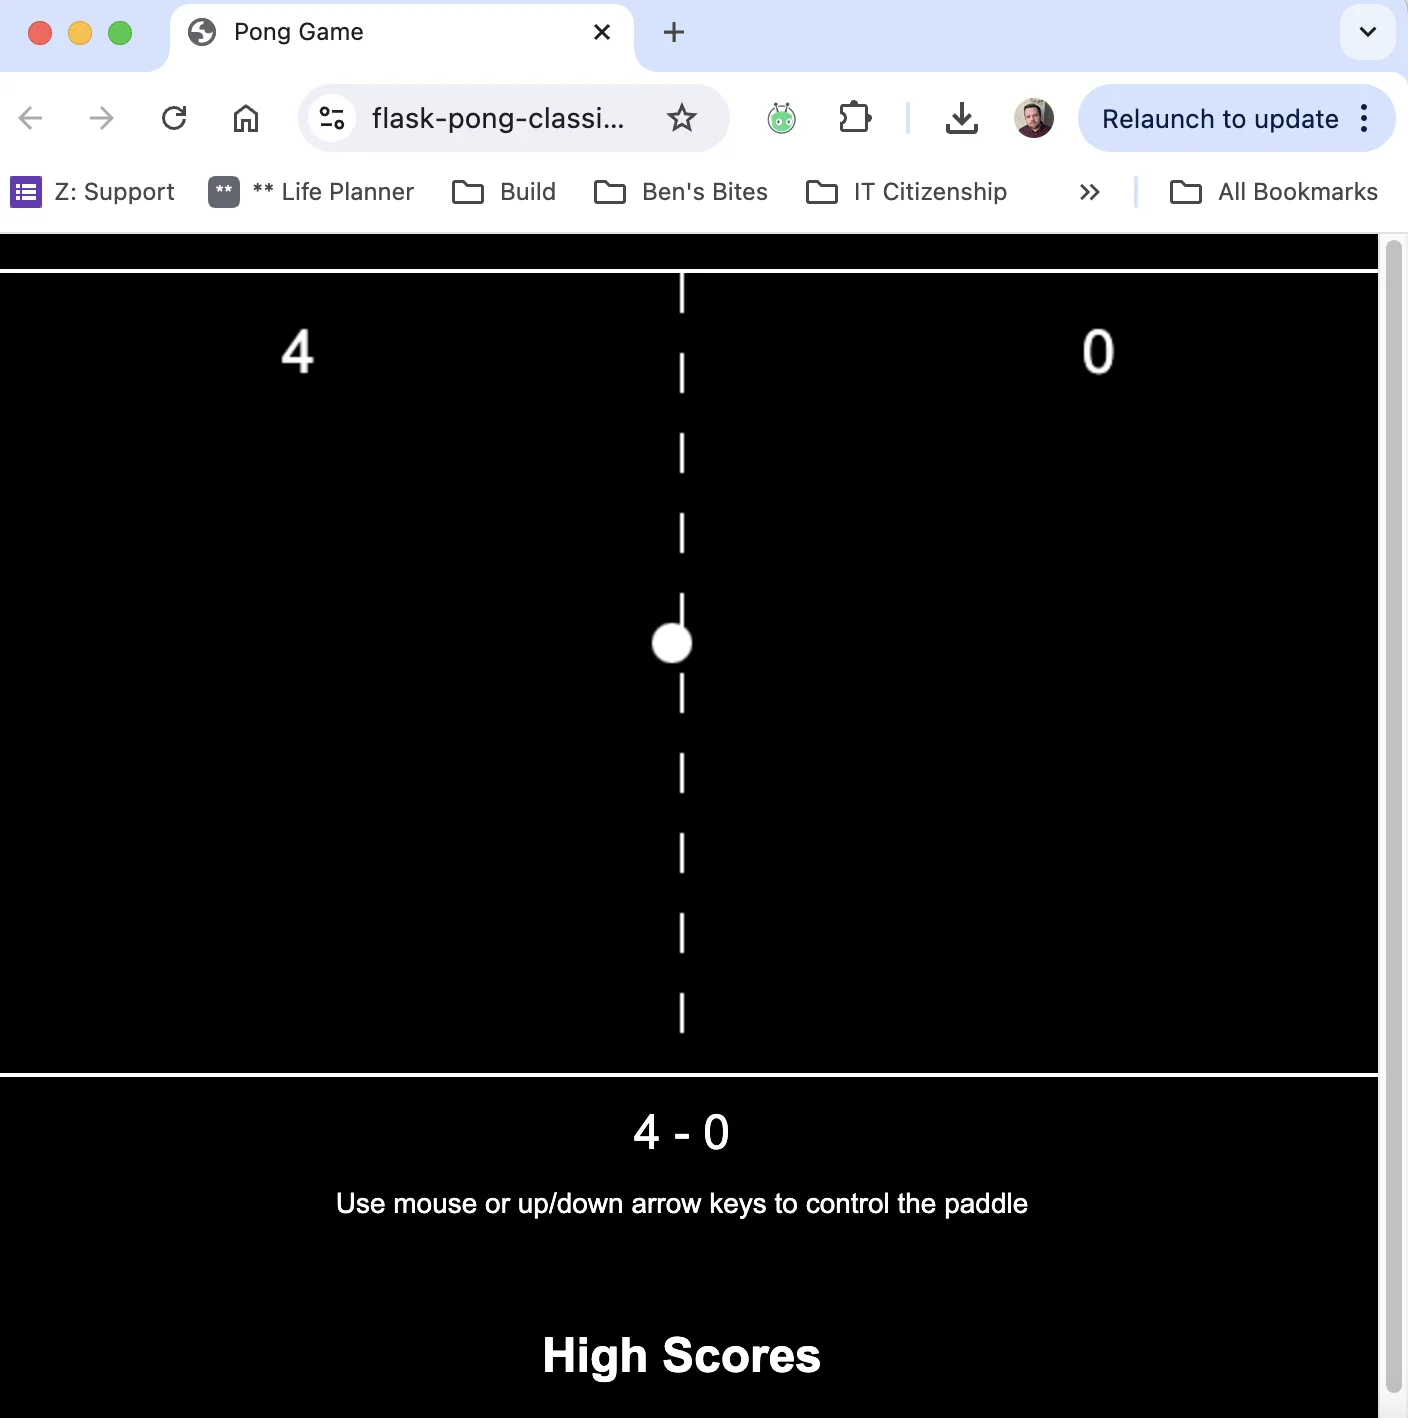
Click the link and you’ll see your app live in your browser.
Step 4: Find app ideas for your business
Pong is great, but you might be wondering what you can build for yourself and your business.
The broad answer is: anything. If it’s something that can reasonably be coded, then Replit Agent can probably build it for you.
Here are some things it will particularly excel at:
- Landing pages and micro websites for new projects.
- Dashboards displaying business metrics from various sources.
- Automating processes between different apps, as you would do with Zapier.
- Input forms that display data to the end user and/or do complex calculations.
- AI chat-style apps.
If you need more inspiration, search “Replit Agent” on Twitter/X and see what others have been creating.
This tutorial was created by Andrew.