Visualize text for presentations
Learn how to quickly transform text content into visuals using Napkin AI.
2024-11-13
In this tutorial, we'll walk you through the process of using Napkin AI to transform your text into visuals. Napkin AI allows you to paste text content from anywhere and generate graphic representations with just a few clicks. No graphic design skills are needed!
Whether you're creating a report in Google Docs, a blog post in Medium, or an offline PowerPoint presentation, Napkin AI can help you visualize your ideas. It’s a great tool for bloggers, slide creators, and anyone else trying to express text content visually.
Let’s see how it’s done.
Step 1: Paste your text content into Napkin
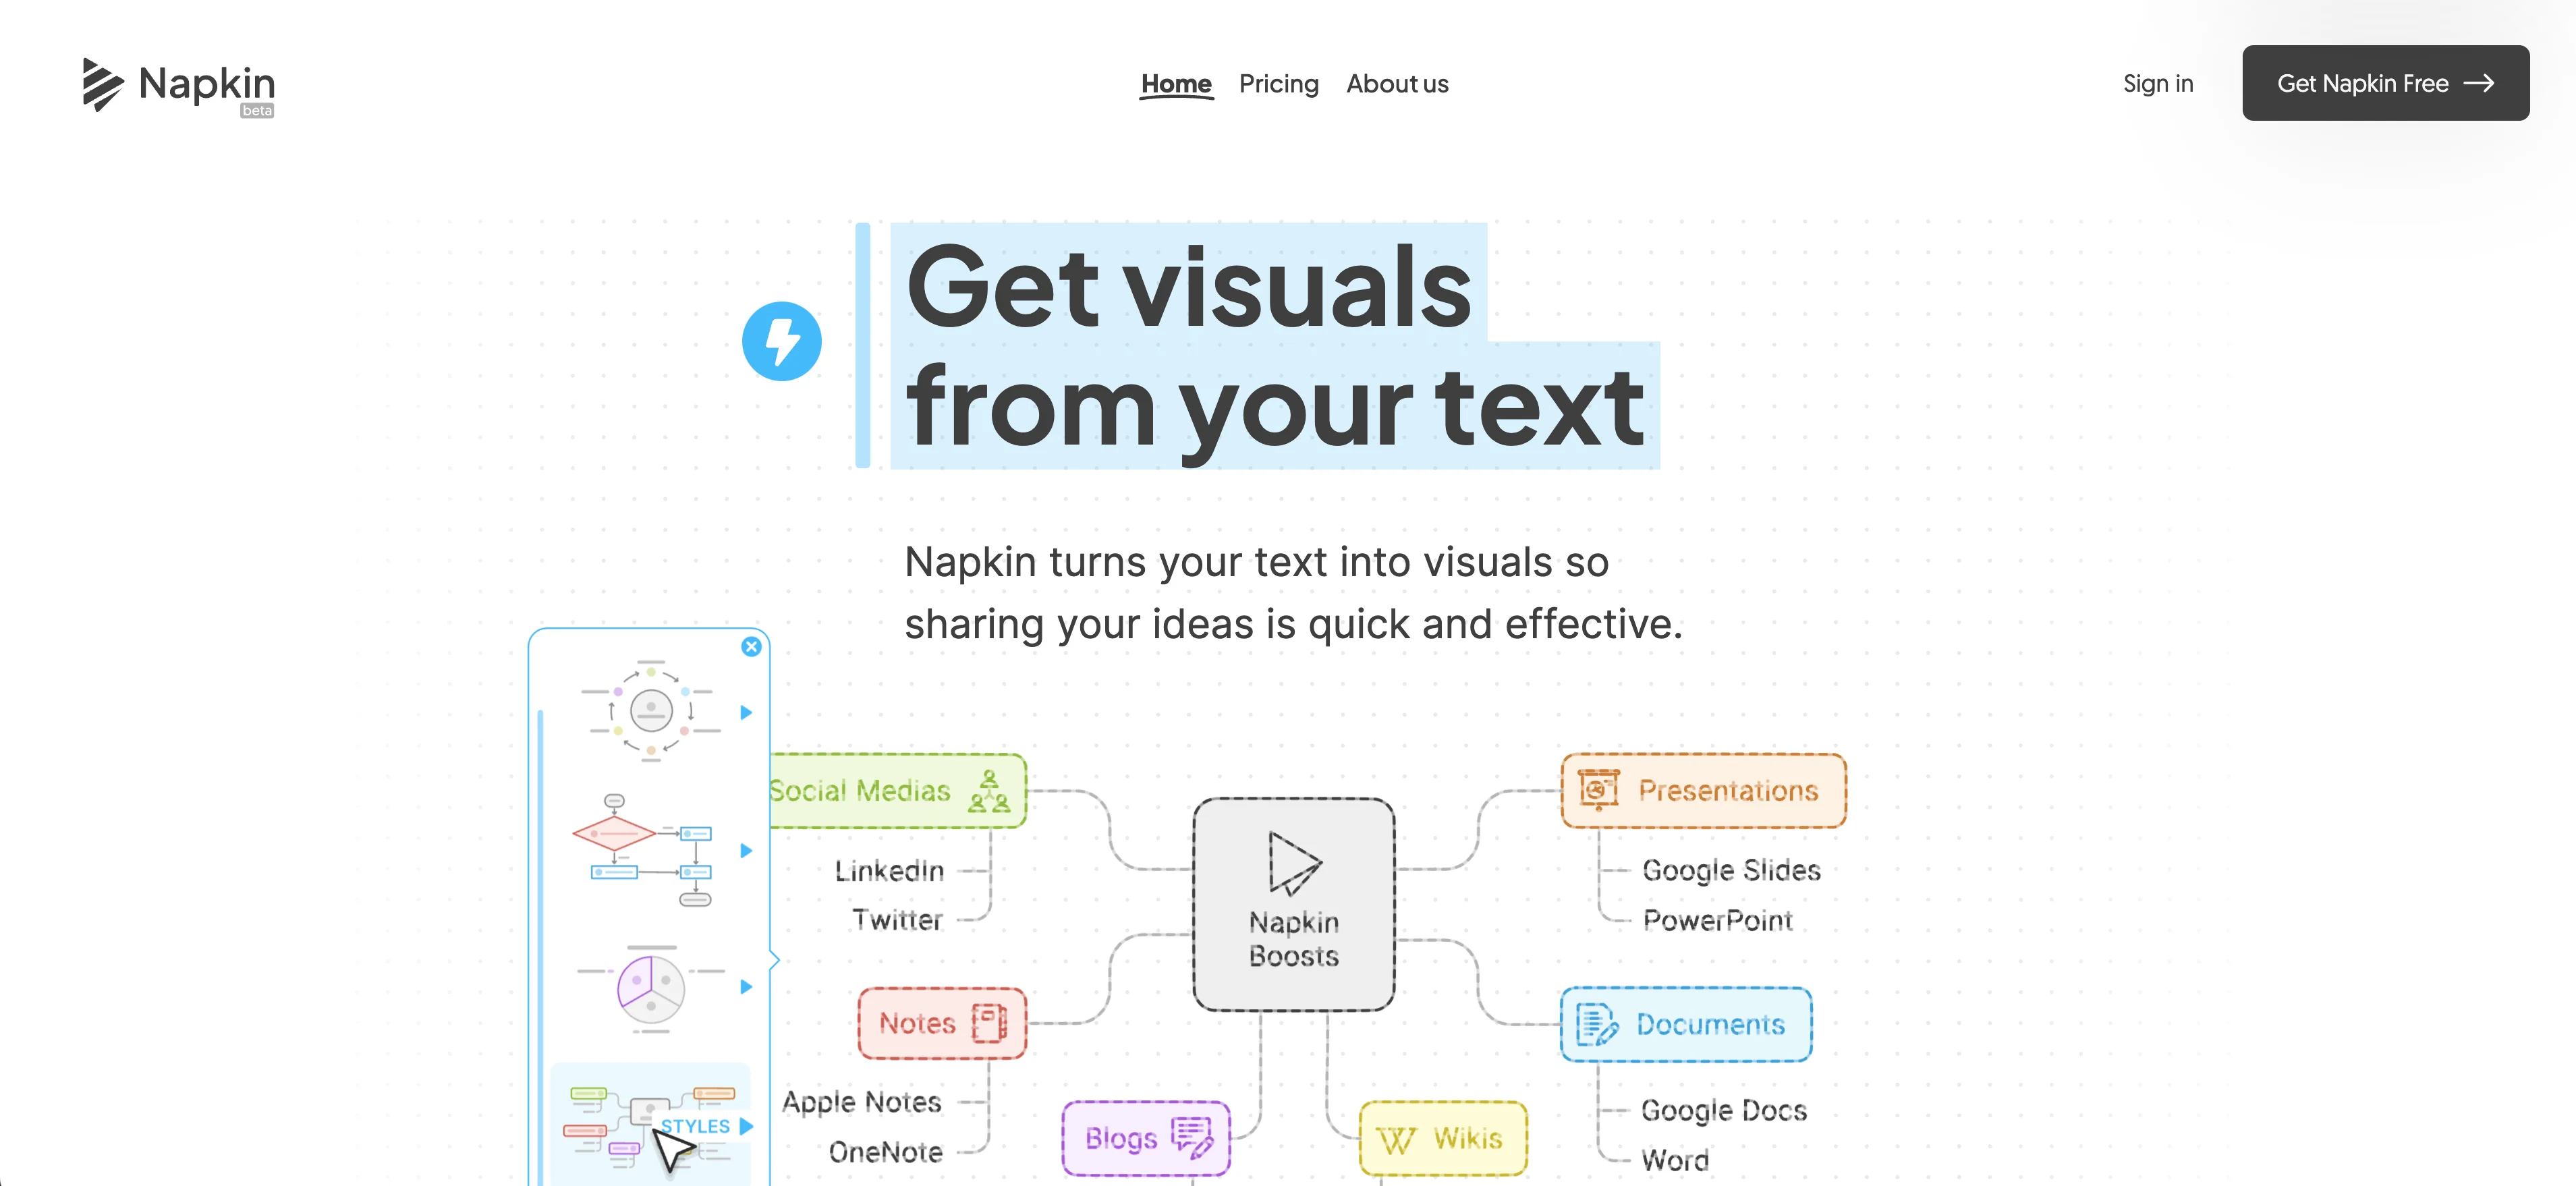
To get started, go to the Napkin AI website, click the "Get Napkin Free" button, and create a free account.
Once you've signed up and logged in, click the "New Napkin" button in the top left corner of the page, and select the "Blank Napkin" option in the dropdown. This will open up a blank canvas where you can start creating your visual.

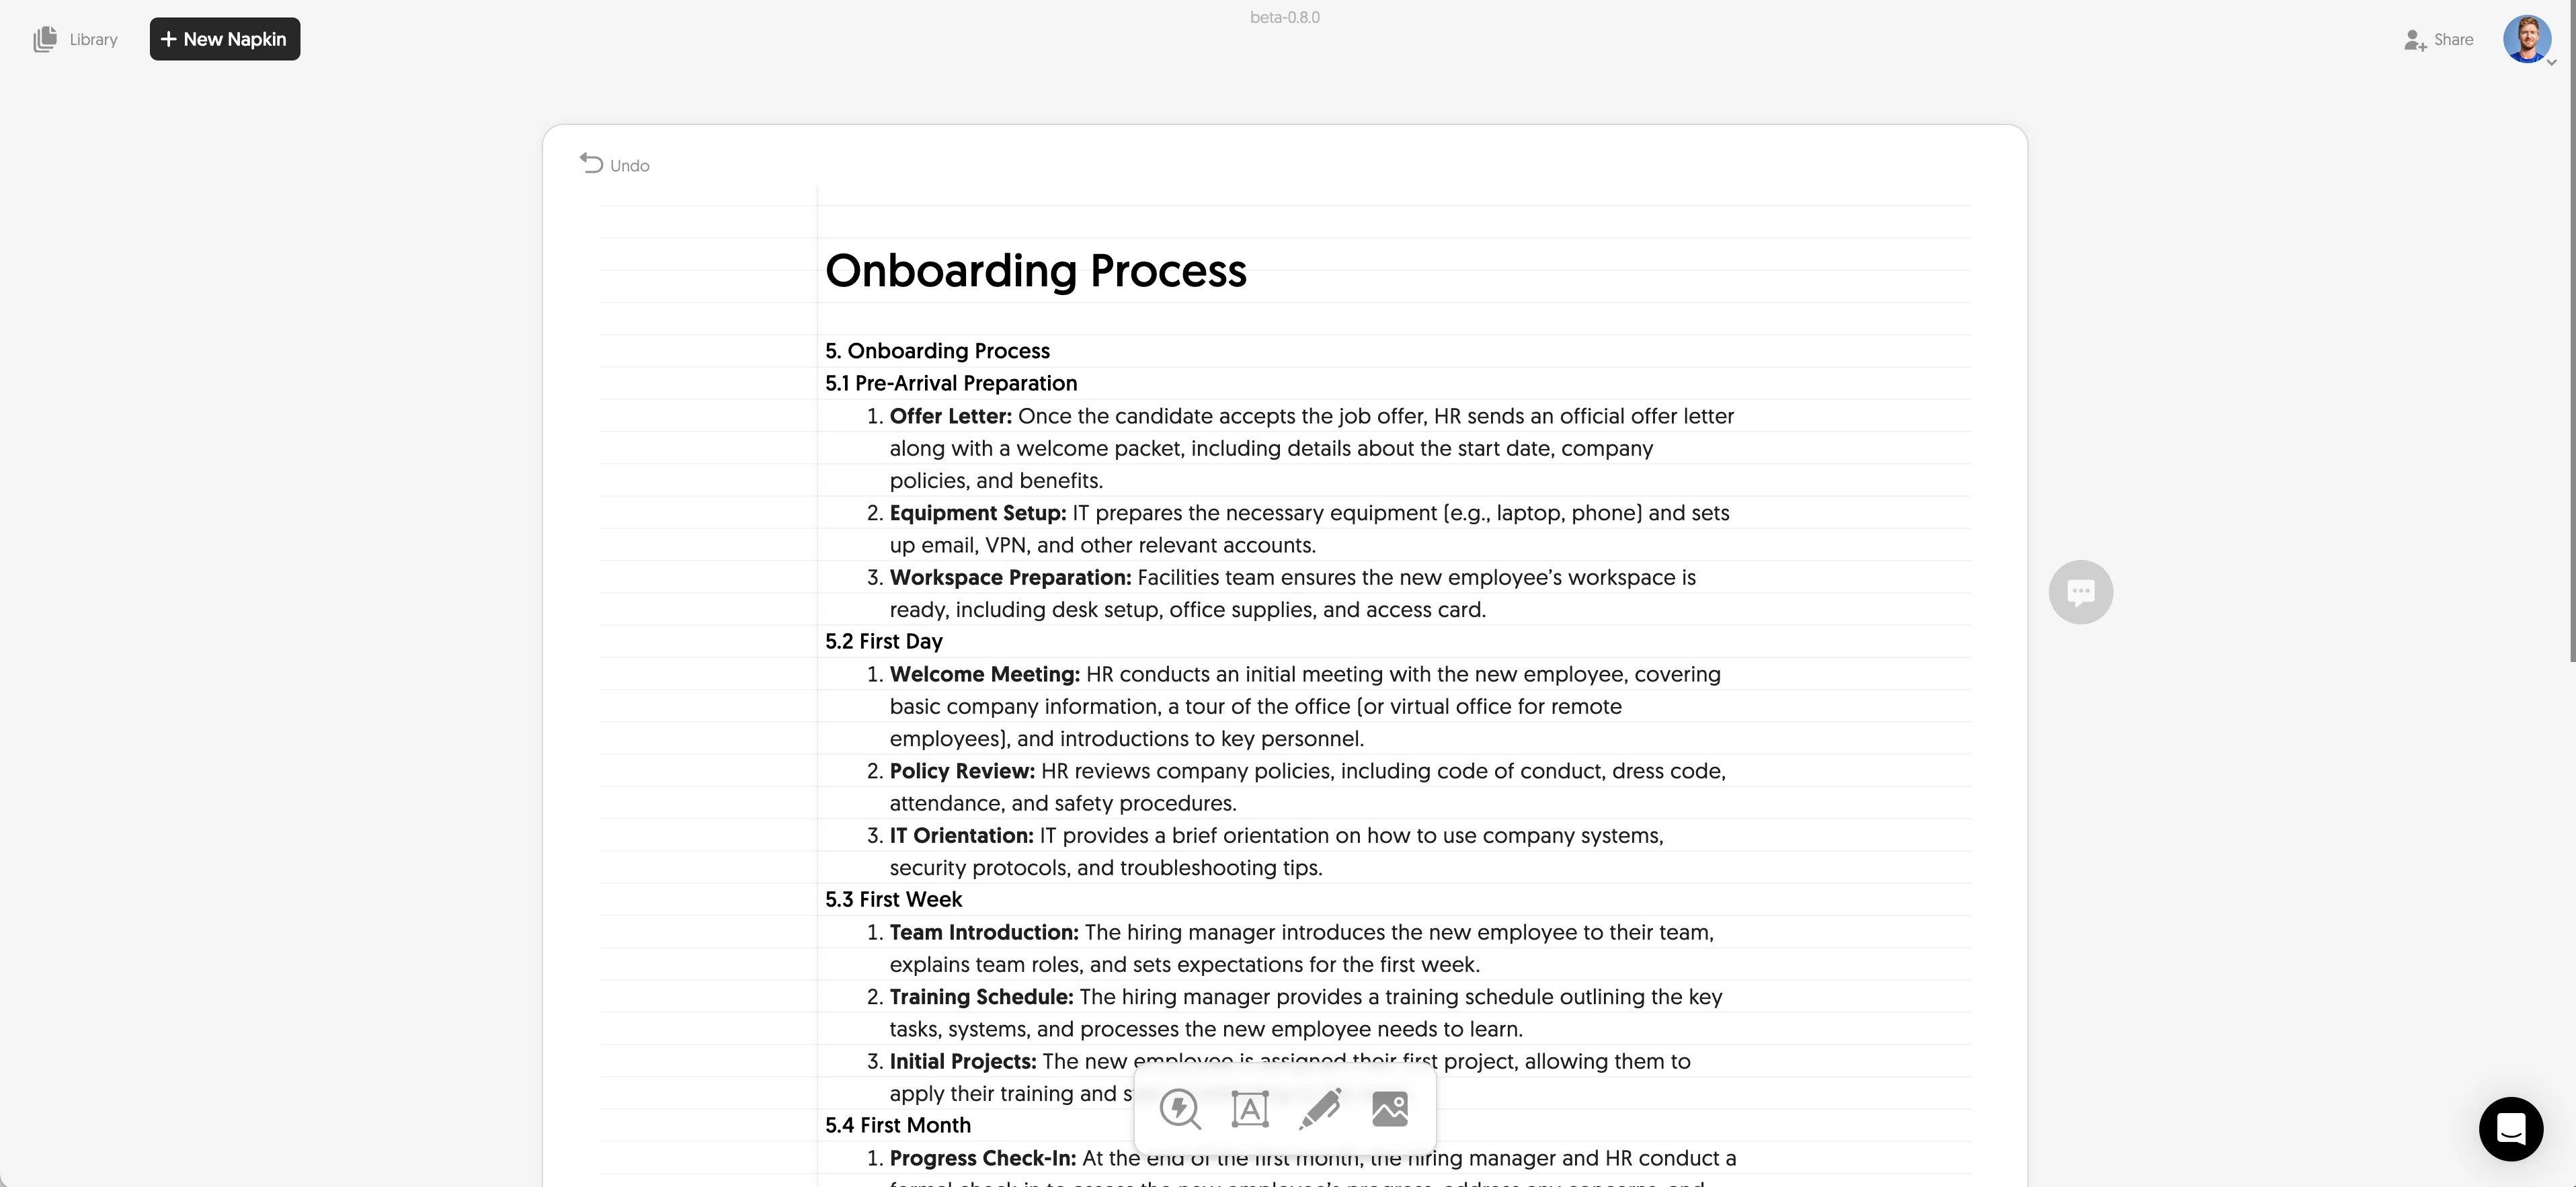
Now it's time to add the content you want to visualize. Copy the text you want to visualize from your source document and paste the content into your blank Napkin file. We’ll be working with an employee onboarding process document for this example.
Step 2: Generate and select a visual
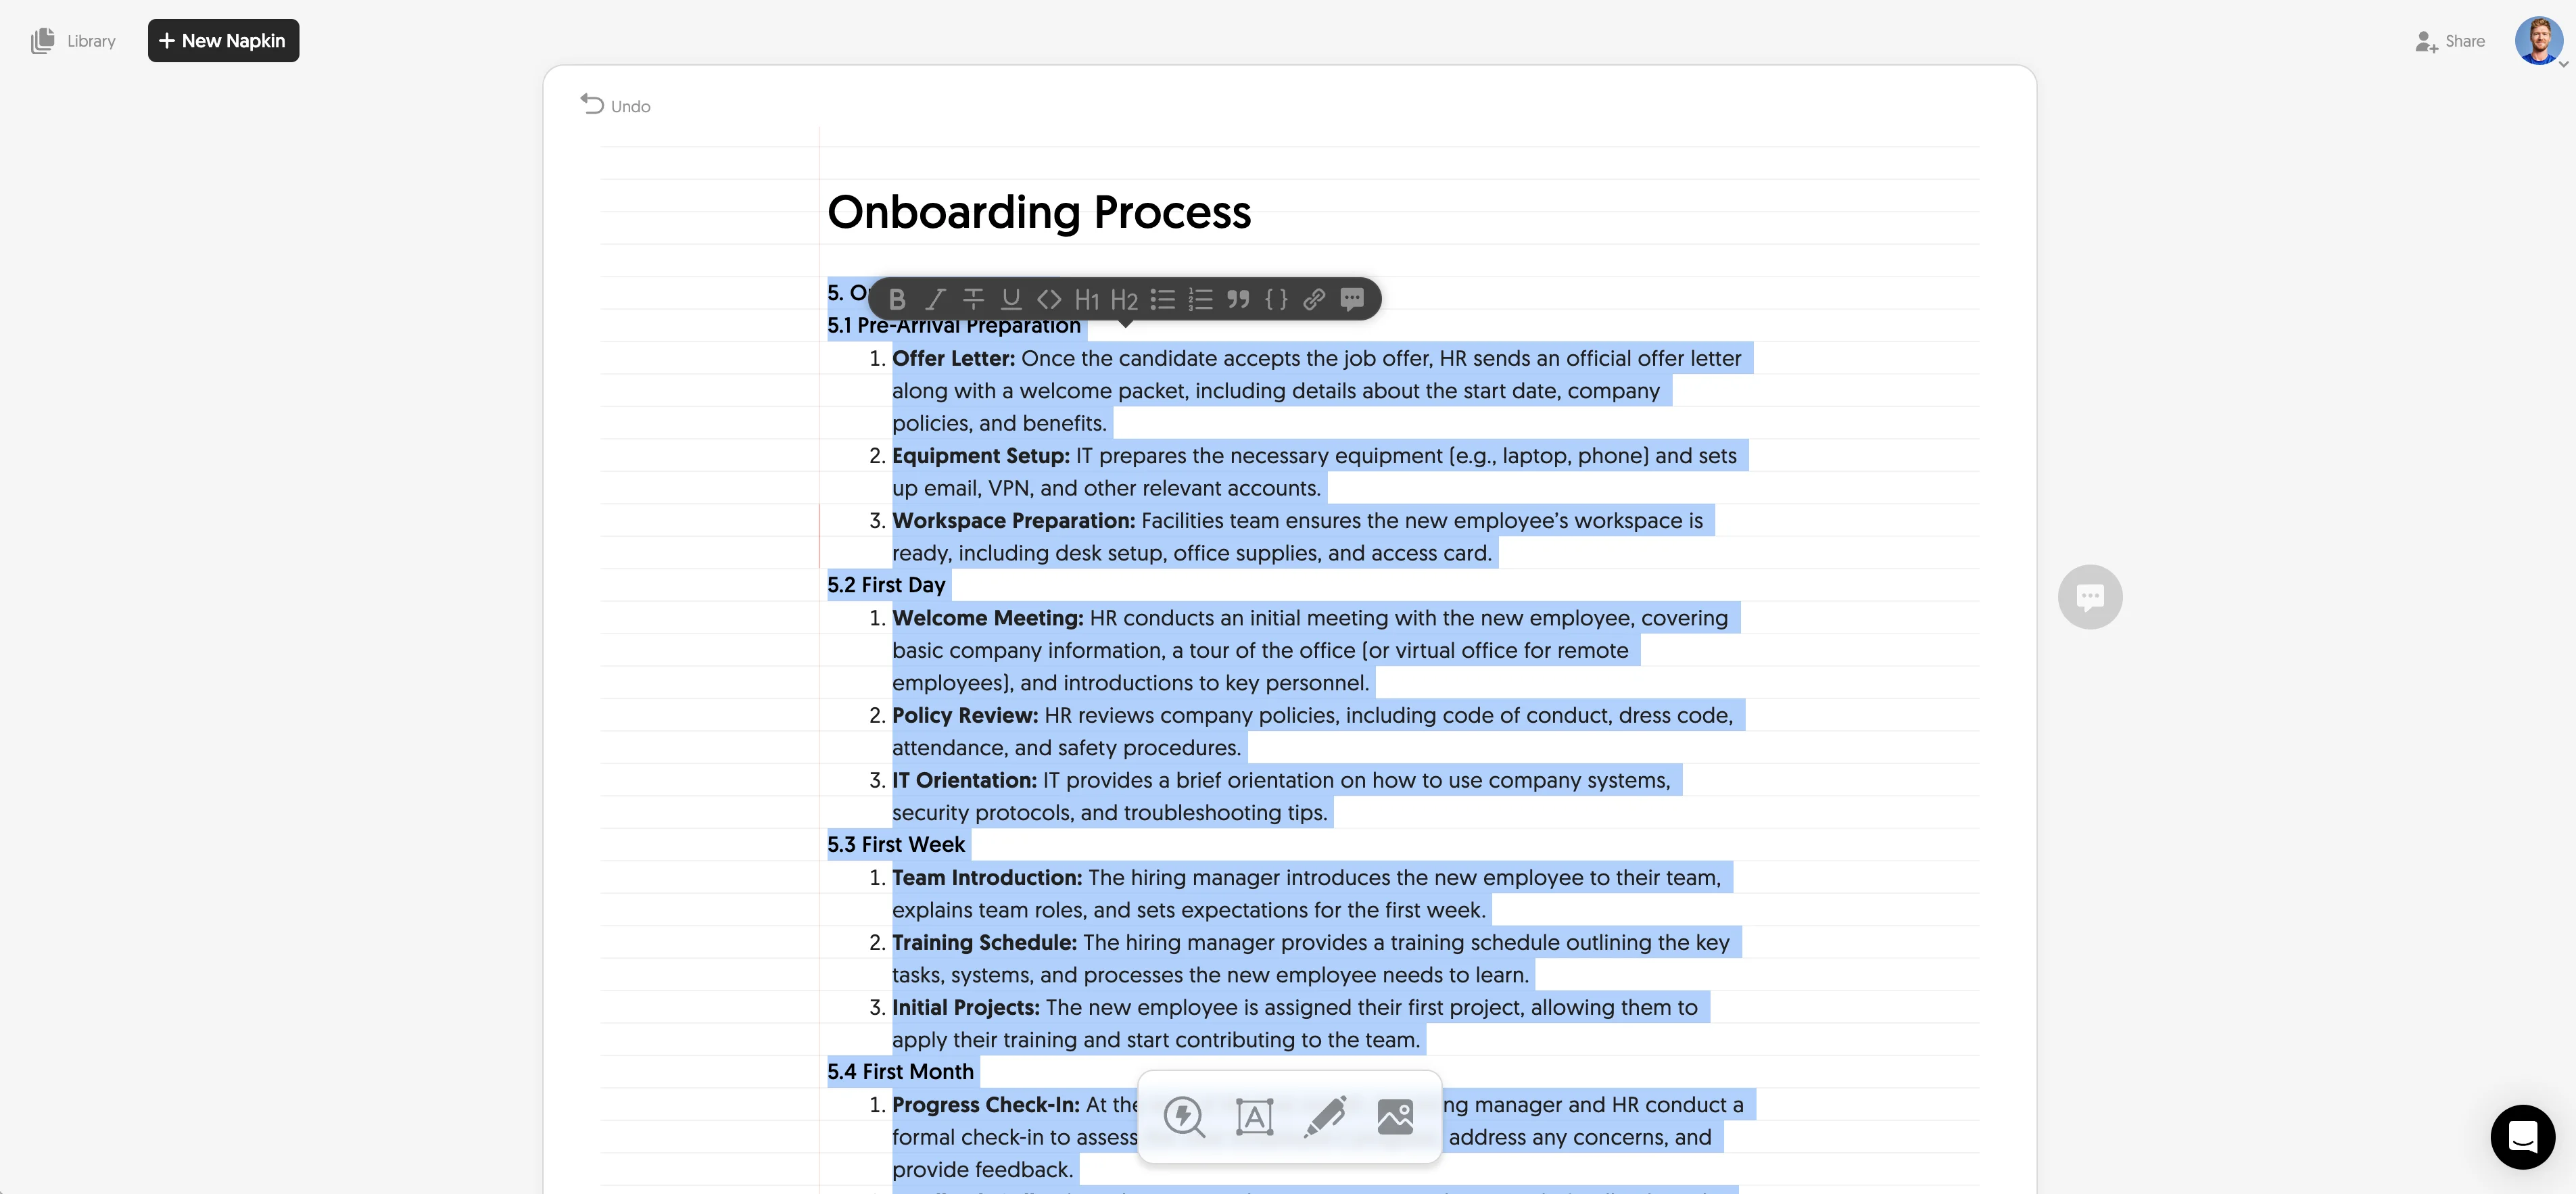
With your content in place, you can start generating visuals. To do this, hover over the specific part of your document that you want to visualize. Napkin AI will auto-display a blue lightning bolt icon that you can click to generate a visual for a specific chunk of text, or you can explicitly highlight the text you want to visualize.
As soon as you click the lightning bolt icon, Napkin AI will generate various visualization options based on your selected text. These visuals can include Venn diagrams, flowcharts, timelines, and more.
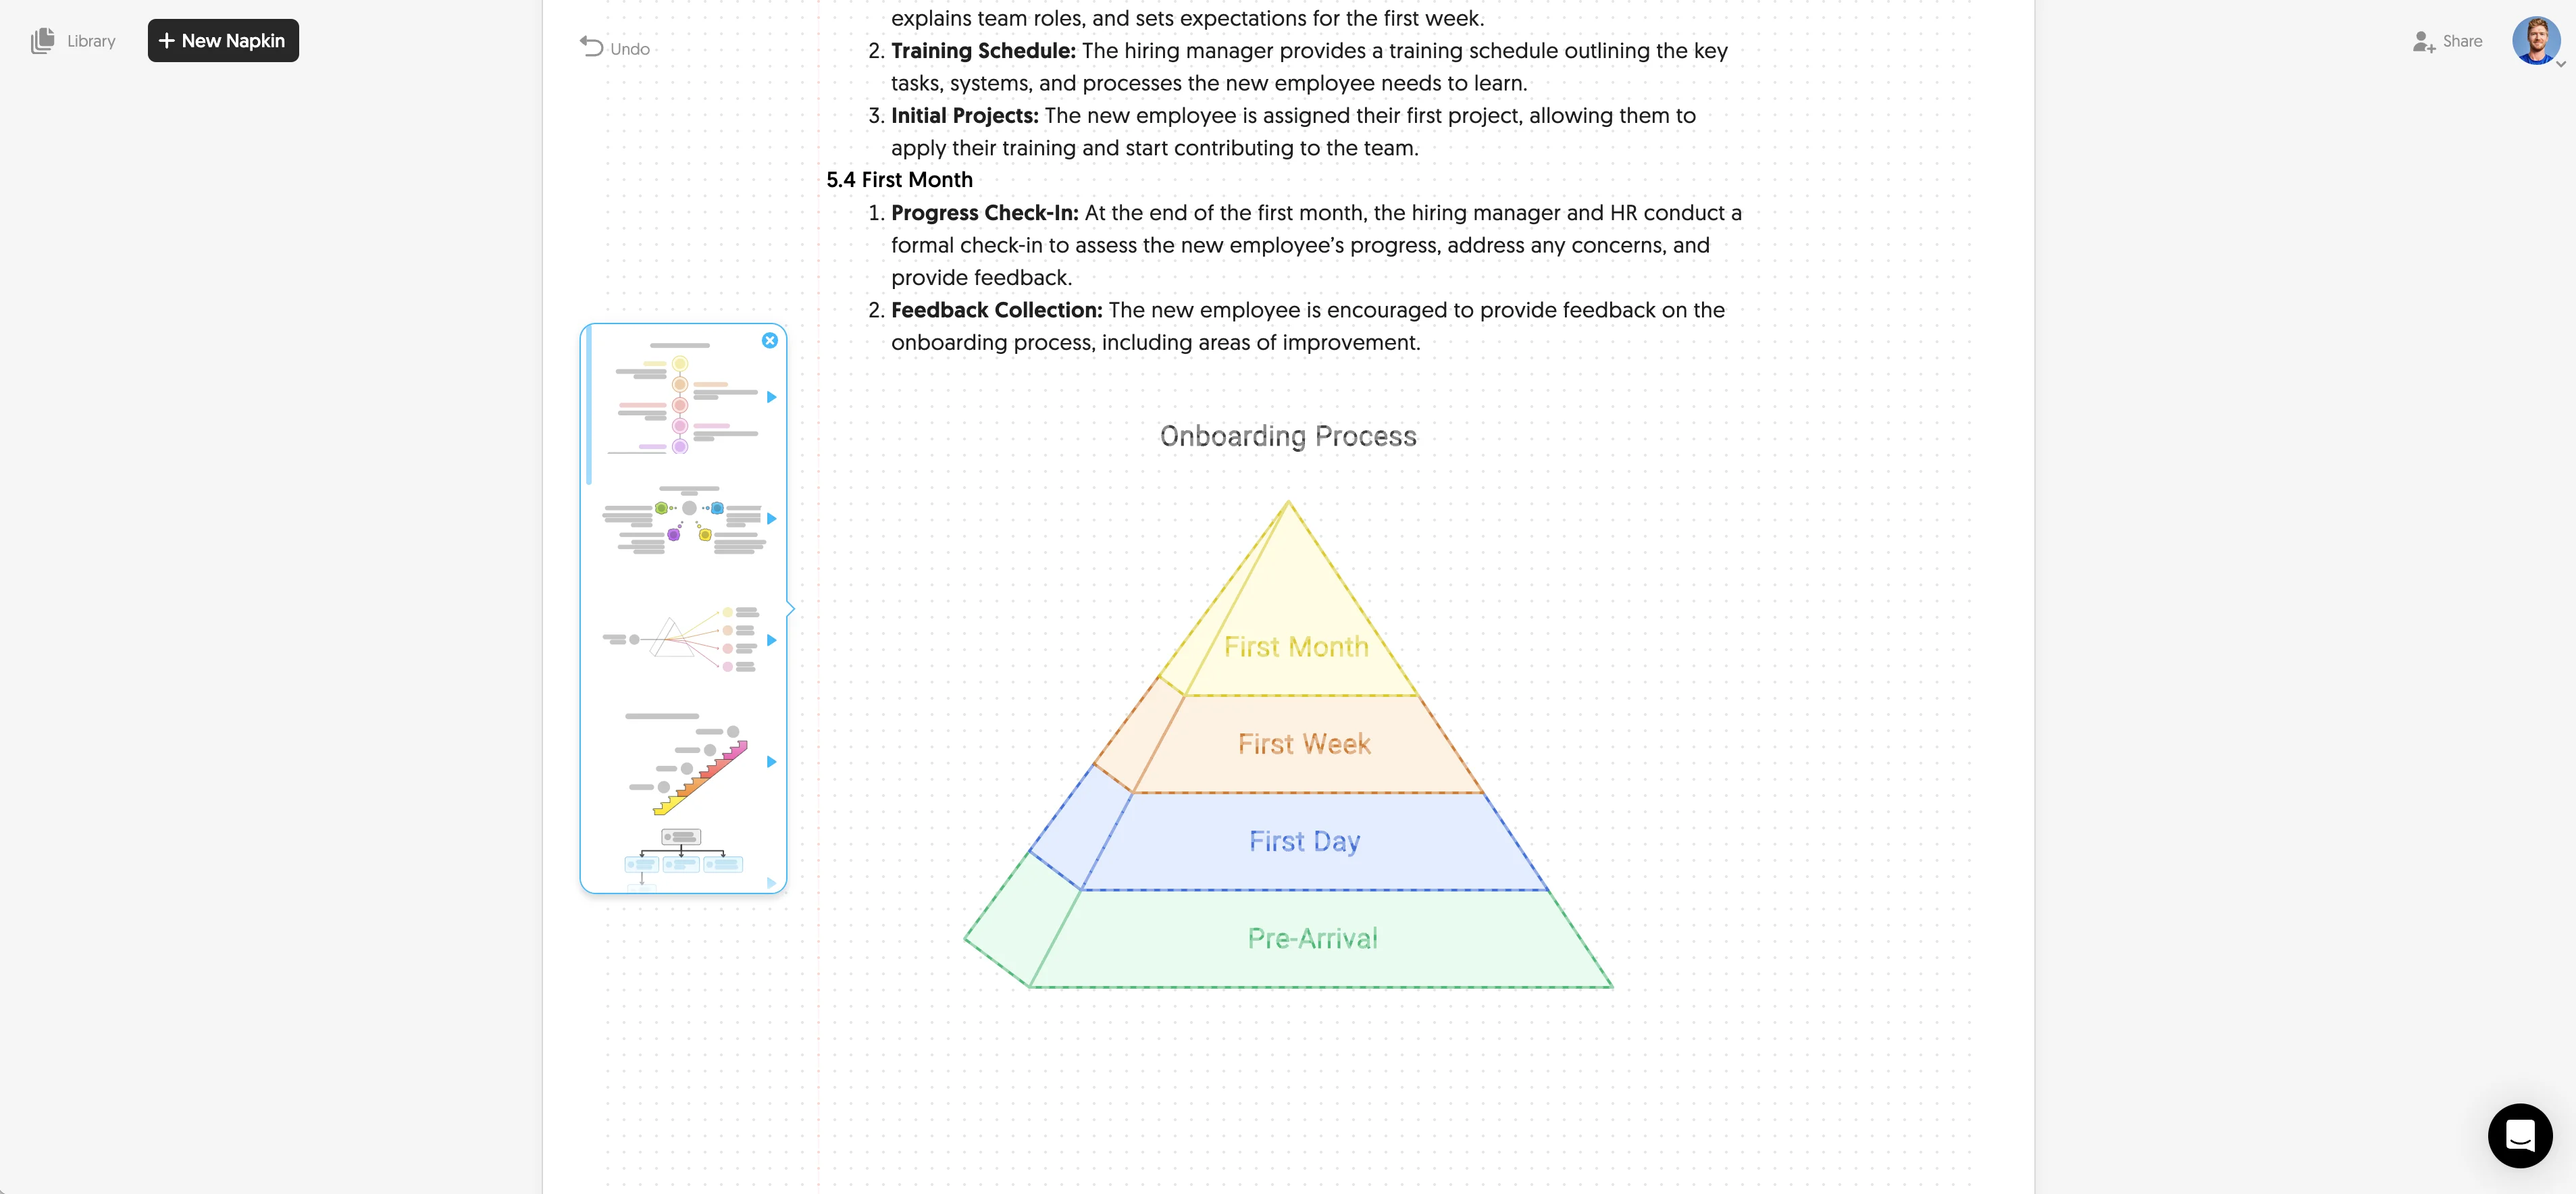
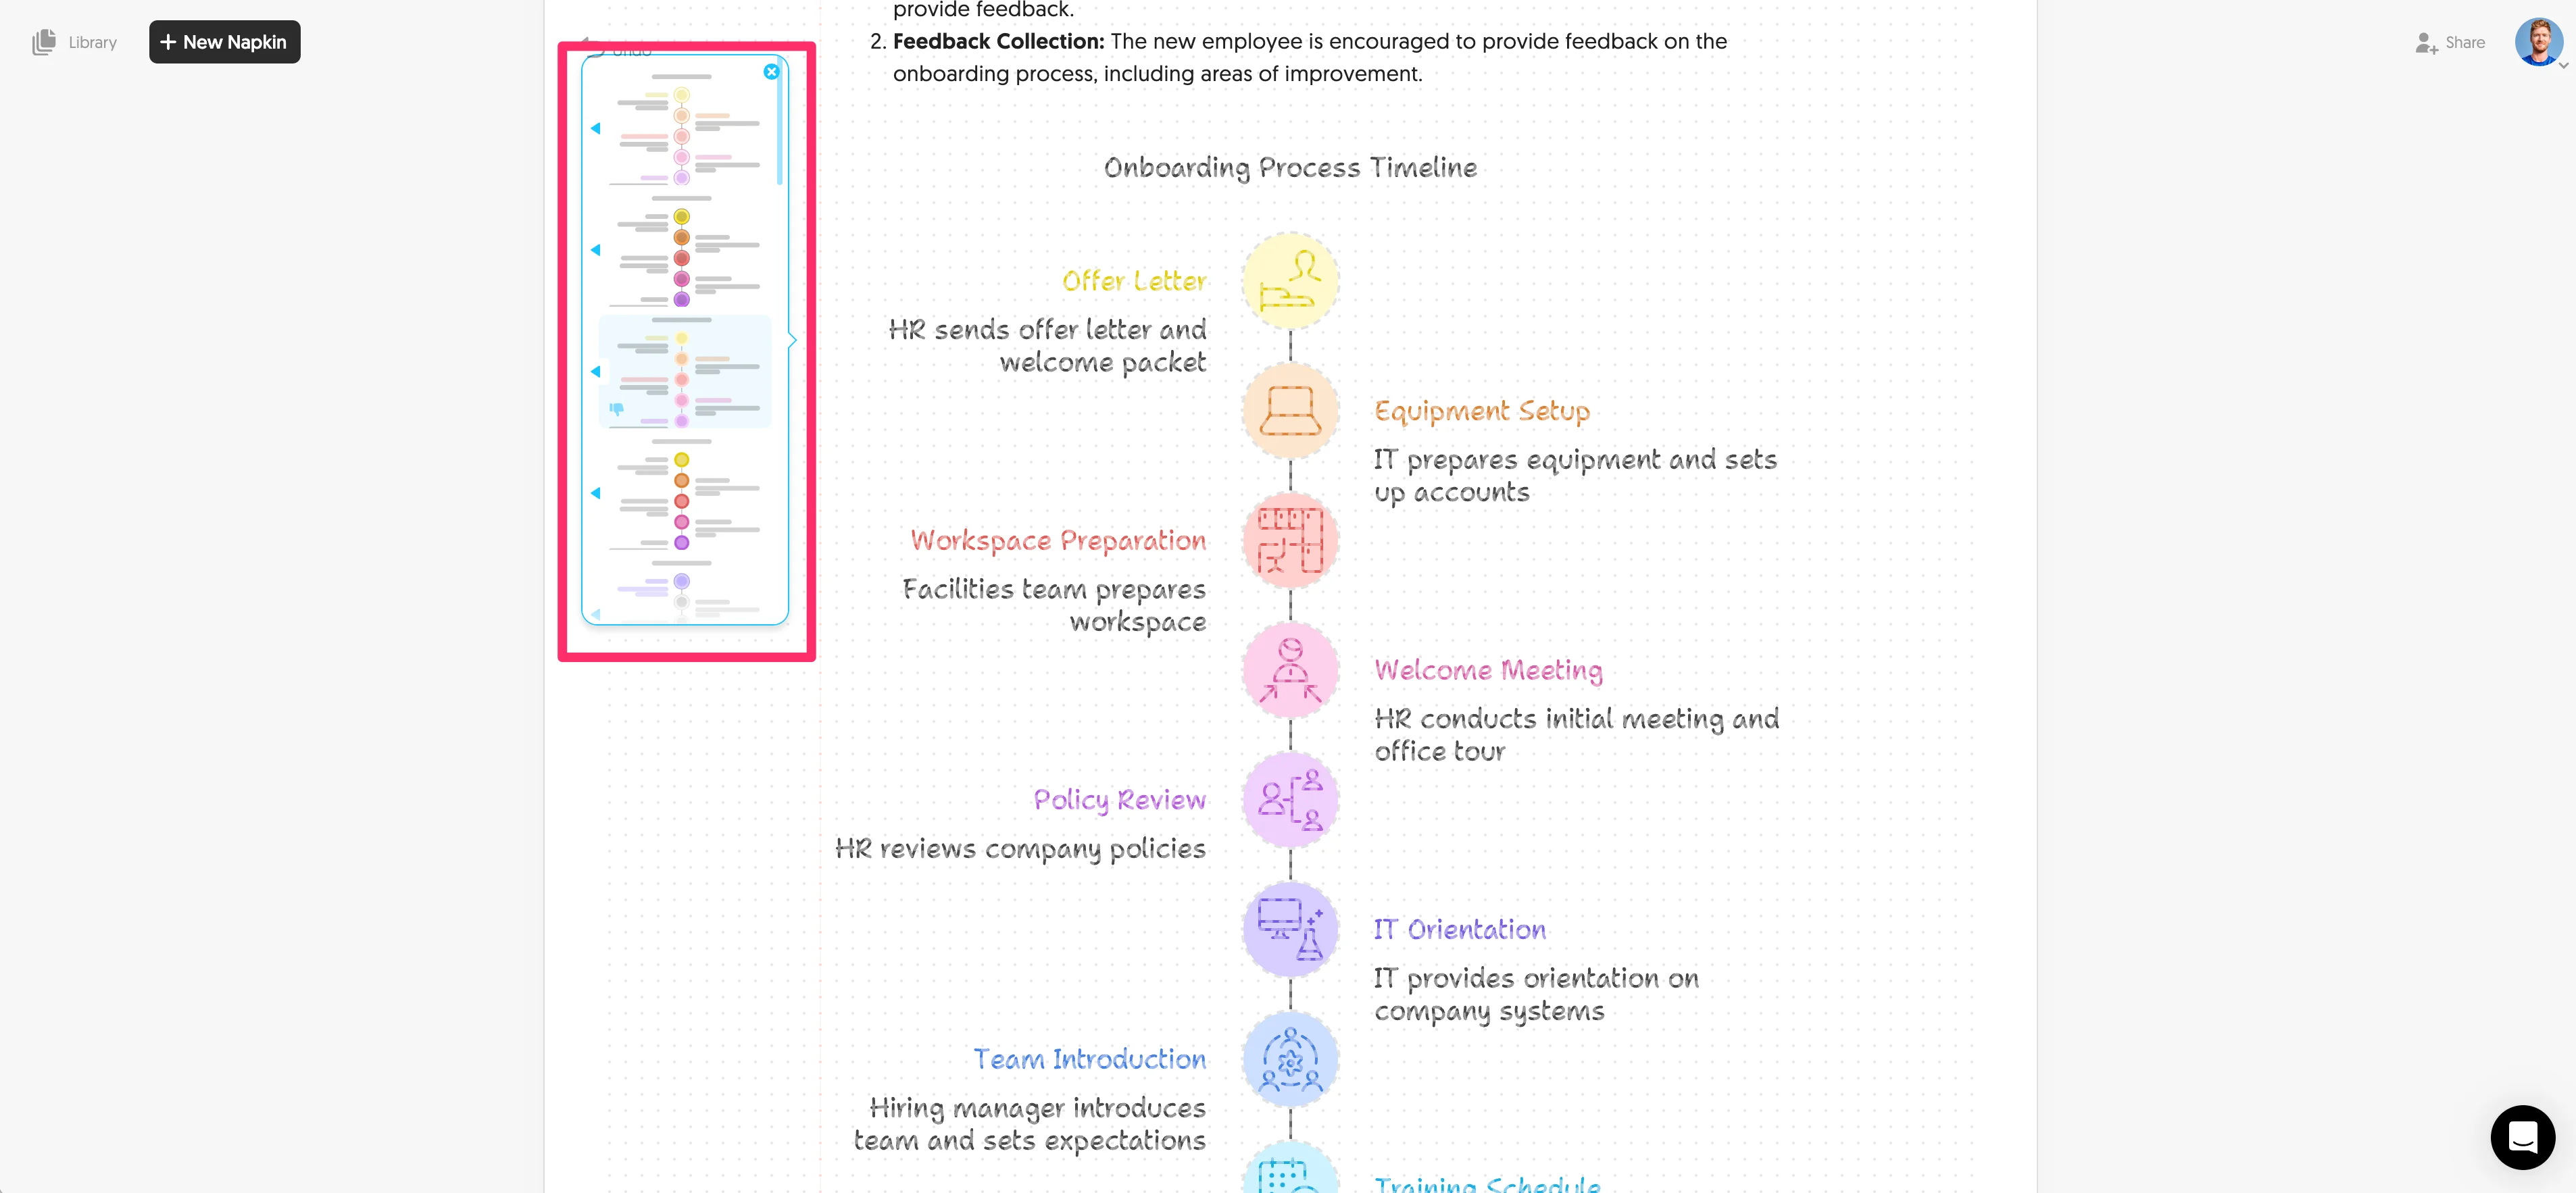
You can hover over the left-side menu to preview and select the visualization you want. We’re going to go with a vertical timeline visual for our onboarding process content.

Step 3: Customize your visual
After generating and selecting your preferred visual, you can further customize your chosen design by hovering over the different color schemes and visual styles of the graphic Napkin AI provides in the left-side menu. For instance, we’re going to select a more funky typeface for our graphic.
Once you’ve selected your base style, you can change individual components of the graphic (colors, fonts, icons, etc.) by clicking on the element and selecting different style options.

Step 4: Share and download your content
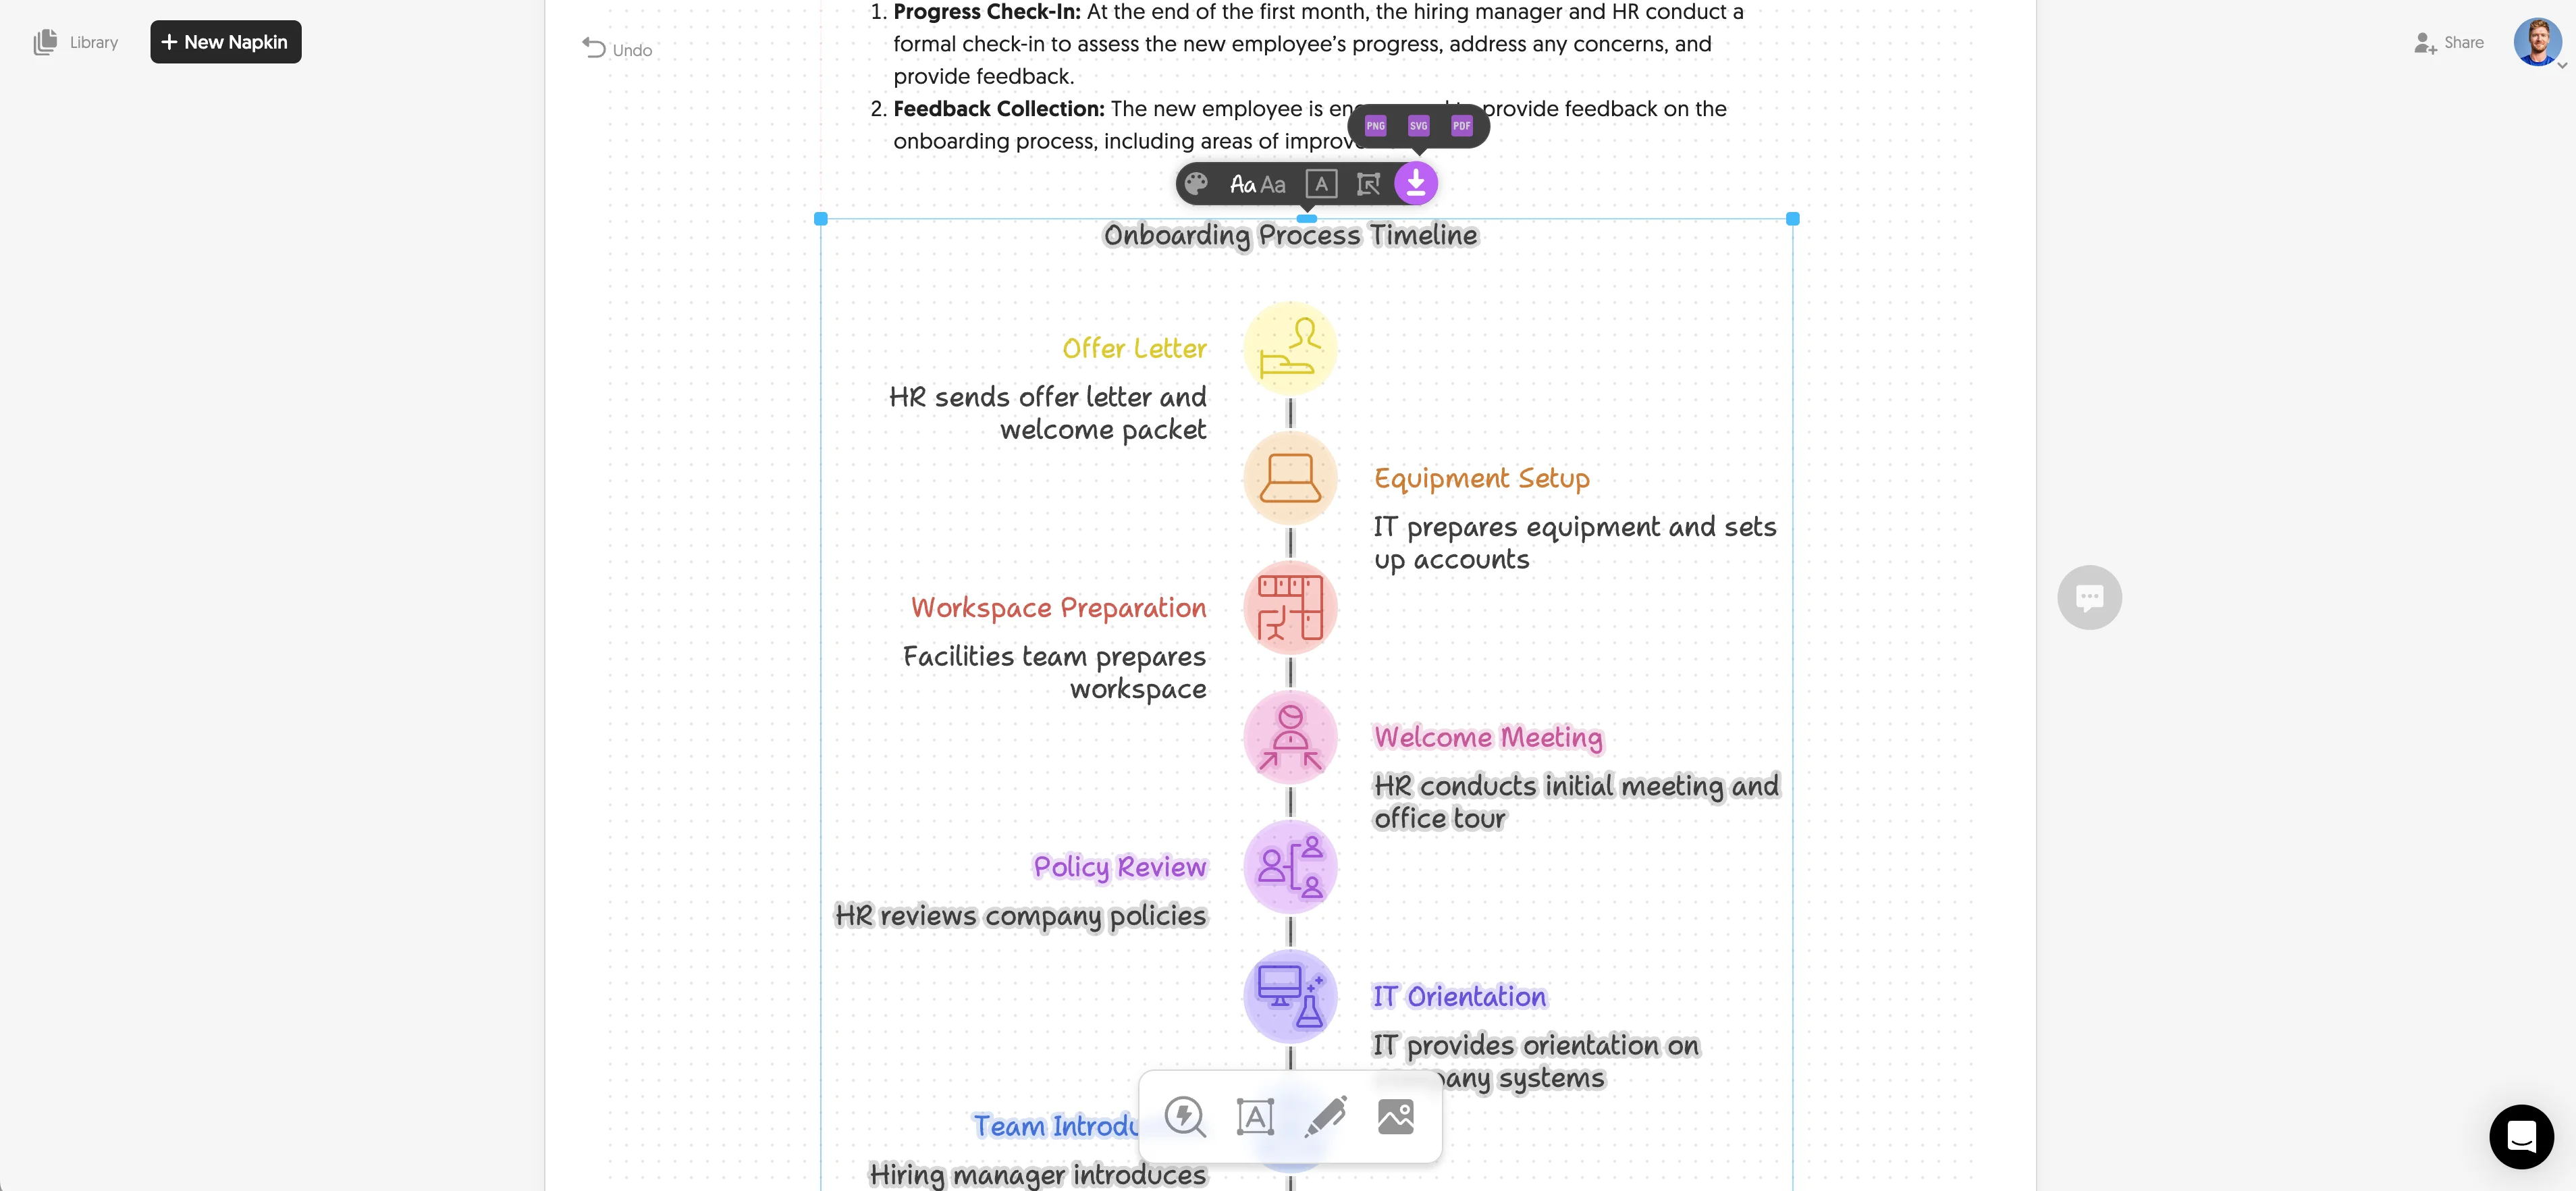
Once you're satisfied with your visual, you can download it as a PDF, PNG, or SVG file for use in other applications by selecting the entire visualization (or sub-components) and clicking the download button that appears in purple.
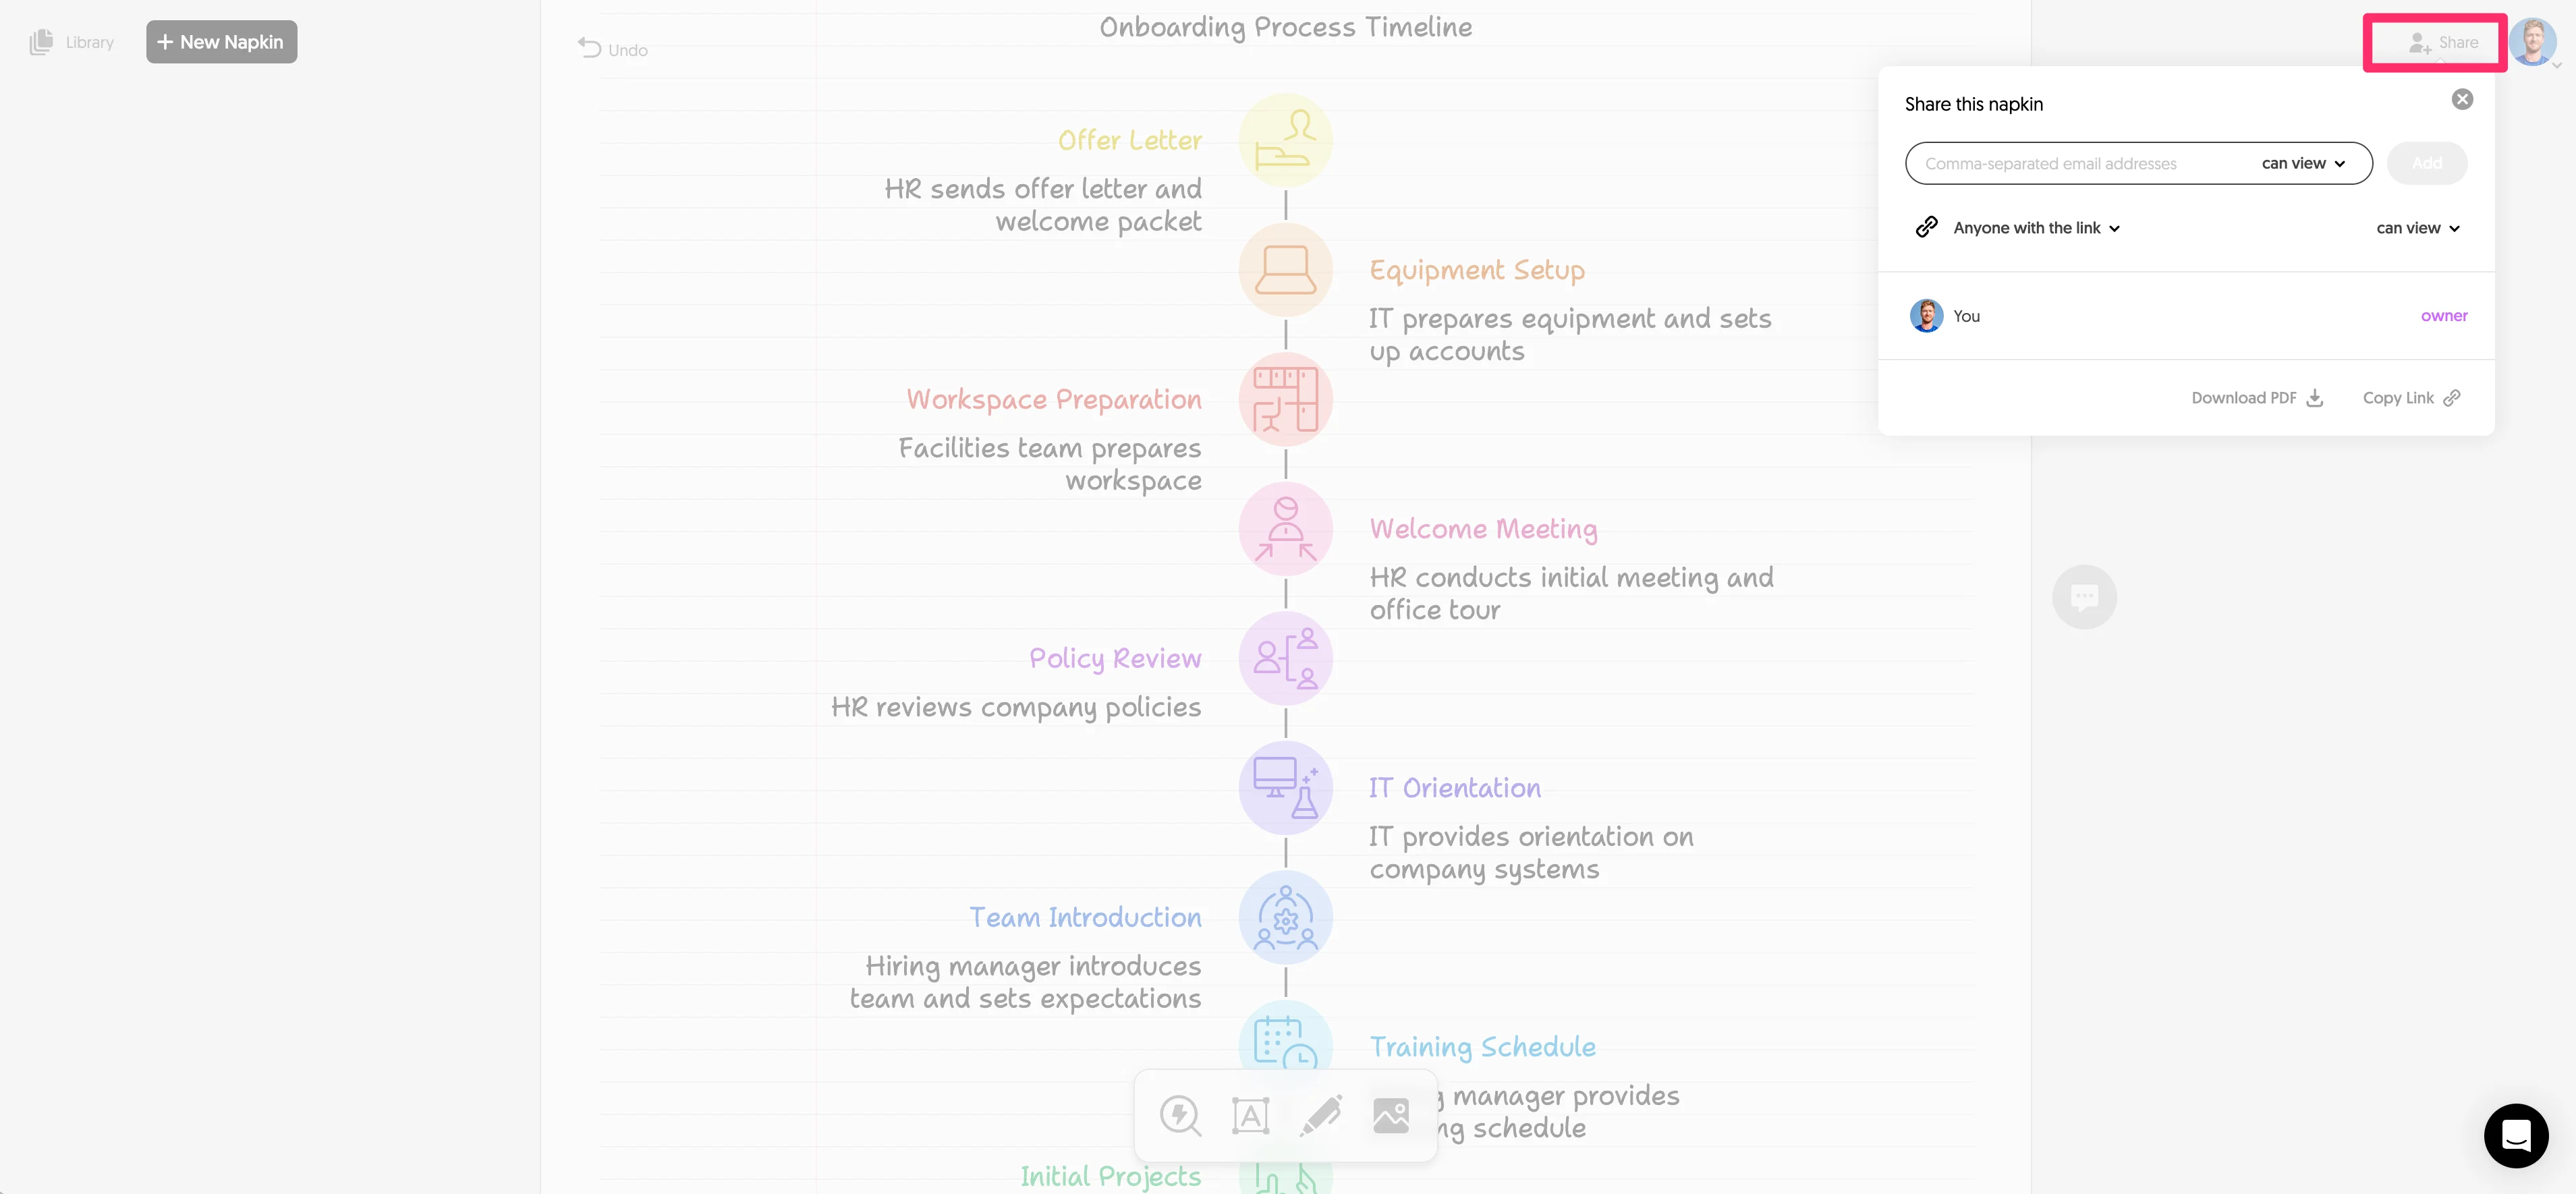
You can also share your entire Napkin AI file via the Share button in the top right corner, allowing anyone on your team to collaborate with you on the visualization.
This tutorial was created by Garrett.